
Cleaning your Xbox Series X means taking care of not only the exterior but also the interior, which is where dust and other debris tends to accumulate. If too much dust or dirt gets piled up inside, it can stop your fan from functioning properly, and that can lead to other issues. So how can you keep your Xbox clean?
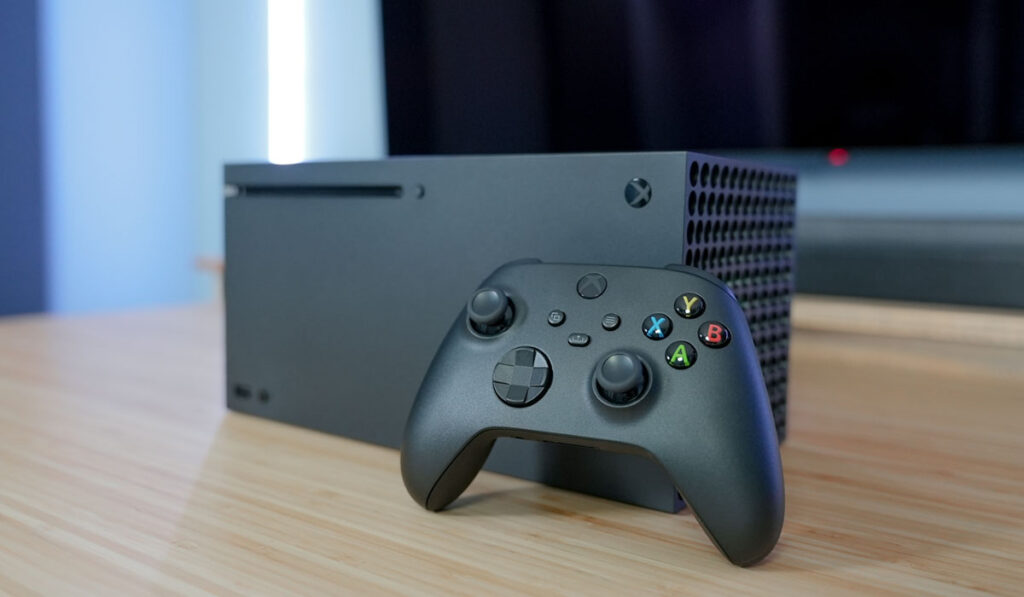
For the Xbox Series X exterior, use a damp microfiber cloth or wet wipes. For the interior, detach the console case and carefully use a low-powered vacuum, canned air, or a clean brush to remove any dust buildup, then reattach the case. You should clean the console if you suspect overheating issues.
The good news is that your Xbox won’t immediately stop working from a minimal dust buildup; it usually takes years of accumulation to notice any obvious system malfunction. Still, it’s good to clean your device every few months to keep things in tip-top shape.
Will Dust Damage Your Xbox Series X?
As we mentioned above, dust can indeed damage your Xbox Series X (on Amazon), especially if it accumulates over time. The buildup can hinder the device’s performance speed and diminish its operation ability.
As you may already know, the Xbox can overheat quickly, and with the accumulation of dust, its capacity to reduce this dilemma is diminished.
How Do You Clean the Dust Out of Your Xbox Series X Console?
The general method adopted for cleaning the exterior of an Xbox Series X is using a soft, lint-free fabric or a microfiber cloth (on Amazon) dampened with a mixture of water and mild soap. You can also use previously dampened disinfectant wipes.
Before carrying out any cleaning, note these three important things to ensure a smooth cleanup: always turn off the console’s power, disconnect the console from the main switch, and never directly rub liquids on your controllers or console.
As for cleaning the interiors of the system, follow this simple procedure:
- Get rid of the exterior dust or buildup on the fan grilles around the console. Afterward, remove the two labels at the back of the console. The larger sticker is above the connection ports, while the warranty sticker is below.
- While removing the labels, you will notice two screws underneath that will need a T8 screwdriver (on Amazon) to remove. Use the tool to remove the screws and unclip the back of the case, working your way from the bottom to expose the contents within the console.
- You may notice at this point that the interior grilles need to be cleaned. You can get beneath the heat sink and clean the buildup without removing more components.
- At the upper part of the base below the fan, there are three more screws that you will need to remove. After removing them, the fan is revealed, enabling you to clean all the dust buildup on the blades or within the top of the case.
- After wiping the fan down, turn the case upside down and look for the clip fastening the base plate to the case. When you locate the hook, remove it to expose the remaining screws under the plate.
- Unscrew the newly found screws to disconnect the optical drive completely from the case. If all the screws have been taken off, you can now detach the rest of the components from the case as they are connected. This enables you to get around the case and all its features, ensuring they are appropriately cleaned.
- When reassembling the console, ensure you follow in reverse these exact steps used for disassembling the console.
How Often Should You Clean Your Xbox Series X?
The widely recognized time frame for cleaning your Xbox Series X is every three to six months, but it is advisable to wipe the device down whenever you think it needs cleaning.
Furthermore, the environment you find yourself in determines how often you should clean the system. The more exposure your device has to pets or floor coverings like carpets and rugs, the more quickly the dirt accumulates.
How to Clean Xbox Series X Controller
The Xbox Series X controller can be cleaned using the following steps:
- Use a compressed air tin to blow dust or any loose dirt away from the controller’s surface. Afterward, wet a microfiber cloth with 70% or less isopropyl alcohol and use the dampened material to rub the controller.
When cleaning the controller with the fabric, pay attention to the thumbstick’s bottom and the inner area between buttons as a lot of dirt tends to build up in those spots. - After wiping down the controller, don’t use a towel or tissues to dry the device as it will leave residues. Instead, be patient for the alcohol to dry off the gamepad; it won’t take too long.
- The next part is to clean the controller’s nooks and crannies, which can be done using a toothpick to scuff any deposit within carefully. In addition, use the toothpick to wipe the raised ring on the controller’s thumbsticks and the ends of the d-pad.
- Lastly, blow compressed air on the device’s gamepad a final time to remove any remaining dirt. You can also clean the controller again with the microfiber cloth to ensure a satisfactory result.