
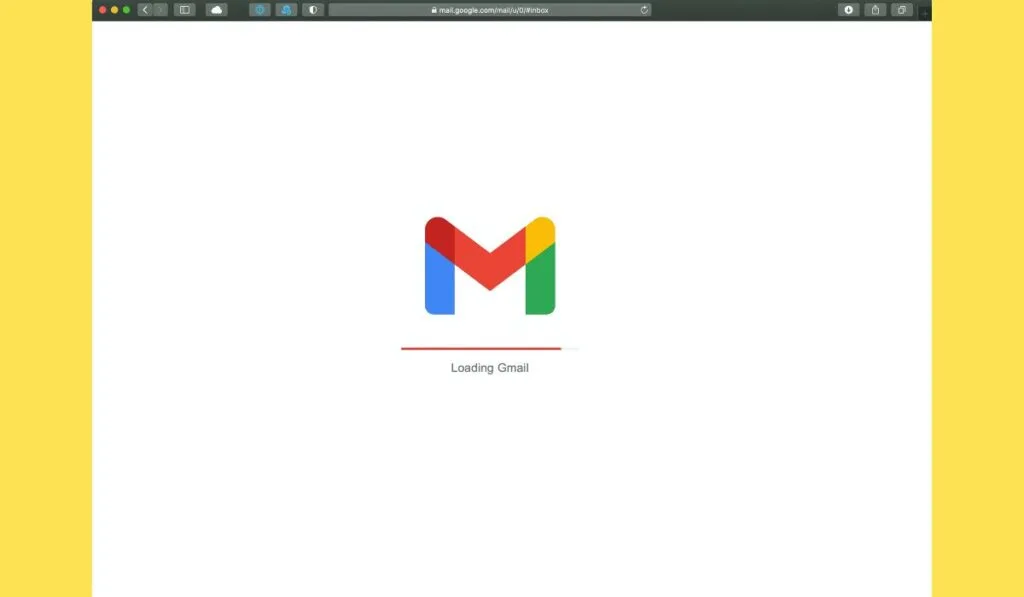
Millions of people rely on Gmail for both personal and business communication. Unfortunately, as with any technology, users can experience frustrating errors. One common issue Gmail users experience is being automatically logged out from their accounts.
Gmail can log you out for several reasons. To prevent this, enable cookies and enable the “Chrome Sign-in” feature through the Google Chrome settings. You can adjust these features through the Settings menu in Chrome by clicking the three vertical dots icon located near the top right corner.
No need to panic if Gmail keeps signing you out. There are several ways you can resolve this problem, and we cover them in the article below. Here’s everything you need to know.
What Causes Gmail to Sign You Out of Your Account?

There are several reasons why you might be automatically logged out of your Gmail or Google Chrome account. They include:
- You don’t have cookies turned on. Some antivirus applications can automatically delete cookies.
- You’re not using the latest version of your browser.
- Your browser doesn’t remember your passwords, or you don’t have the feature enabled.
- You haven’t adjusted your settings accordingly.
- You need to clear your browser’s cache.
What to Do When Google Keeps Signing You Out
You’re probably frustrated that Google Chrome keeps logging you out of your Gmail account. Thankfully, you can follow the troubleshooting steps below to resolve this issue and stay logged into your account.
Sign Into Chrome Again
The first thing you’ll need to do when you’re automatically logged out is to log back in. You can log back in following the steps below:
- Launch the Google Chrome browser.
- Select the user icon on the top-right-hand corner of the screen.
- Hit the “Sign in to Chrome” button.
- Enter your account information and password in the fields provided to sign in.
Now that you’ve signed into your Google Chrome account, we can move on to the next troubleshooting steps below.
Enable Cookies
Web cookies save your information and make your browsing experience easier. You won’t stay signed into your Google Chrome or Gmail account if you don’t have cookies enabled. Here’s how to enable them:
- Launch the Google Chrome browser.
- Select the three vertical dots icon located near the top-right-hand corner of the screen.
- Select Settings from the drop-down menu.
- Head to the “Privacy and Security” tab.
- Click “Cookies and other site data.”
- Toggle “Allow all cookies” and ensure the “Clear cookies and site data” feature is disabled.
- Save your settings and restart the Google Chrome browser to finish.
Enable the Allow Chrome Sign-in Feature
Enabling Chrome Sign-in features allows the browser to automatically sign into their Gmail or Google account when they use one or the other. Here are the steps to enable the feature.
- Launch the Google Chrome browser.
- Select the three vertical dots icon located near the top-right corner of the screen.
- Select” Settings” from the drop-down menu.
- Click “Sync” and “Google services” under the “You and Google tab.”
- Locate “Other Google services.”
- Enable the button that says “Allow Chrome sign-in.”
- Save your settings and restart the Google Chrome browser to finish.
Clear Cache
Clearing your web browser’s cache can resolve minor issues and bugs. However, clearing your Google Chrome cache will delete your saved information, and you’ll have to re-enter it. Here are the steps.
- Launch the Google Chrome browser.
- Select the three vertical dots icon located near the top-right corner of the screen.
- Hit “More tools” from the drop-down menu and select “Clear browsing data.”
- Decide a time range. You can delete everything by choosing “All time.”
- Check the boxes next to “Cookies and other site data” and “cached images and files.”
- Select “Clear data,” save your settings, and restart the Google Chrome browser to finish.
How to Navigate Your Settings in Gmail
- Launch the Google Chrome browser and log into your Gmail account.
- Select Settings in the top-right corner and then select “See all settings” from the drop-down menu.
- You’ll be directed to a new page where you can select from different settings options at the top, like General, Labels, Inbox, etc.
- Adjust any settings you see fit.
- Once you’re satisfied, scroll to the bottom of the page and hit “Save Changes” to finish.
Other Troubleshooting Methods
There are a few other troubleshooting methods you can try to resolve why Gmail keeps automatically logging you out.
Check Your Internet Connection
In some cases, your internet connection might be preventing you from utilizing the Gmail platform. Be sure you’re connected to a stable Wi-Fi or ethernet connection. You can also try disconnecting and reconnecting your internet to resolve any minor issues.
Restart Your Device

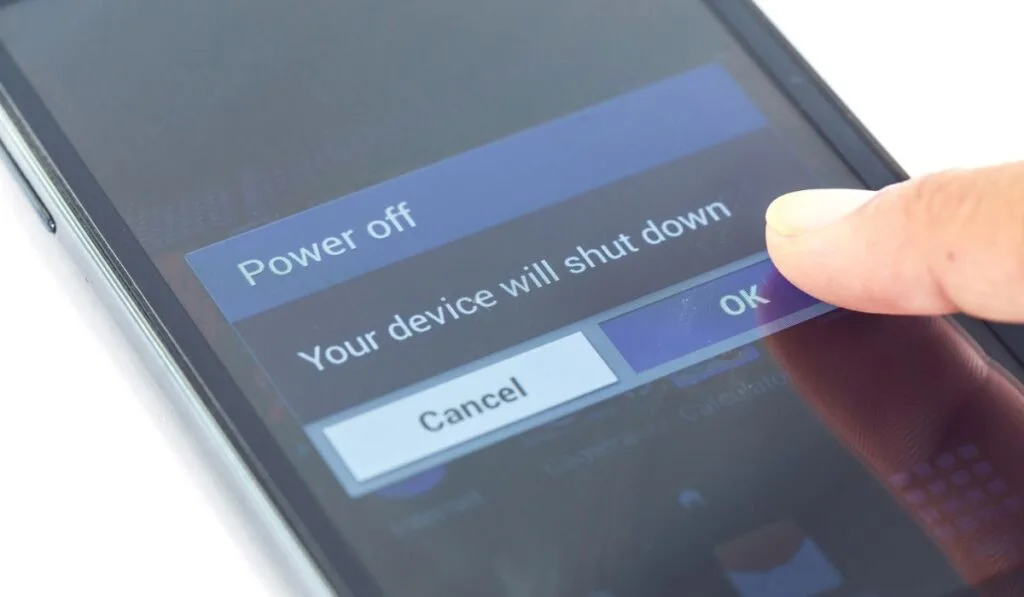
You might not have access to the Gmail platform and experience errors for various reasons. Some way you can resolve this issue is to restart your device or Gmail app.
You can forcefully shut down the Gmail app to see if that resolves the issue. You can also try restarting your smartphone, tablet, or computer to see if the problem is fixed.