
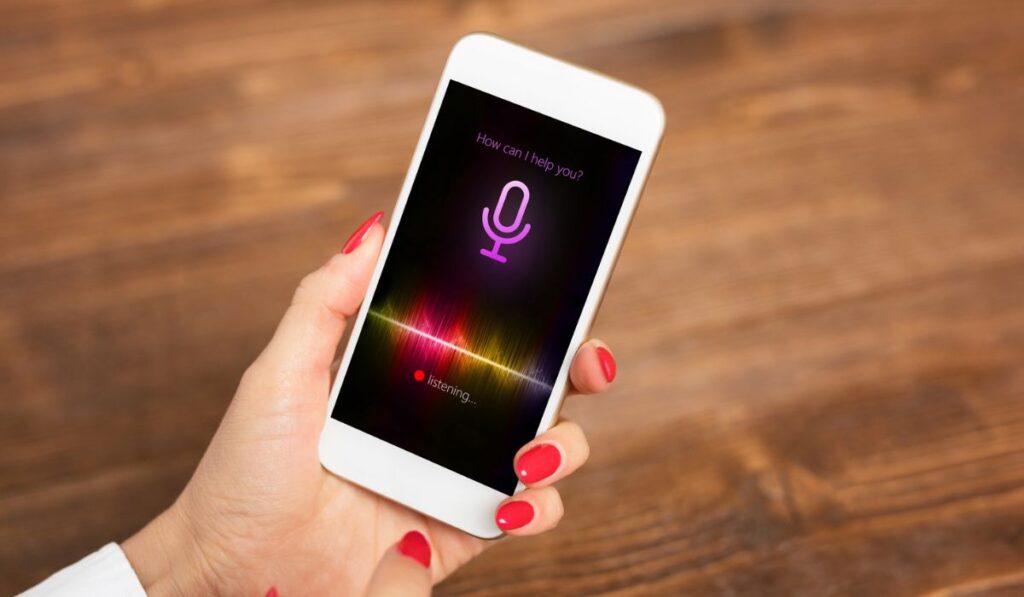
Whether you’re recording a conversation, doing a voiceover, or simply talking to Siri, the iPhone’s internal microphones can do a pretty decent job. Overall, they’re way better than the ones in your MacBook or iPad, and they easily beat the bottom-end, $20 headsets you get from the drugstore. So, it may be worth using your iPhone as a microphone from time to time.
In order to use your iPhone as a mic, connect your iPhone to a Mac/iPad using a USB cable. Then go into the device’s audio settings and set the iPhone as the primary audio input device. Next, install an audio recording app on the iPhone, and set the output to ‘Dock Connector,’ and start recording.
Unfortunately, using your iPhone as a microphone isn’t as simple as just connecting it to your computer and hitting record. But don’t worry; it’s not too difficult to get the microphone set up for use. Let’s take a closer look at how to use your iPhone as a microphone.
On the other hand, you also have the option to connect a microphone to your iPhone for increased audio quality.
How Do You Use Your iPhone as a Microphone?

Three major steps are involved in setting up your iPhone as a microphone. First, you’ve got to connect your iPhone to your computer and then configure your Mac to use your iPhone as its microphone. Finally, you’ll need to install an audio recording app on your iPhone. Let’s go through each of these steps in detail.
- The first step is to connect your iPhone to your computer. You can do this using a USB C to Lightning cable (on Amazon) — or whichever cable best suits your device.
- Once you’ve connected your iPhone, go to ‘Launchpad’ on your Mac and open the ‘Audio MIDI Setup’ app. Select your iPhone from the list in the ‘Audio Devices’ window.
- Click on the ‘Enable’ button just below the iPhone icon. Make sure your iPhone is enabled for ‘Input’ under the audio device.
- Save the settings and close the Audio MIDI Setup app.
Now that your iPhone is recognized as an audio input device, you need to set it as the primary microphone to supersede your Mac’s built-in mic.
- Open the ‘System Preferences’ app by clicking on the Apple icon in the top-left corner of your screen. Then, click on ‘Sound.’
- In the ‘Sound’ window, click on the ‘Input’ tab.
- Select ‘iPhone’ in the list of input devices.
- Exit the System Preferences app.
Your Mac is now ready to use your iPhone as its microphone. However, you still need a medium to send the audio from your iPhone to your Mac. Any app that can record audio from your iPhone’s microphone will work for this purpose.
Plenty of audio recording apps are available on the App Store. QuickTime Player, Microphone Live, and Audacity are some of the better options.
- Once you’ve installed an audio recording app, launch it and go to the input/output setting.
- In the Output section, select ‘Dock Connector’ or ‘Lightning Connector.’ This will send the audio from your iPhone to your Mac.
Now, whenever you want to use your iPhone as a microphone, just launch the audio recording app and hit the record button. The app will start recording from your iPhone’s microphone, the audio will be transmitted to your Mac in real-time, and you’ll be able to hear it through the speaker.
Also, remember to adjust the microphone settings for the best possible audio experience.
Can You Use Airpods as a Microphone?
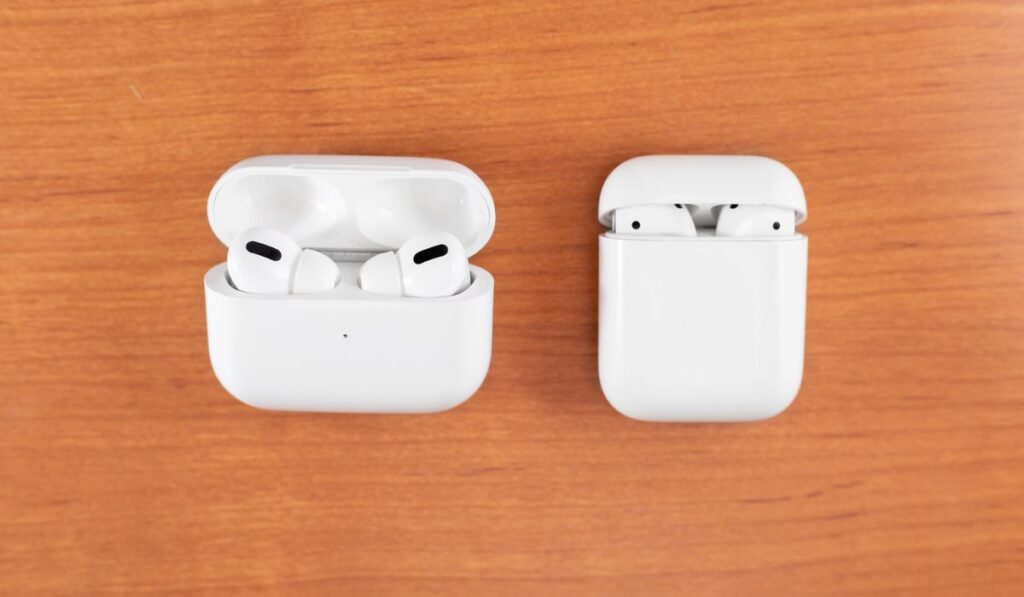

Yes, you can use AirPods as a microphone during phone calls, FaceTime calls, and for recording audio or giving voice commands to Siri. However, you can’t use them while recording videos. The default video recording apps automatically switch to the main microphone when you start recording.
If you still want to use your AirPods microphone for recording video, you’ll have to use a third-party app like FiLMiC Pro. Not every app will let you use your AirPods as a microphone, though, so you might have to experiment a bit to find the right one.
On a different note, using the Live Listen feature, you can use AirPods as a listening device while using your iPhone’s internal mic as a recording device. This was first available as a hearing aid feature but is now freely available and comes in handy in many situations.
Troubleshooting Tips
If you’re having trouble using your iPhone as a microphone, here are some troubleshooting tips that might help.
- The iPhone has three internal microphones — one at the bottom for phone calls, one at the top for the camera, and one near the back camera for noise cancellation. When you use the iPhone as a mic for another device, the primary microphone at the bottom is used. Make sure there’s no obstruction blocking the microphone.
- In case of trouble, test your iPhone’s microphone by recording a short video or your voice in the Voice Memos app. If the audio is clear, the problem is with the other device, not your iPhone.
- Check if you’ve properly set up your iPhone as an ‘Input’ device in the Audio MIDI Setup app.
- Disable the Bluetooth on your iPhone while using it as a microphone to avoid interference from any connected devices.
- Use the official Apple Lightning cable to connect your iPhone to your Mac.
- If you aren’t able to record audio in the newly installed app, go to app permissions and make sure it has access to the microphone.
- Try restarting your iPhone and the other device to clear any temporary glitches that might be causing the problem.