
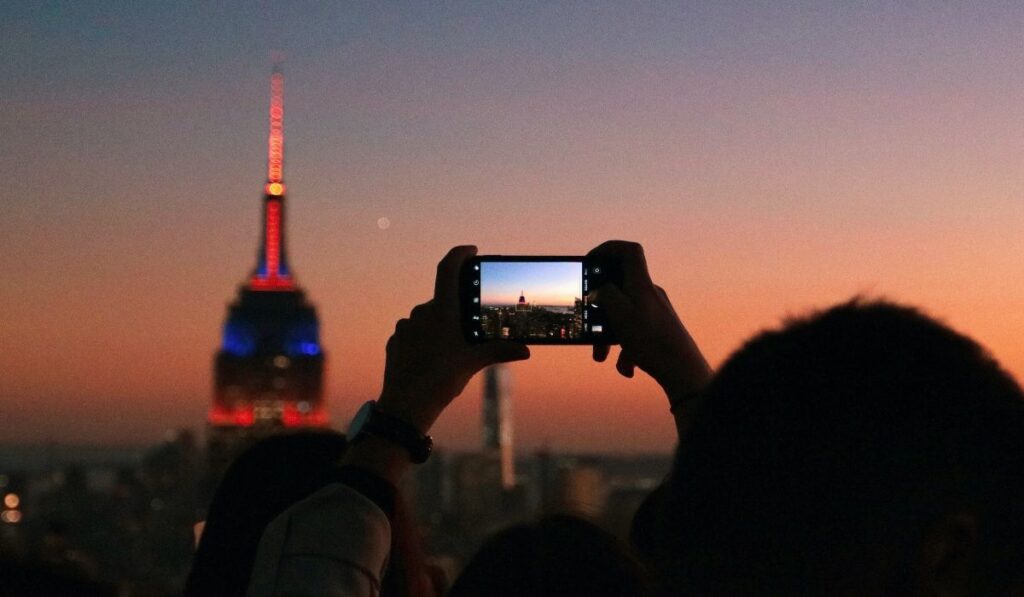
Do you ever struggle to take quality pictures without blur when there’s there’s limited lighting around you? It can be frustrating, especially if you’re in an area where you can’t control the light. Fortunately, some iPhone users can access night mode to get better-quality pictures in low-light situations.
Night mode is a feature on certain iPhone cameras that brings more detail to pictures taken in low-light environments. Night mode comes on automatically, indicated by a yellow moon symbol at the top of the screen. You can rely on the Auto timer or adjust the camera’s exposure time as desired.
Let’s take a closer look at the Night mode feature on the iPhone and how it works, as well as some tips on how to use it effectively to get the best possible shots — even in the dark.
What Is Night Mode on the iPhone?
Night mode is a feature of some iPhone cameras that allows you to take high-quality pictures in low-light situations. Night mode activates automatically when there’s not enough natural lighting and will increase the brightness of the frame to capture more detail in images.
Night mode is only available in certain iPhone models and may only work on one or two cameras, depending on which iPhone you have. Night mode is available on iPhone 11, 12, and 13 models (on Amazon). Or at least, those are the models that it was popularized on: any release downstream of iPhone 11 will have Night Mode built into the camera.
If you have an older iPhone, you’ll have to use external lighting to improve your photos, and the camera won’t automatically adjust to bad light.
When using Night mode on the iPhone, you’ll have the option of adjusting the brightness, contrast, and timing of shots. If you want to alter pictures with even more detail, you’ll have to edit them after the shot is taken.
How to Use Night Mode

Using Night mode on your iPhone is simple as you don’t necessarily need to manually adjust the camera’s features. Night mode will automatically activate when there’s bad lighting, although you can manually adjust the settings of this feature.
Here’s how to use night mode on your iPhone and adjust its settings:
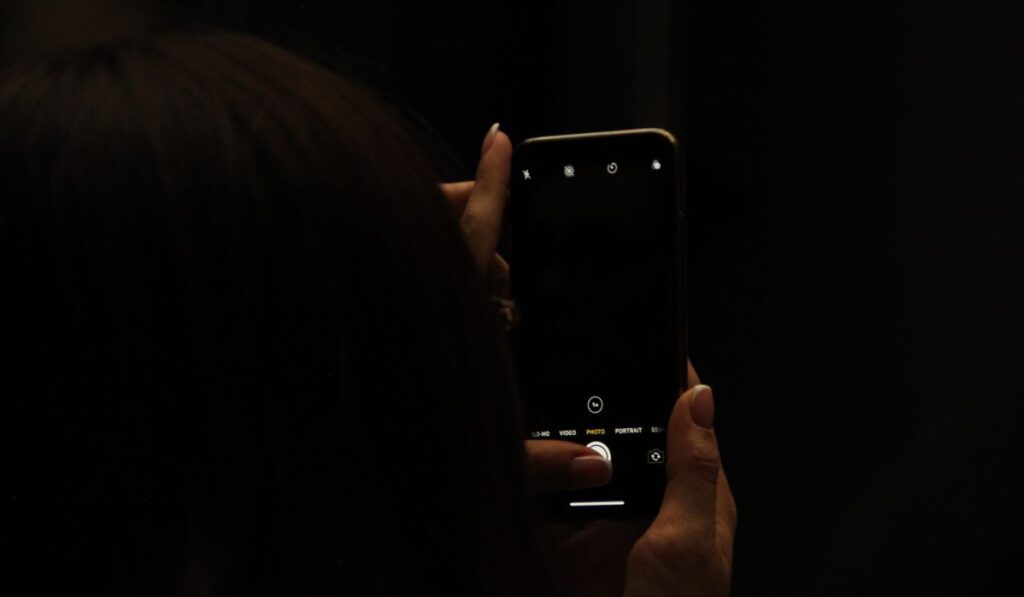
- Open the camera on your iPhone.
- If there’s poor lighting in the background, you’ll see a small moon-like icon on the top right side of your screen turn yellow. If the icon is gray, it means the lighting is sufficient for a normal pic. Click on this icon.
- Use the slider to adjust the time the camera should take to take in light exposure. This time limit should be higher in low-light environments.
- You can now take the picture as you normally would, but you’ll have to hold the phone still for the duration of the Night mode exposure time.
Usually, this feature will automatically be enabled. If your phone’s camera isn’t automatically activating Night mode in low-light environments, you can adjust this feature manually. Also, remember that if you change the timing on your Night mode shots, the change will apply to all shots until you revert the changes.
Fortunately, ‘Auto’ works best in most cases, and there’s no need to manually adjust the Night mode timer on your device.
Tips for Using Night Mode on Your iPhone
While it’s a simple feature that most people don’t pay attention to, you can get more out of Night mode if you know how to use it properly.
Follow the same steps as you would when taking pictures in normal mode, but pay attention to the lighting and background contrast when using Night mode.
Here are some tips to help you get the most out of Night mode:
Adjust the Light Exposure Timer For Your Environment’s Lighting
For most people, having the exposure time setting on ‘Auto’ is best. However, if you’re getting blurry shots with the Auto setting and want to get more detailed pictures, you can adjust the lighting exposure time according to how much light is available.
The less natural light is available in the environment, the higher the exposure time should be. This will give the camera more time to adjust to the poor lighting, and you’ll get clearer pics.
Hold the Camera Still
While this applies to all pictures, you’ll have to be more careful about keeping the camera still when you’re using Night mode. If you’ve adjusted the exposure time, you’ll have to keep the camera still for a little longer than you would on regular shots.
Align the Crosshairs to Reduce Motion
If your phone’s camera detects motion when you’re busy taking a Night mode shot, crosshairs will appear on the screen. You can use these crosshairs to reduce the motion effect and get a clearer picture.
Use a Tripod for Clearer Pics
Keeping the camera still is of utmost priority when taking Night mode shots. However, this is easier said than done, and even the most experienced of us tend to move a little when taking pictures. For clearer pictures, use a tripod (on Amazon) to keep the camera still when you’re taking pictures using Night mode.