
Apple has designed its devices to be highly compatible with each other, and this means easier file-sharing options within the Apple ecosystem. If you want to transfer files between your iPhone to your Mac, there are several ways to go about it.
The easiest way to transfer files between iPhone and Mac is through AirDrop, which can be used if the two devices are no more than 30 feet apart. You can also transfer files using a USB cable, iTunes, or cloud services like iCloud Drive, Google Drive, and DropBox.
As you can see, there’s no shortage of options when it comes to transferring files between an iPhone and a Mac. Let’s take a look at the various choices so that you can figure out which ones work best for you.
How to Use AirDrop to Transfer Files
AirDrop is one of the best features for smooth file transfers between Apple devices. It’s very similar to Bluetooth sharing but doesn’t eat your phone’s battery and is a more efficient method of transferring videos, files, and other data between Apple devices.
With AirDrop, you can transfer files between devices that are up to 30 feet apart. To turn on AirDrop on your Mac, open the Finder and select ‘AirDrop‘ from the list of options. Make sure your Bluetooth or WiFi is on. Choose whether you want to receive files from anyone or only contacts.
To turn AirDrop on in your iPhone, open the settings app, and click on ‘General.’ Select ‘AirDrop‘ and choose between ‘All Contacts‘ and ‘Everyone.’ Once you have AirDrop activated on both devices, you can easily send files between them.
Follow these steps to transfer files between your iPhone and Mac using AirDrop:
- Select the file you want to share and click on the share icon.
- Click on the AirDrop icon and choose your Mac.
- Wait for the file to arrive on your Mac. This should take a few seconds unless it’s a bigger file. If you have a good WiFi connection, you can even transfer large files of over 1GB in less than a minute.
How to Transfer Files With USB or Bluetooth

Among the simplest ways to transfer files between your iPhone and Mac is with a USB connection or over Bluetooth. Let’s explore both methods:
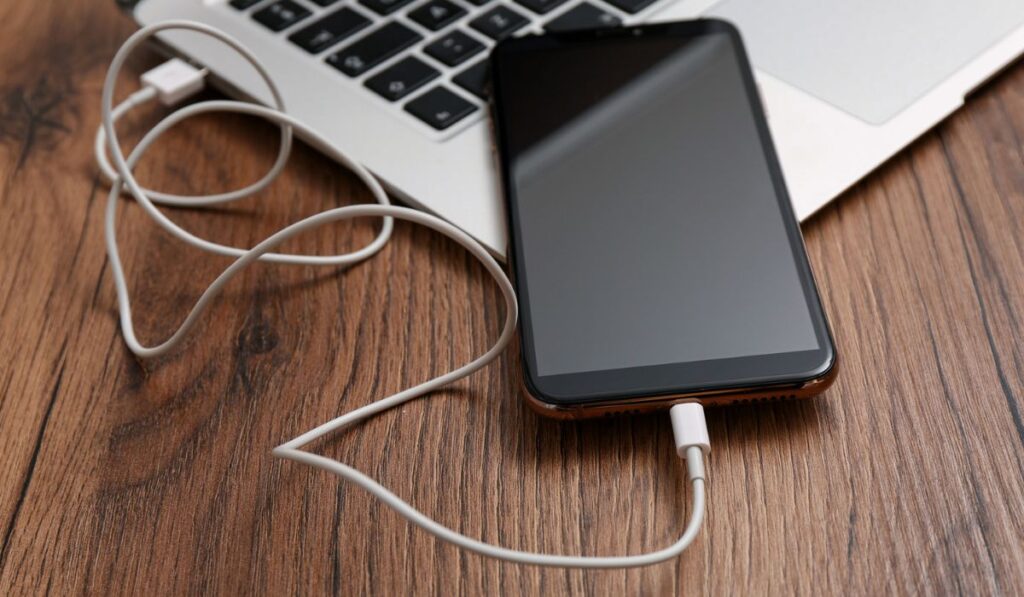
Using a USB Cable
To transfer files from your Mac with a USB cable, you’ll need the appropriate cable for your devices, such as a Lightning to USB cable (on Amazon) or a Lightning to USB-C cable (also on Amazon). Connect the iPhone to your Mac. Once this is done, go onto Finder and select your iPhone.
Click on ‘Files‘ and drag the file from the Finder window to an app to transfer files from your Mac to your iPhone. To transfer files from your iPhone to your Mac, simply click on the app where the file is located, select the file and drag it to the location you want to place it on your Mac.
Using Bluetooth
Bluetooth has been around for ages but is still relevant for sending and receiving files without a cable or internet connection. To connect your iPhone to your Mac with Bluetooth, make sure the Bluetooth of both devices is switched on. Click on the Bluetooth icon to open up pairing options, select your Mac and send a pairing request.
Once you accept the pairing request, you can now send or receive files on both devices. To send a file from your iPhone to Mac using Bluetooth, press and hold over the file you want to send for 2-3 seconds.
Under the ‘Share with‘ options, click on ‘Bluetooth‘ and then the Mac. Wait for the file transfer to complete once you accept the file transfer on your Mac. This is sort of just AirDrop by another name.
How to Use iCloud to Transfer Files


If you have the same Apple account on your iPhone and Mac, you can easily transfer files between the two through iCloud. When you upload files to iCloud Drive, you’ll be able to access them on any device that is connected to the internet.
To transfer files using iCloud, open the settings on your iPhone and click on your name. Select ‘iCloud‘ and then ‘iCloud Drive‘ to turn it on. Your phone will automatically sync data and files to iCloud.
To access iCloud files on your Mac, open the Apple menu and select ‘System Preferences.’ Click on your Apple ID and select ‘iCloud.’ Log in with your Apple ID and select ‘iCloud Drive.’
You’ll see all files saved to the Drive, including those synced by your iPhone. This is an effective way to transfer files between your Mac and iPhone when you don’t have one of the devices with you.
To access iCloud Drive on Windows computers, you can install the iCloud app and log in with your Apple ID and password to access your files. If you’ve synced your iPhone with iCloud Drive, the phone’s files will show up in the iCloud app.
Using Other Cloud Services to Transfer Files
If you don’t want to use iCloud to transfer files from your iPhone to Mac or are transferring to someone else’s Mac, you can use other cloud-based services to transfer large files over the internet.
Cloud services like Google Drive, Microsoft OneDrive, or DropBox are all options to consider. You can also send smaller files over email or use messaging apps like WhatsApp.
To transfer files from your iPhone to your Mac using Google Drive, you’ll have to install the Google Drive app on your iPhone. Open the file, click on the file sharing options and select ‘Send to Google Drive.’ You can access the file by logging into your Google Drive account in a web browser on your Mac.
It’s more or less the same process to transfer files using other cloud services. You can also send files over email, although it’s difficult to send files larger than 10 MB this way.
Using iTunes for File Transfer
If you can use Finder or transfer files directly via USB, then you don’t need iTunes for file transfer. However, it’s still a handy method to transfer files between Apple devices.
To transfer files from your iPhone to your Mac using iTunes, connect the iPhone to the Mac via a cable or Bluetooth.
Open the iTunes app, click on ‘Device,’ and select your iPhone. Select the app and file you want to copy, click on ‘Save To,’ and select the location on your Mac where you want to save the file.