
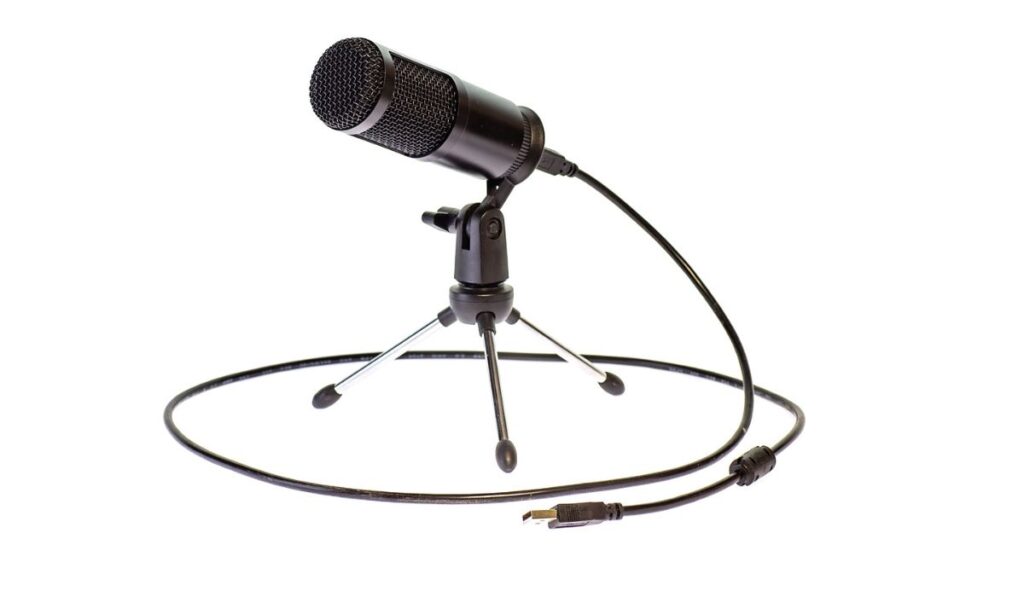
USB microphones are increasingly popular, and for good reason. They offer better sound quality than conventional microphones at a fraction of the cost. If you want to start streaming or simply enhance your in-game chat, a USB microphone is an excellent investment. So, how do you use a USB microphone on your Xbox One console?
The Xbox forces you to route the microphone through the controller. To use an external microphone, plug a headset audio splitter into the controller, then use a male-to-male 3.5mm audio cable to connect the mic to the audio splitter. A USB mic may still need to be plugged in to receive power.
USB microphones output digital audio signals via a USB connection. However, because the Xbox One doesn’t support audio input via its USB port, you’ll need a few accessories to work around this limitation. Let’s go over the essential hardware and step-by-step instructions on how to set up a USB mic for pro-quality audio on Xbox One.
What’s the Benefit of Using a USB Microphone?

USB microphones are very similar to regular 3.5mm jack microphones. They both receive audio through a diaphragm that converts sound vibrations into electrical signals. These electrical signals are then amplified and passed on to your computer, game console, or other devices.
The major advantages of using a USB microphone are better sound quality and portability. It has its own built-in preamplifier and analog-to-digital converter (ADC), which means it converts analog audio signals into digital audio signals (not just electronic signals) that your device can record without needing an intermediate sound card.
Since the signals from a USB mic are already in digital format, they’re less susceptible to interference from electromagnetic fields than their 3.5mm jack counterparts. This results in a cleaner sound with fewer artifacts and distortion.
Another great benefit is plug-and-play. You don’t need any drivers or special software to get started. Simply connect the mic to an available USB port, and you’ll be ready to proceed. It’s also cross-platform compatible with Windows, macOS, Linux, and game consoles.
The price point is why USB mics have become so popular in recent years. You don’t have to spend hundreds of dollars to get decent audio. In fact, you can find some great USB models for less than $50. One of our favorites is this easy-to-use USB mic from AudioPro (on Amazon).
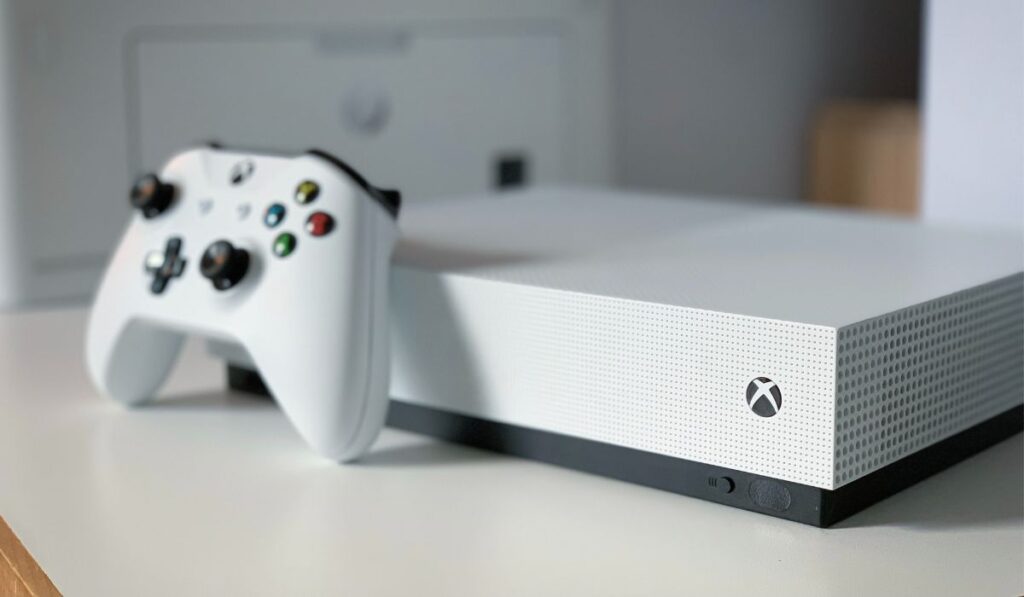
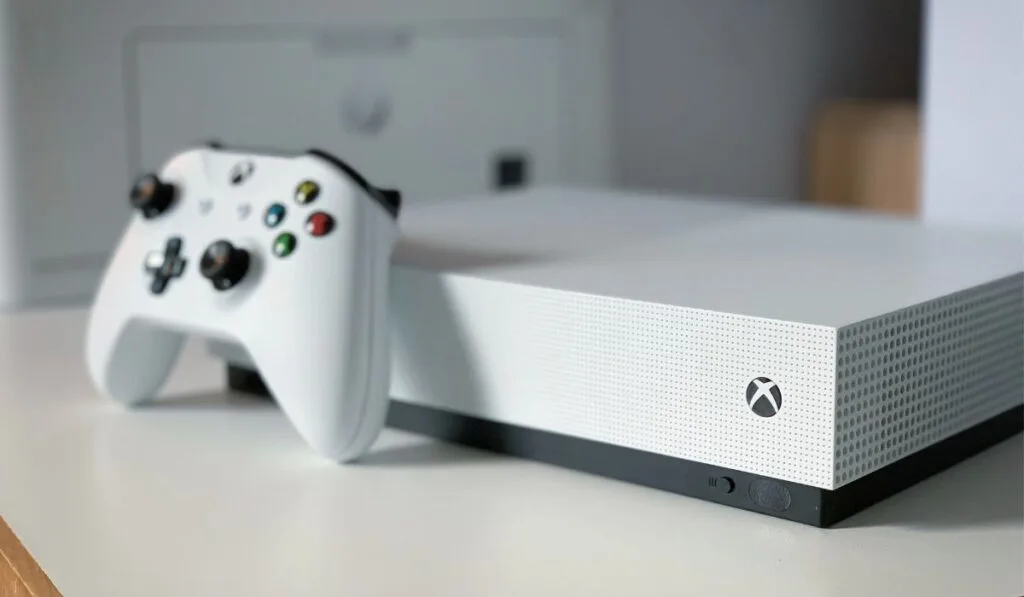
Can You Use USB Microphones on an Xbox One?
Yes, you can use USB microphones on an Xbox One, but not like you would on a PC. The Xbox One has just one USB port and doesn’t accept audio input. Even if you plug in a USB mic, it’ll only power the device and won’t transmit audio signals.
To use a USB microphone on Xbox One, you’ll need to connect it to the 3.5 mm jack on the Xbox One controller. The controller then relays the audio signal to the console via Bluetooth. For that, you’ll need a few more accessories:
- A headset audio splitter: Since there is only one 3.5 mm jack on the Xbox One controller, you’ll need a headset audio splitter (on Amazon) to get two audio inputs — one for the microphone and one for the headphones.
- A male-to-male 3.5mm audio cable: You’ll need this male-to-male cable (on Amazon) to connect the USB microphone to the headset audio splitter.
- Xbox One Stereo Headset Adapter: The optional Stereo Headset Adapter (on Amazon) can help you control volume, game/chat audio balance, and mic monitoring levels. You can also use a third-party adapter if you have one handy.
- A USB microphone with a 3.5 mm female jack: This method will only work if your USB microphone has a conventional 3.5mm audio input port as well. Without it, you won’t be able to connect the mic to the controller.
That’s all the hardware you need. Let’s go over the step-by-step instructions on how to set it up.
How Do You Set Up a USB Microphone on an Xbox One?
- Power on your Xbox One console and controller.
- If you have the stereo headset adapter, plug it into the 3.5 mm jack on the bottom of the controller. Then, connect the headset audio splitter to the stereo headset adapter. Or, if you don’t have the stereo headset adapter, directly connect the audio splitter to the 3.5 mm jack on the controller.
- Now take the male-to-male 3.5mm audio cable and connect one end to the mic input on the headset audio splitter and the other to the 3.5 mm output port on the USB microphone.
- Next, connect the USB end of the microphone to the USB ports on the Xbox One console. Or, if you have a power bank handy, you can connect the USB microphone to that to power it up.
That’s it. Your USB microphone should now be up and running on your Xbox One. Connect the speakers to the other audio input on the headset audio splitter, and ta-da! Test it in a game or party chat to see if it’s working as intended.
It may seem like a lot of work just to get a USB microphone working on Xbox One, but it’s not that bad once you get the hang of it. Plus, you’ll be able to use the same mic on your PC and other devices without any hassle.
How Do You Set Up a USB Headset for an Xbox One?
Just like the USB microphone, you can set up a USB headset with your Xbox One. But it must be a gaming headset compatible with the Xbox One’s advance communication chip. Plus, it should have a 3.5 mm audio output port as well.
Once you have the right headset, the process is pretty much the same as for the USB microphone. The difference is that your headset will communicate both audio input and output, so you won’t need the audio splitter for a separate microphone.
- First, connect the stereo headset adapter to your controller; this time, the stereo adapter is compulsory.
- Connect one end of the 3.5 mm male-to-male audio cable to the headset and the other to the stereo headset adapter.
- Now, connect the USB cable of your headset to any of the USB ports on the Xbox One console.
Your USB headset should be all set and ready to go. Enjoy!