
Loop recording is a feature on some digital video recorders that allows the device to continuously record video by overwriting old recordings as new ones are made. This can be very useful for capturing long periods of video, conserving storage space, and making sure that you always have the most recent recording available.
To activate looping on GoPro, make sure your camera is powered on and in recording mode. Next, select the ‘Mode’ button until you see the ‘Loop’ icon on the screen. The recording will automatically begin, and old footage will be overwritten as new footage is recorded.
GoPro users frequently use looping to capture events such as concerts, extreme sports, or any other activity where it’s important to have the most recent recording available. Once you’ve captured the footage you want, simply stop looping and download the files to your computer or an external storage device. Let’s look at how to loop a GoPro and the advantages of doing so.
What Is a Looping Video?

Video looping is the process of playing a video continuously without interruption. The video can be played in a loop on a computer, television, or other devices.
Loop videos are often used for marketing purposes or as a form of entertainment. Some videos are designed to be played on a loop, while others can be looped manually.
Loop recording is a feature that some digital video cameras have that allows the user to record continuously without having to stop and start the camera.
This can be useful if you’re trying to capture an event over an extended period or if you want to make sure you don’t miss any important action.
Loop recording will typically overwrite the oldest footage when the memory card or internal storage becomes full, so it’s crucial to keep an eye on how much space is available.
Some cameras have settings that allow you to choose how long a clip is recorded before it starts overwriting, or you can set it to stop recording when storage gets low.
How to Set Up Loop Recordings on a GoPro
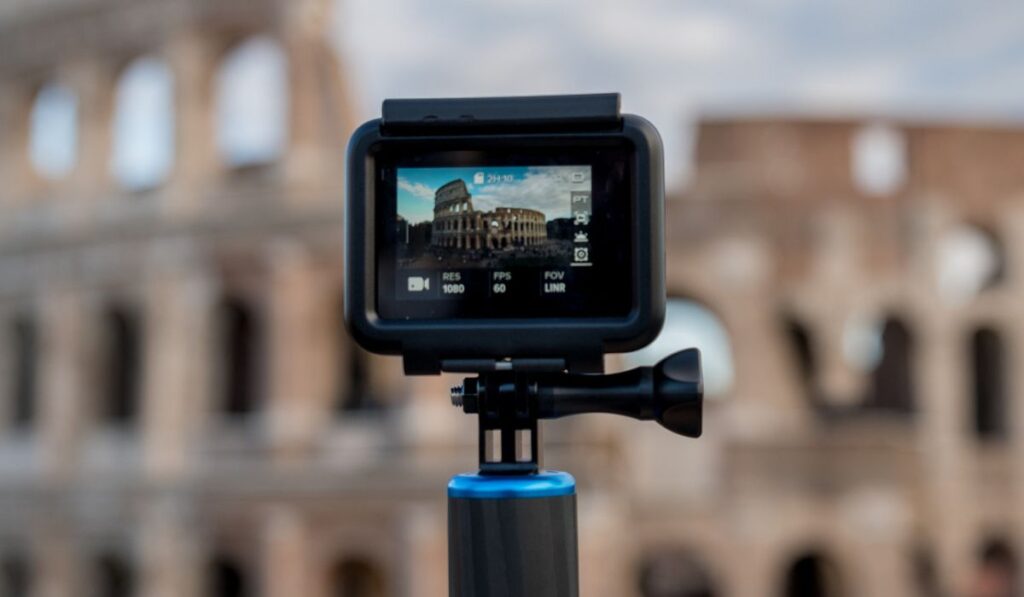
The process of looping a video on a GoPro (on Amazon) is quite simple. First, make sure that your camera is turned off. Then, press and hold the ‘Mode’ button until the ‘Settings’ menu appears. Use the Up and Down arrows to navigate to the ‘Loop Recording’ setting, then press ‘OK’ to select it.
Use the Up and Down arrows to choose the recording interval that you want (1, 2, 3, 5, 10,30,60 minutes), then press ‘OK’ to save your selection. Once you’ve chosen your recording interval, press the ‘Record’ button to start recording. Your GoPro will record continuously until you stop it.
When to Use Looping
There are many situations where looping a video can be beneficial. If you have a business, you can use looping videos to advertise your products or services. You can also use them to promote special events or sales.
Loop videos can also be used for educational purposes, such as training videos or how-to guides. If you’re a teacher, you may find that using looping videos in the classroom is a helpful way to keep students engaged and focused on the lesson.
Looping is also a great way to entertain guests at parties or other events. You can create a playlist of looping videos that everyone can enjoy.
How to Choose the Right Recording Interval
The recording interval is the amount of time that elapses between each recording. The interval you choose will depend on the situation in which you’ll be using the loop recording.
If you’re trying to capture a long event, such as a concert or for security purposes, you’ll want to choose a longer interval to avoid missing any important action. On the other hand, if you’re using loop recording for a training video or something similar, you may want to choose a shorter interval to capture more detail.
When choosing your recording interval, keep in mind how much storage space you have available. The longer the interval, the more footage your camera will record — and the more space it will take up.
How to Transfer Files From a GoPro to a Computer
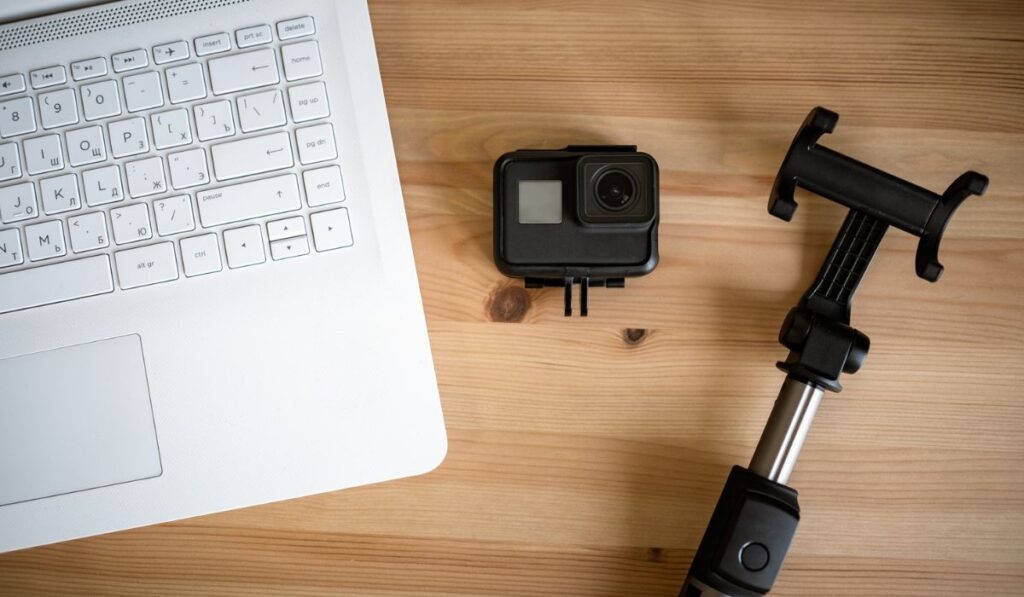

Once you’ve captured some great footage, you’ll want to know how to transfer the files from your GoPro to your computer. The process is quite simple. First, connect your GoPro to your computer using a compatible USB cable (on Amazon).
Once the connection is made, your computer will automatically detect the camera and prompt you to choose what action you’d like to take. Choose the option to open the folder so that you can view the files on your GoPro. Select the ones you want to transfer and copy them to your computer.
You can also use an SD card reader (on Amazon) to transfer files from your GoPro’s memory card to your computer . Simply insert the memory card into the reader and connect it to your computer. Again, you’ll be prompted to choose what action you’d like to take.
Select the option to open the folder so that you can view the files on your GoPro. Select the ones you want to transfer and copy them to your computer.
You may also transfer file from your GoPro to your iPad using the guide in this article.
How to Delete Files From a GoPro
There may come a time when you need to delete files from your GoPro to free up some space. The process is quite simple. First, connect your GoPro to your computer using a USB cable.
Once the connection is made, your computer will automatically detect the camera and prompt you to choose what action you’d like to take. Choose the option to open the folder so that you can view the files on your GoPro.
Select the ones you want to delete and press the delete key on your keyboard. You can also delete files directly from your GoPro’s memory card. To do this, insert the memory card into your GoPro and go to the ‘Delete Files’ menu. Select the files you want to delete and press the delete key.
Tips and Tricks
Here are a few tips and tricks to help you get the most out of loop recording:
- Experiment with different recording intervals to find the one that works best for you.
- Use an SD card with a high storage capacity so that you don’t have to worry about running out of space.
- Keep your GoPro charged and ready to go so that you don’t miss any important footage.
- Make sure the area where you’ll be using loop recording is well lit so that the footage is clear.
- Use a GoPro-compatible tripod (on Amazon) or other support to keep your GoPro steady and prevent shaky footage.
With these tips in mind, you’re ready to start using loop recording like a pro!