
Many GoPro cameras have wireless features that allow them to connect to other devices. This can be very useful for sharing photos and videos with friends and family or easily updating the camera’s software. Some of the newer GoPro models also have Bluetooth capabilities, which can be used to control the camera with a smartphone or tablet.
To connect a GoPro to WiFi, you need to enable the camera’s WiFi feature using the camera’s menu system or the WiFi button. Then, you can either pair the camera with a mobile device via the GoPro Quik App or join a home network using an ethernet cable and the IP address.
Once you’re connected to the camera, you’ll be able to access its various wireless features and settings. Let’s take a closer look at exactly how to connect to WiFi on your GoPro and also how to connect with Bluetooth.
How to Connect GoPro to WiFi Through a Mobile Device
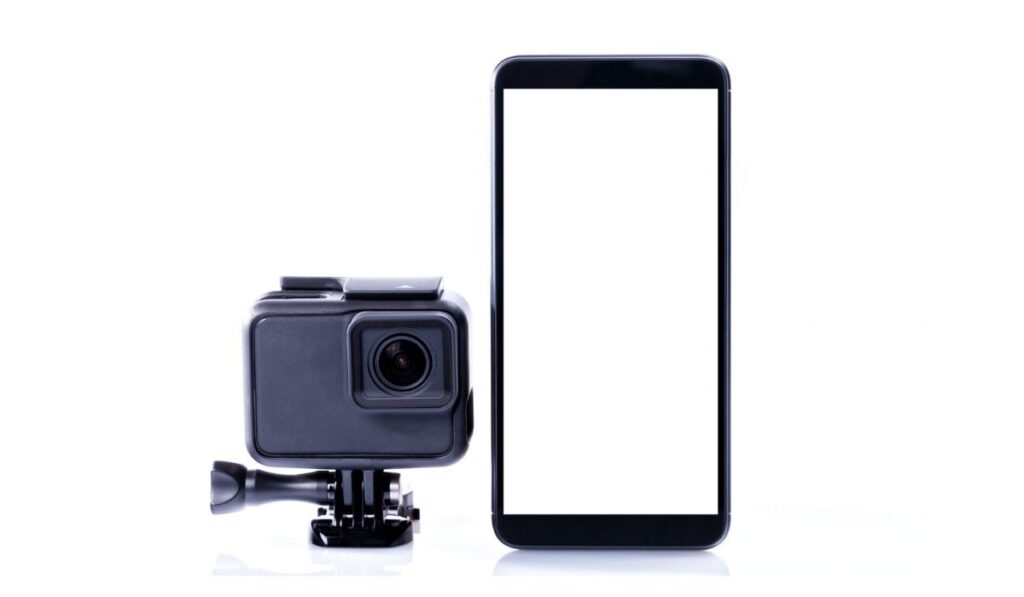
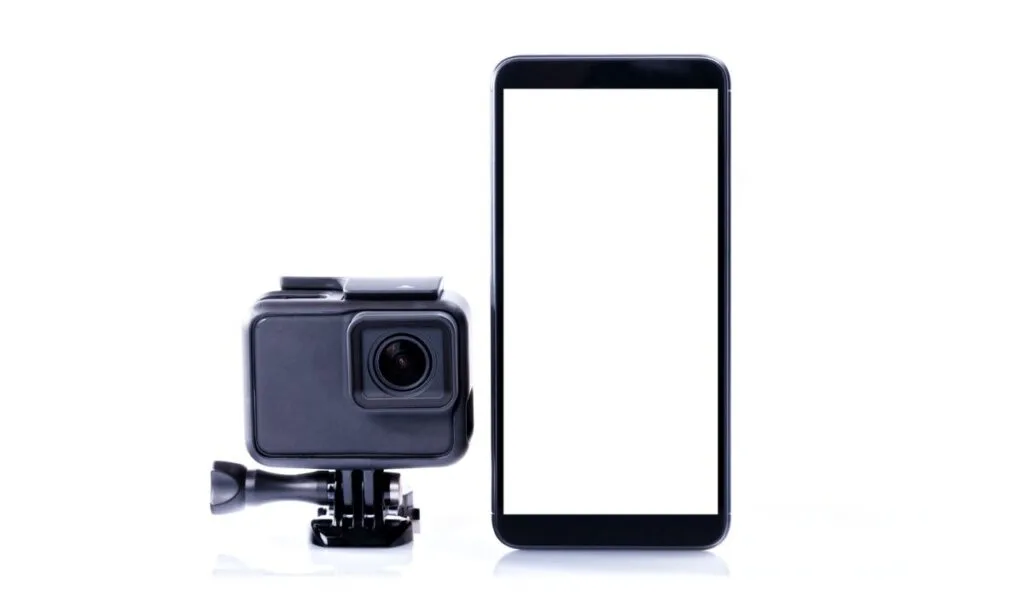
Standard GoPros, like the HERO10 Black (on Amazon), are WiFi-enabled, and you can easily connect them to an Android or iOS device within a few seconds. You can use the WiFi feature to change the settings of your GoPro, start/stop recording as well as download pictures and videos wirelessly.
The first step is to download the GoPro Quik app (formerly Capture) on your smart device. The app is available for Android and iOS devices. Once you have it installed, go ahead and open the app. The setup is straightforward and should take a maximum of five minutes:
- On your GoPro, go to the Preferences menu by swiping down.
- Select ‘Connections’ and then ‘Enable WiFi.’
- Go back one step and select ‘Wireless Devices’ and ‘Add New Device.’
- Choose your smart device from the list of devices that appear (make sure it’s within range).
- Once it appears, select ‘Pair Without Code.’ GoPro will automatically generate a code and add your device to its network.
- Now open the GoPro Quik app on your mobile device. The first time you open it, you might be asked to sign in or create an account — follow the steps on the screen to do this.
- When you’re signed in, select ‘Add Your Camera’ at the bottom of the screen and choose your GoPro model from the list of cameras that appear.
- Select continue and enter the code on your GoPro’s screen.
- Once your camera is connected, you’ll see a preview of what it’s recording on your smart device’s screen. You can tap the record button to start/stop recording, as well as change other settings such as resolution, frame rate, and more.
- When you’re finished, go to the menu and select ‘Disconnect Camera.’
How to Connect GoPro to a WiFi Home Network
If you have a GoPro HERO3 or later, you can connect it to your home WiFi network. This is useful if you want to use your GoPro as a webcam or if you want to be able to access it remotely. You’ll need to enable the camera’s WiFi feature by using the menu system to connect your GoPro to your home WiFi network.
Once the WiFi is enabled, you’ll need to find the camera’s IP address by checking the router’s DHCP table. You can then connect to the camera by entering it into a web browser.
Once you’re connected to the camera, you can access its various features and settings..
To use your GoPro as a webcam, you’ll need to install the GoPro Webcam Utility, which is available for free from the GoPro website. Once the utility is installed, you’ll be able to select the camera as a webcam source in any video conferencing or streaming software.
To connect your GoPro to your home WiFi network:
- Configure the Bridge Router to run in Client Mode to act as a Bridge.
- Connect the GoPro to the main router using an ethernet cable (on Amazon).
- Launch the GoPro App and go to ‘Connections.’
- Select ‘Enable WiFi.’
- Go back one step and select ‘Wireless Devices’ and ‘Add New Device.’
- Choose your home network from the list of networks that appear.
- Enter your password when prompted and select ‘Join Network.’
- Once connected, go to the menu and select ‘Disconnect Camera.’
- Now you can unplug the ethernet cable from your GoPro, and it will remain connected to your home WiFi network. You can access it remotely by entering its IP address into a web browser.
Is GoPro Bluetooth Different Than GoPro WiFi?
Both Bluetooth and WiFi allow devices to connect wirelessly, but they differ in terms of range and bandwidth. Bluetooth has a shorter range than WiFi and is typically used for connecting devices close to each other, such as a mouse and keyboard or a headset and phone. WiFi, on the other hand, has a much longer range and can transfer large amounts of data quickly.
GoPro cameras have both Bluetooth and WiFi capabilities, which means they can connect to both types of devices. However, the GoPro App only uses the camera’s WiFi connection. The app will not work with the camera’s Bluetooth connection.
To connect your GoPro Via Bluetooth:
- Turn on the GoPro’s Bluetooth feature using the camera’s menu system.
- Put the GoPro into pairing mode by holding down the WiFi button for 3 seconds. The camera will enter pairing mode, and the blue WiFi light will start flashing.
- Go to the Bluetooth settings on your smart device and select ‘Pair New Device.’
- Select the GoPro from the list of devices that appear.
- Once paired, you’ll be able to access the GoPro’s various features and settings through the app.