
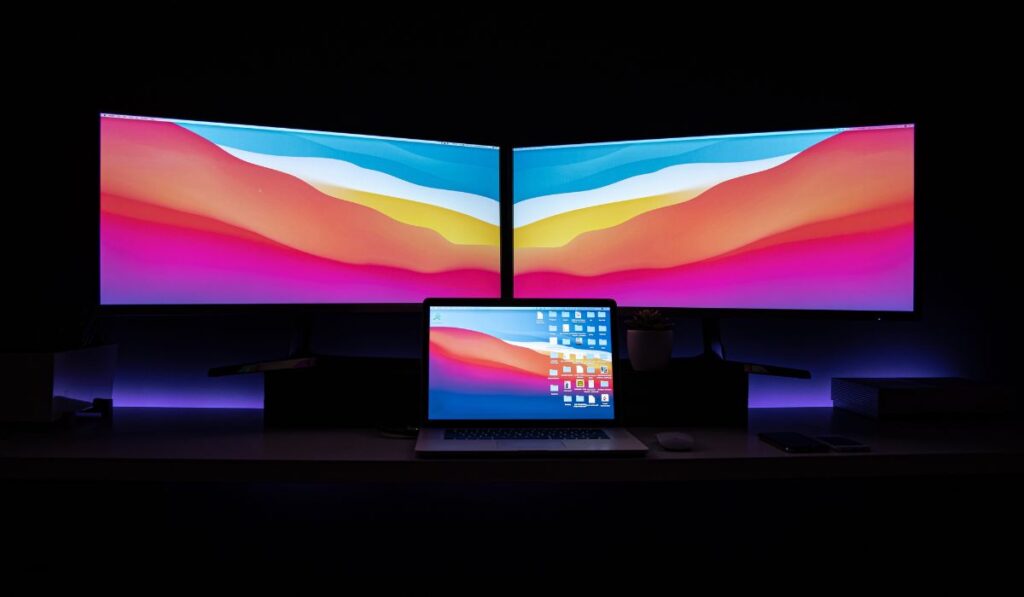
Connecting two monitors to a computer can increase your productivity immensely. Having the extra screen space makes switching between tabs as simple as moving your eyes from one display to the next. Typically, you can connect your laptop to an external monitor via an HDMI cable, but how can you use multiple monitors if your laptop only has one HDMI port?
To connect your laptop to two external displays using a single HDMI port, you’ll need to buy either an HDMI splitter, which can turn your single port into two ports, or a USB to HDMI port converter, which can be used to add an extra HDMI port to your laptop.
Using one of these methods, you’ll be able to set up multiple monitors in no time. Let’s take a closer look at the options and also how to set up a primary and secondary display once you’ve got the monitors properly connected.
Can You Connect Two Monitors to a Single Laptop?

Yes, it’s entirely possible to connect two monitors to pretty much any laptop. However, how easy it is to do this and what you’ll need to accomplish it depends on what kind of ports your laptop has built-in.
For example, the most common way to connect your laptop to a second screen or monitor is by using the HDMI port to physically connect the laptop to a monitor. Some laptops also have other ways of connecting to monitors, such as a USB-C port or a DisplayPort.
If your laptop happens to have two HDMI ports, or an HDMI port along with a USB-C or DisplayPort, then all you have to do is use the two ports in order to connect your laptop to the two different monitors. In this case, all you need is one cord for each video output port.
This may seem like an extremely easy solution — and it certainly is — but not every laptop comes with two different video output ports, unfortunately. The most common situation is for a laptop to offer only a single HDMI port, and that’s it.
Thankfully, it’s still possible to connect your laptop to two different monitors through a single HDMI port.
How to Connect Using HDMI
First off, there are some laptops out there that come with two different HDMI ports. For these, all you have to do is plug your laptop into each monitor using separate HDMI cables plugged into each HDMI port.
However, most laptops only come with one video output port. So how do you connect a laptop with only one HDMI port to two different monitors? Thankfully, there’s a product for just this scenario.
The item you need is known as an HDMI splitter. This device is a box that basically takes a signal from one HDMI output and converts it into two more HDMI outputs, essentially turning your laptop’s one HDMI port into two HDMI ports.
HDMI splitters can usually be found at a relatively affordable price. For example, this HDMI splitter from GANA (on Amazon) is capable of outputting at a 4K resolution, and it’s less than $20.
In order to plug your laptop into two different monitors, all you’ll need is an HDMI splitter and three separate HDMI cables (on Amazon). Once you have everything you need, make sure that your laptop and two monitors are plugged in and turned on.
Once everything is ready, begin by connecting your laptop to the HDMI splitter by plugging one side of an HDMI cord into the HDMI port on your laptop and connecting the other side of the same HDMI cord into the side of the HDMI splitter that only has one HDMI port on it (or the side labeled “Input”).
Next, connect the HDMI splitter to both of your monitors by first plugging one side of an HDMI cable into one of the slots on the HDMI splitter and then plugging the other end into the HDMI port on your monitor. Once you’ve done this, Windows or macOS should automatically detect the change and start projecting onto your two monitors.
Can You Connect Without an HDMI Splitter?
If your computer only has one HDMI port and you don’t want to spend any money on an HDMI splitter, do you have any other options here? Is it still possible to connect your laptop to two different monitors without using an HDMI splitter?
Unfortunately, you’re likely out of luck in this scenario. There are other devices you can buy, such as a docking station — which can give your laptop more USB ports as well as more HDMI ports — or a USB to HDMI converter like this one from KotiSIG (on Amazon). However, if you’re already hesitant about spending a lot, this may not help you out.
The best thing to do here is to check and make sure that your computer doesn’t have any other kinds of ports. If your computer has another kind of video port, then you could use the HDMI port to connect one monitor and the other kind of video port to connect the other monitor.
The most common port that goes undetected is the USB-C port. This port looks like something you would use to charge your phone, but it’s actually capable of transferring both video and audio, making it perfect for connecting your laptop to a monitor.
Another video port your laptop might have is the DisplayPort. As the name implies, this port is designed for connecting your laptop to a display or monitor. The DisplayPort looks like a USB port with a bit missing in the bottom left corner.
How to Set a Primary and Secondary Display
So, now that you have two monitors all connected to the same laptop, you essentially have three different displays. However, something you’ve likely noticed is that your laptop’s screen is, by default, the primary display (the one with all of your desktop apps, and the one where applications open), and your external monitors are the secondary displays. What do you have to do to change this?
On Windows
On a Windows laptop, this is extremely simple to do. All you have to do is change your display settings.
To get to your display settings, begin by positioning your mouse so that it’s on the monitor that you’d like to set as your primary display. Next, right click on an empty spot on that monitor’s desktop and select “Display settings” from the list of options that appears.
Once your display settings are open, you need to click on your desired display in the “Rearrange your displays” box so that it’s blue.
After this, scroll down, and under “Multiple displays” you should see a box with text next to it that says “Make this my main display.” Check this box, and the monitor you selected will be set as your primary display.
On Mac


On a Mac laptop, it’s also extremely easy to set up your monitor preferences. Once again, all you have to do is go to your display settings.
To do this, go to the Apple menu and click on “System Preferences“. Next, select the Display icon and then go to the “Arrangement” tab.
After this, you should see icons representing all of your monitors with a white bar above your primary monitor. All you have to do is drag this white bar over whichever monitor you’d like to be your primary monitor. After that, your selected monitor should now be your primary monitor.