
Locking your computer is an important way to protect your sensitive information and files. It’s a must-have feature for individuals working in shared spaces or living with others. So, how do you lock a Windows 10 computer?
You can lock your Windows 10 computer by pressing the Windows and L keys simultaneously. Alternatively, press Ctrl + Alt + Del and select ‘Lock’ from the options that come up. To unlock your device, simply enter your password at the login screen and resume your session.
Don’t worry if you need to lock your PC and aren’t sure how to do it. The steps are fairly straightforward, and it should take you only a few minutes to get the hang of it. Let’s look at the four easiest methods you can use to lock your Windows 10 PC.
Why Should You Be Locking Your Computer

Whether you’re at home or in a public place, locking your Windows 10 computer when you step away from it can prevent someone else from accessing your files, emails, or other private information.
Additionally, locking your computer is often required by company policies and regulations, especially if you work with sensitive information or in a shared workspace. Failing to lock your computer can result in security breaches and potential consequences such as loss of trust, legal liability, or even job termination.
And if you work with practical jokers…locking your computer is a great way to prevent any strange emails from being sent from your account!
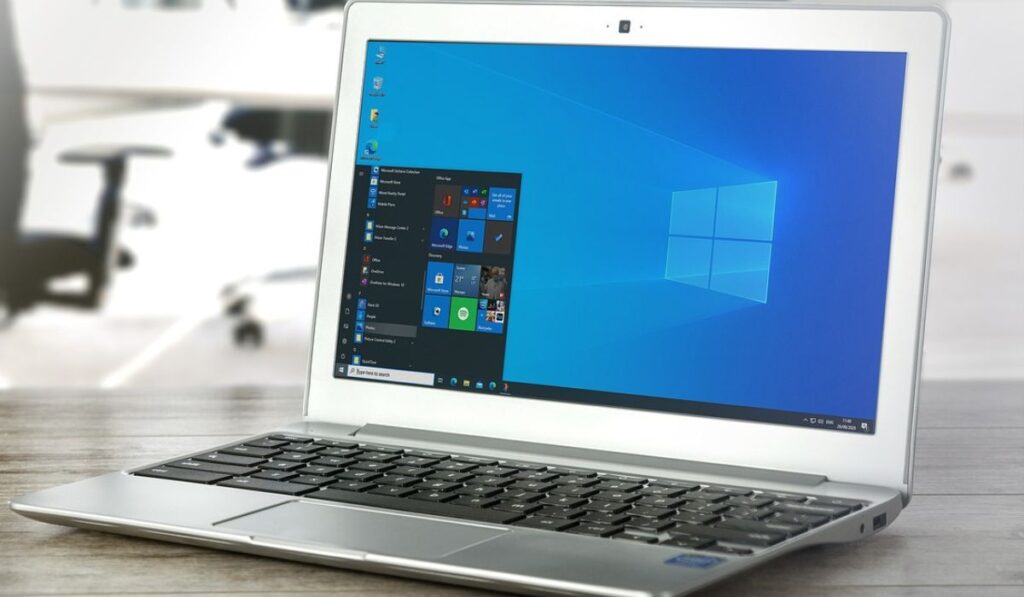
How Do You Lock and Unlock Windows 10?
There are several ways you can lock your Windows 10 computer or laptop. Here are the easiest ones:
Method 1: Use the Windows Shortcut
This option is about as easy as it gets. Simply press the Windows key + L simultaneously to lock your computer or laptop.
Method 2: Hit Ctrl + Alt + Delete
Another keyboard shortcut you can use to lock your keyboard is Ctrl + Alt + Delete. Here are the exact steps:
- Press Ctrl + Alt + Delete at the same time to open a new menu.
- At the top of the options, click Lock to lock your Windows 10 computer or laptop.
Method 3: Use the Start Menu
You can lock your Windows 10 PC using the Start menu. Use the following steps to start:
- Click the Start Menu or press the Windows key on your keyboard.
- Next, select your user icon from the left-hand menu.
- Select Lock to lock your computer or laptop.
Method 4: Use Bluetooth
Alternatively, you can configure your PC to lock automatically when you step away from it using Bluetooth. Use the following steps to start:
You’ll need to enable Bluetooth before you can start. Here’s how:
- Open the Start Menu and enter ‘Settings’ into the Search bar. Click on the application to launch it.
- Select Devices.
- Select Bluetooth and Other Devices and enable the feature.
- Pair your smartphone by clicking Add Bluetooth or Other Device. Follow any prompts to finish.
Now that you’ve paired your smartphone use the following steps to finish:
- Open the Start Menu and type ‘Settings’ into the Search bar. Click on the application to launch it.
- Click on Accounts.
- Choose Sign-In Options.
- Below ‘Dynamic Lock,’ check the box next to ‘Allow Windows 10 to Automatically lock your computer if you’re away.’
Now your computer or laptop will automatically lock after a few minutes when you’re out of Bluetooth range.
How to Unlock Your Windows 10 Computer
Now that you know how to lock your Windows 10 computer, how do you unlock it? Use the following steps:
- At the Windows 10 login screen, click Ctrl + Alt + Delete at the same time.
- Next, type your NetID passcode. Be sure to use the password of the locked account if you have more than one account.
- Lastly, click the Enter key or select the right-pointing arrow option.
Why Can’t You Lock Your Windows 10 Computer?


If you can’t lock your Windows 10 computer, the feature may be disabled. If the feature is disabled, you can’t lock your device using keyboard shortcuts or the Start Menu.
You can use the following instructions to enable or disable the feature:
- Press the Windows + R keys at the same type to open a run box.
- Enter ‘gpedit.msc‘ into the box and click Enter. A Local Group Policy Editor window will open.
- From the left-hand menu, navigate to Configuration > System > Ctrl + Alt + Delete Options.
- On the right-hand side, you will notice ‘Remove Lock Computer.’ Double-click this option.
- Adjust the option to Enabled or Disabled, depending on your preferences.
- Select OK to confirm your changes.
- Now you must enforce the changes to your computer. To do so, click the Windows + R keys combination once more and enter the following: gpupdate /force
- Hit ‘Enter‘ to automatically update the changes.
Depending on your choices, the lock feature will now be enabled or disabled. You can lock your device using keyboard shortcuts or the Start Menu if the feature is enabled.