Are you currently experiencing the annoying “LAN Cable Not Connected to PS4” message? This is a fairly common problem which is typically caused by an issue with your PS4’s firmware. There are several reasons why your PS4 might not be able to detect your LAN cable. The cause could be a damaged router, Ethernet port or Ethernet cable.
To fix your PS4’s LAN connection, ensure you’re not using Ethernet and Wi-Fi at the same time. Try restarting your router or inserting the cable “halfway” into the LAN port. More complex solutions include changing your domain name system, creating a static IP, or rebuilding your PS4’s database.
As with any issue with gaming consoles, the first step is determining if the console itself or the external hardware is to blame. We’ll cover the common causes of LAN cable issues and the best ways to fix them. Let’s get started.
Why Does Your PS4 Keep Saying the LAN Cable Is Not Connected?

“LAN Cable Not Connected” is a common error message on the PS4 (on Amazon). But before we move on to the troubleshooting steps, let’s look at possible causes.
Your PS4 can use both Ethernet and Wi-Fi connections. If both options are turned on at the same time, it can cause a connection conflict.
Basically, if you have your Ethernet cable (example on Amazon) plugged in and your Wi-Fi connection turned on simultaneously, your PS4 might automatically turn off your LAN connection and read only your Wi-Fi connection.
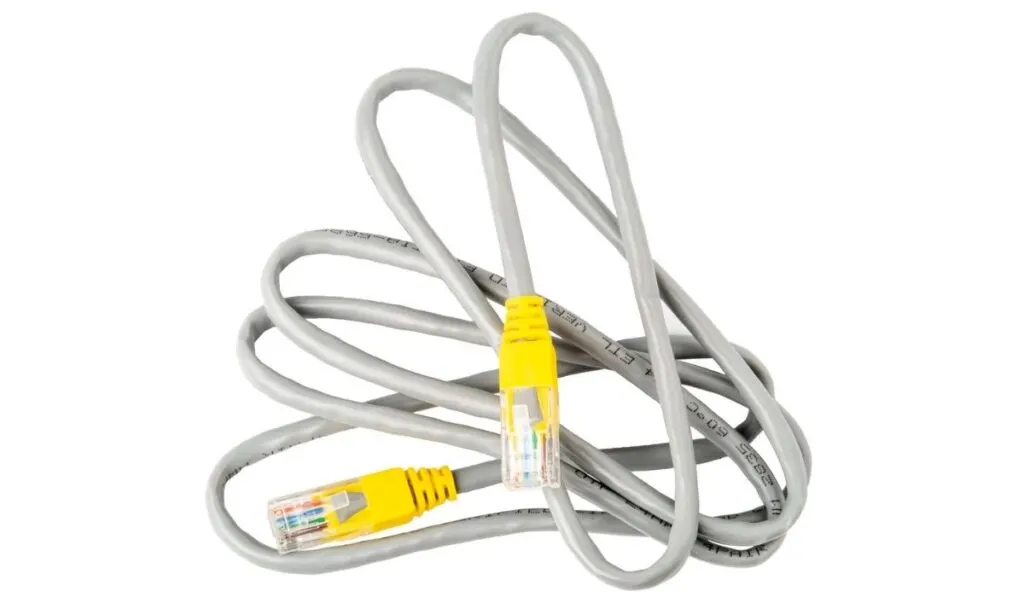
It’s best to use one or the other. Turn off your Wi-Fi and use only your LAN cable (example on Amazon), or unplug the LAN cable and use your Wi-Fi connection.
Another common culprit behind LAN connection issues is an improperly connected Ethernet cable. You might also run into LAN connection trouble if:
- Your modem or router is turned off or not receiving a signal from the cable company.
- Your router or modem is damaged.
- The LAN cable isn’t connected to the PS4 Ethernet port.
- The plastic end piece that clicks into both ends of the cable, AKA your RJ45, is damaged.
- The Ethernet cable or adapter is damaged.
You can rule out a problem with your LAN cable by trying to establish an internet connection on another device. If you can’t, try a different cable or contact your internet service provider (ISP) for help.
How Do You Fix a Disconnected LAN Cable on PS4?

Several factors can cause the PS4 LAN cable error. Some PS4 users have reported that this issue occurred after upgrading the console’s firmware. Others have noted that the issue originated from their Ethernet port or LAN cable.
Note that fixing connection problems can take a lot of experimentation. The issue could be with your settings, PS4 firmware, or even your current IP. Here are a few solutions.
Reboot the Router
Before you do anything else, reboot your router immediately. Rebooting the router may be all you need to fix this issue. Here’s how:
- Unplug your router’s power cable. Wait about 10 seconds, then plug it back in.
- After the device is done rebooting, head to your PS4 settings, and select the “Network” option.
- Next, select “Set Up Internet Connection,” then “Use a LAN Cable.”
- Select the “Easy” option on the list. An “Internet Settings Updated” message should pop up on your screen.
If this doesn’t work out, try rebooting your PS4 and router.
Insert the Lan Cable “Halfway” Through the Port
You may have problems connecting your LAN cable if you have a damaged PS4 LAN port. However, simply inserting the cable halfway through the port might work out for you. When plugging your cable into your PS4 LAN port, stop just before the cable clicks.
If you’re lucky, your PS4 will detect the cable. This sounds crazy, but users online swear this makes a difference and can get them practical results in fixing this problem.
Change your PS4’s DNS Settings
Your PS4’s DNS settings can also prevent your console from establishing a connection with your LAN cable. However, with careful effort you can replace your current DNS with one provided by Google or Cloudflare.
As a bonus, this method can even increase your internet speed. Here’s how to change your DNS settings:
- Head to your PS4 settings and select the “Network” option.
- Go to “Setup internet connection.”
- Next, select “LAN Cable,” then “Custom” from the list.
- Select “Automatic IP address settings” and make sure you do not specify DHCP Hostname on the next screen.
- Select “Manual” on the following screen. Under the “DNS Settings” tab, enter “8.8.8.8” as your primary DNS value and “8.8.4.4” as your secondary DNS value.
- Head to the “MTU Settings” tab. Select “Automatic,” then “Proxy Server Do not use.”
That’s it! Now check to see if the issue has been resolved.
Set up a Static IP Address for PS4
After changing your DNS settings, your next best option is to create a static IP address. Before you attempt this, make sure you’ve already tried changing your DNS settings.
Note that static IPs are permanent and don’t change automatically. You’ll have to change your PS4’s local IP to make this work manually. Also, keep in mind that this method does not change your public IP address.
Here’s how to create a static IP:
- Head to your PS4 settings and select the “Network” option, then “View Connection Status.”
- Note your current IP address. This includes your “Default Gateway” and “Subnet Mask” details. Record it somewhere you can easily access later, like on your phone or on paper.
- Next, select “Subnet Mask,” then “Default Gateway.”
- Head to the previous setting screen and select “Set Up Internet Connection.”
- Choose “Use a LAN Cable” on the following screen, then the “Custom” option.
- On the next menu, select” Manual” and enter your IP address. You don’t have to use the same IP. You only need to use the first three numbers of your current IP address. As for the last digit, any number from 2 to 255 will do.
- After entering the IP, paste the information you copied earlier.
- Next, select either the “MTU: automatic” or “Proxy Server: Do Not Use” option from the list and then save your settings.
Your PS4 should now be able to detect your cable.
Rebuild the PS4 Database
Rebuilding your PS4 database can help you fix LAN cable issues in some cases. Disclaimer: this can take a while, depending upon how much data you have in the drive.
Here’s how to get it done:
- Turn off the PS4, then hold down the power button for a few seconds to boot the console in safe mode. Make sure you hear a beep before you release the power button.
- Next, connect your PS4 controller with a Micro USB cable and press the PlayStation button on your controller.
- Scroll down and select “Rebuild Database” at the bottom.
- Wait for the device to load the home screen and sign into your account when prompted. You can now test your LAN connection.
Rebuilding your PS4 database can remove some of your purchased games from your library. Fortunately, restoring them doesn’t require much effort. Here’s how:
- Make sure you are signed into your PlayStation account.
- Head to “Settings” and select “Account Management.”
- Select “Restore Licenses,” then “Restore.”
Other Troubleshooting Steps
If the solutions given above don’t help you to fix the issue, here are other options you can try out:
- Check the type of category or CAT your Ethernet cable is. Try changing your CAT from 6 or 7 to 5.
- Connect your Ethernet cable to a different port on your router.
- Check for dust in your router and clean it out.
- Switch to another router or use another NAT router configuration.
- Use your Ethernet USB dongle to link the LAN cable to the USB port of your PS4 console.
What If Troubleshooting Doesn’t Work?
Not knowing how to get the “LAN Cable Not Connected to PS4” message off your screen can be very frustrating. Sometimes, it might be easier to cut your losses and choose to use your Wi-Fi connection instead, keeping in mind that your connection can be lost at any time.
After trying all the steps above with no luck, it’s best to contact your internet service provider or seek professional repair.
