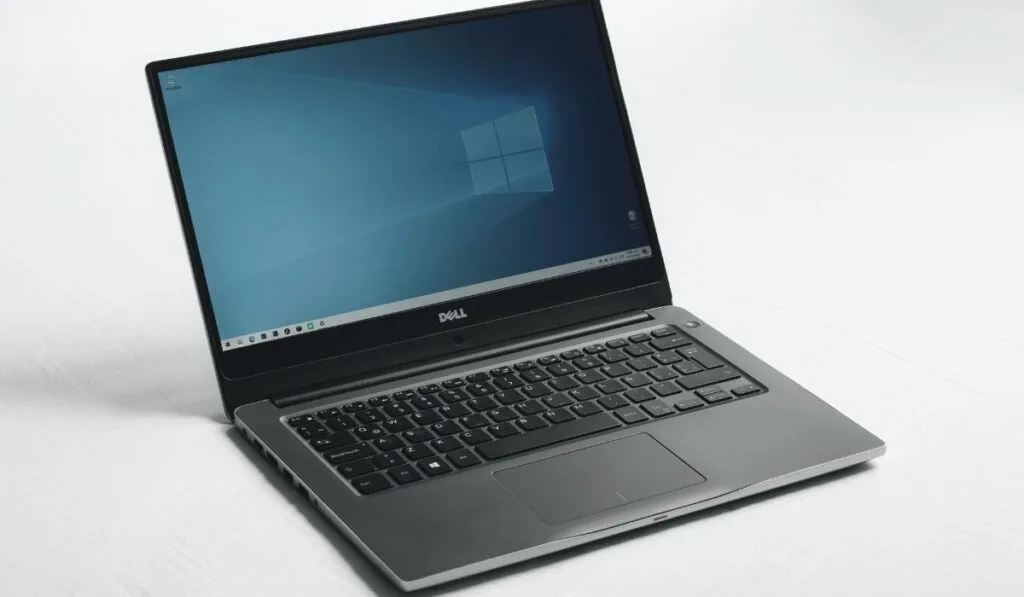
Vertical monitors have become more and more popular in recent years thanks to their positive impact on overall productivity. However, rotating your laptop screen isn’t as straightforward as you might like. So, how do you change the orientation of your laptop’s screen?
To rotate your Dell laptop’s screen, right click on an empty space on your laptop’s desktop and select “Display settings.” Under “Display orientation,” you should see 4 different orientation options. After selecting the one you want, confirm your choice and the orientation should shift accordingly.
There are actually two different ways to change your screen orientation: by using the display settings or by using keyboard shortcuts. Let’s go through both of these methods in more detail to help you get your screen orientated the way you want it.
How Do You Rotate the Screen on a Dell Laptop?

There are two different methods to rotate your screen’s orientation on a Dell laptop. The first is only available for those who have laptops running on a version of Windows earlier than Windows 10, while the second is available on every Dell laptop.
Through Keyboard Shortcuts
This first method is the easiest way to rotate your display on a Dell laptop. Using this method, all you have to do is hit a few buttons on your keyboard and the screen orientation will change. However, this method isn’t available to everyone.
For this method, all you have to do is hit Ctrl + Alt + an arrow key and your screen’s orientation will change. The best part is that the direction changes depending on which arrow key you press.
For example, if you hit left or right, your screen will flip sideways facing either left or right, and hitting the up arrow key will flip your screen upside down.
Unfortunately though, with the introduction of Windows 10, Windows actually removed this keyboard shortcut. That means that if you have a version of Windows older than Windows 10, you still have this quick and easy way to rotate your screen.
Through Display Settings
If you have Windows 10 or newer, your only option to rotate your screen’s display is through the display settings. This method isn’t nearly as easy as the previous one, and it has more steps, but you can still get the job done this way.
To proceed, right click on an empty space on your laptop’s desktop screen to bring up the context menu. From the list of options, click on the one that says Display settings. Once in the display menu, look on the right for an option that says Display orientation. From here, you’ll have four different options: Landscape, Portrait, Landscape (flipped), and Portrait (flipped).
Landscape is the normal screen orientation with the top of your display at the top of the screen; Portrait rotates the display 90 degrees with the top of the display on the left side of the screen; Landscape (flipped) flips the screen upside down with the top of the display on the bottom of the screen; and Portrait (flipped) rotates the display so that the top of the display is on the right side of the screen.
Once you make your selection, your screen orientation will change, and a message will appear on your screen. This message will ask you to confirm your selection within 15 seconds or your screen orientation will revert back to normal.
This message will appear every time you make a major change to your display settings. It’s there to make sure that you don’t get locked into a display that you can’t actually see.
After you’ve confirmed that your display is the way you want it, you should be good to go. If you ever want to switch back your display, you just need to do these steps again and select Landscape.
How to Unlock Rotation on a Dell Laptop

In recent years, Dell laptops with keyboards that can also fold up to function as tablets have grown in popularity. These laptops have the ability to automatically rotate depending on which direction the tablet screen is facing, but what if this feature suddenly stops working?
The most common issue that can cause your auto rotation to stop working is that the rotation is locked. Fixing this is as simple as changing a setting, so it’s nothing to worry about.
To unlock your rotation, right click on any empty space on your computer’s desktop and then select Display settings in the menu that appears. On this screen, you should see an option that says Allow screen to auto rotate. Make sure this box is checked, and your screen’s auto rotation should be unlocked.
We’ve also covered what to do if your keyboard locks—which you can find here.
