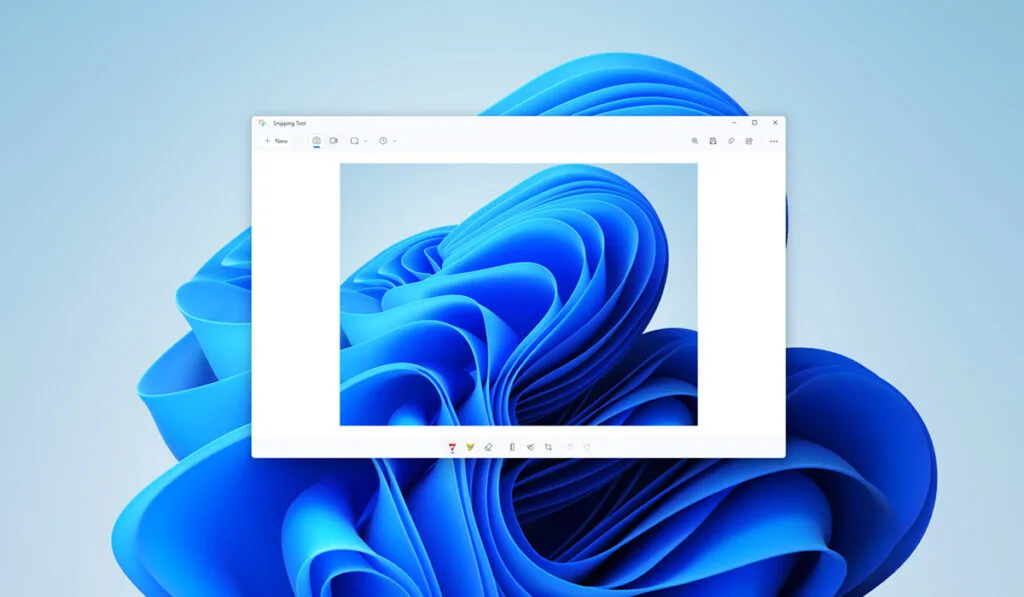
Windows 10 has several practical built-in features like the Snipping Tool. The Snipping Tool allows you to take screenshots of your desktop or specific parts of the screen. It’s a versatile feature that you should be aware of so that you can use it as needed.
To open the Snipping Tool, click the Start menu and type “Snipping Tool” into the search bar. When the app appears in the results, left-click to open it. Click on “New” and use your cursor to capture the image. The Snipping Tool window will then appear, and you can edit, save, and share the image.
You’re missing out if you don’t know how to use the Snipping Tool. Fortunately, the process is straightforward, it should take only a few minutes to master. Let’s look at everything you need to know to use the Windows 10 Snipping Tool.
How to Use Snipping Tool on Windows 10

The Windows 10 Snipping Tool is a feature that’s built into the operating system, allowing users to take screenshots of their desktop or specific parts of their screen. It’s a versatile feature that can be used in many instances, such as capturing images for presentations or troubleshooting issues.
Let’s look at detailed instructions on how to access the Snipping Tool in Windows 10.
How to Open Snipping Tool
To launch the Snipping Tool, select the Start menu and enter “Snipping Tool” in the search bar. Once the application appears in the search results, left-click it to launch it.
You can also select “Pin to Start” from the right-hand menu to pin it to your Start menu. If you want the feature on your taskbar, select “Pin to Taskbar.”
How to Take a Screenshot Using the Snipping Tool
Launching the Snipping Tool will open a new menu. At the top of the box, you will see buttons for New, Mode, Delay, Cancel, and Options. To take a screenshot, click on “New” and use your mouse or touchpad to capture the image.
You can left-click and hold the button to drag your cursor across the screen to capture a specific area. Releasing the left click will finish the process, and then a new menu will appear, displaying your captured image.
From there, you can save the image, edit it, draw on it, and perform other actions.
What Types of Snips Can You Make?
The Windows Snipping Tool provides four different types of snips, including Free-Form, Rectangular, Window, and Full-Screen. The default setting is Rectangular Snip.
Here’s what each option does:
- Free-Form Snip: This allows you to draw a shape around the area you want to capture.
- Rectangular Snip: This enables you to draw a rectangle around the image or text you want to capture.
- Window Snip: This allows you to capture a specific window or dialog box.
- Full-Screen Snip: This enables you to capture the entire screen.
You can adjust the type of snip by clicking the Mode button on the top of the Snipping Tool menu. A drop-down menu will appear where you can select from one of the four options. Choose the type of snip that best suits your needs.
How to Edit & Save Screenshots in the Snipping Tool

After capturing an image, it will appear in a new Snipping Tool window. This window offers various options, including saving, editing, and sharing.
How to Save Screenshots
You can save the captured image by clicking on “File” and selecting “Save As” at the top left of the Snipping Tool Window. Choose the file format and location where you want to save the image, and click “Save.”
How to Share Screenshots
Alternatively, you can share the image by selecting “File” and choosing “Send To” or “Copy.” Selecting “Send To” will allow you to choose an email recipient as long as you have an email program installed and enabled as your default program.
How to Edit the Image
The Snipping Tool Window also has buttons for editing the image at the top of the screen. You can click on the Pen Icon to draw on the image. Clicking the downward arrow on the Pen Icon will open a drop-down menu where you can adjust the size and color of the pen.
Alternatively, you can click the Highlighter Icon on the right side of the Pen Icon to highlight text. To delete any drawings or highlighted content, click the Eraser Icon next to the Highlighter Icon.
Lastly, you can open the captured content in Windows Paint 3D to edit the image further. To do so, click on the last icon on the right-hand side that says “Edit with Paint 3D.”
Snipping Tool Keyboard Shortcuts
Like many other Windows applications, the Snipping Tool has keyboard shortcuts that can make the process easier. Here are some helpful keyboard shortcuts to keep in mind:
- Open the Snipping Tool: Press the Windows Logo button + Shift + S
- Choose a Snipping Mode: Alt + M
- Create a New Snip in the Same Mode as the Previous One: Alt + N
- Select Different Types of Snips: Shift + Arrow Keys
- Delay Capture: Alt + D
- Copy the Snip to the Clipboard: Ctrl + C
- Save the Snip: Ctrl + S
