
GoPro cameras allow you to film action sequences and high-intensity moments with ease, in almost any location or set of circumstances. However, it’s not uncommon for newcomers and veterans alike to run into shaky videos with poor quality. Thankfully, there are a few simple ways to enhance your shots.
Using the GoPro ProTune feature is the easiest way to enhance your shots. You can fine-tune your videos by manually adjusting the ISO, white balance, shutter speed, and other settings. External gear like mounts and tripods will also help you achieve better angles and stability.
Taking the time to learn about your camera, preferences, and needs will surely improve your video quality. Thankfully, we’ve broken down the basics to get you started on the path to high-quality shots. Here’s all you need to know about improving GoPro video quality.
Enhancing GoPro Quality

There’s always something more to learn about enhancing video quality, whether you’re a budding novice or a filming expert. There are several ways you can improve video quality on your GoPro camera during and outside of shoots.
Use ProTune
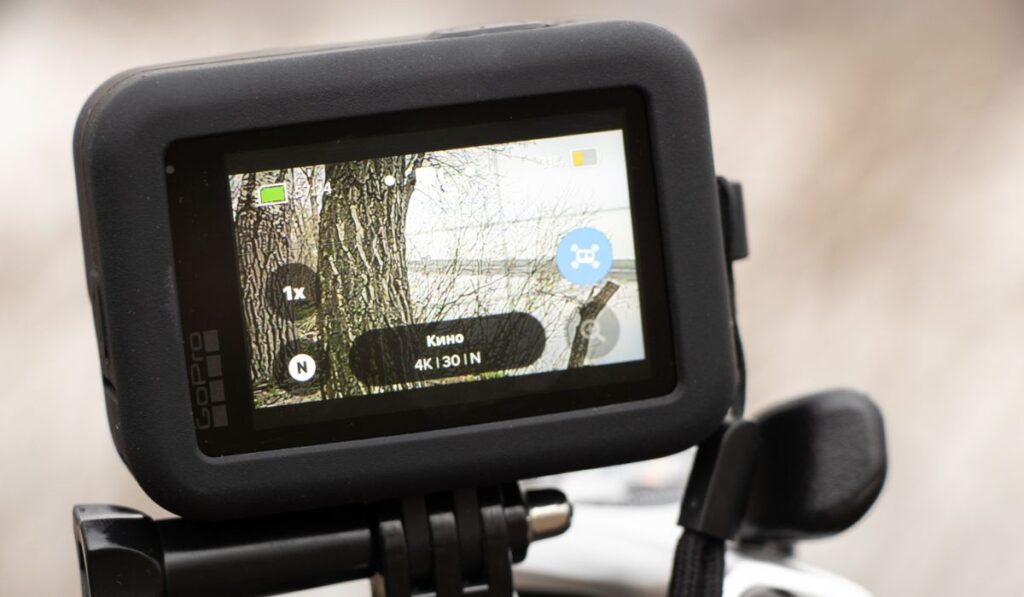
Using the ProTune setting on your GoPro camera provides you with more control over your shot. Without ProTune, you’re more or less shooting in a fully automatic mode and putting the camera in charge.
In the default mode, your GoPro device will choose which settings it thinks are best for the situation. This can be useful for casual settings or quick posts to social media, but it lacks nuance.
The ProTune feature opens your camera up to several different options, allowing you to fine-tune the moment. With ProTune, you’ll have manual control over the white balance, ISO, sharpness, and other features.
You can stick with specific automatic settings, such as exposure or sharpness, but the flat color profile from ProTune will provide you with more editing options.
However, videos shot with ProTune use a higher bitrate, meaning they will take up more space on your memory card and use more battery life. Thankfully, with additional batteries and larger memory cards, this shouldn’t be too much of an issue.
Adjust the White Balance
Now that you’ve enabled ProTune, you can manually adjust the white balance. White balance settings control how warm, cool, or neutral your video is.
If you’re shooting outside, the amount of light can easily change depending on the time of day or weather conditions. Here are some basics to get you started:
- Sunset lighting conditions: 3,000 Kelvin
- Daytime lighting conditions: 5,500 Kelvin
- Overcast lighting conditions: 6,500 Kelvin
Manually adjusting the white balance can be tricky, but it allows you to maintain consistent color throughout your shoot. You can adjust the white balance before filming your video if you’re shooting inside or in stable lighting conditions.
Use the Correct Shutter Speed
Adjusting the shutter speed is crucial for your shot. To put it simply: The shutter speed is how long the camera shutter stays open and how long your camera spends taking a photo or video. Slow or long shutter speeds can cause moving objects to contain motion blur. In some cases, you might want motion blur, and in others, you won’t.
- If you’re shooting in 30fps, set the shutter speed to 1/60th of a second.
- If you’re shooting in 60fps, set the shutter speed to 1/120th of a second.
- If you’re shooting in 120fps, set the shutter speed to 1/240th of a second.
A good rule of thumb for videos is to have your shutter speed at double your frame rate — or 1 over your frame rate multiplied by 2. This is commonly referred to as the 180° shutter rule, and it’s used in the majority of TV shows and movies.
Remove Background Noise With ISO
Using the best ISO settings is another pillar for high-quality videos. Increasing the ISO number increases the camera’s sensitivity to light, which can help you get bright shots — even at night.
Using the correct ISO settings will help you capture videos in darker or brighter environments without losing quality. Here are a few basic ISO options you’ll find:
- ISO 100 (low ISO)
- ISO 200
- ISO 400
- ISO 800
- ISO 1600
- ISO 3200
- ISO 6400 (high ISO)
Unfortunately, raising your ISO settings comes with trade-offs. Higher ISO settings show more grain, which is commonly referred to as background noise.
You might only want to raise your ISO if you’re unable to brighten the video via adjustments to the shutter speed or white balance. However, a good rule of thumb is to go no higher than ISO 1600, unless you’re going for a really grainy look, of course!
Stabilizing Videos
Depending on the circumstances, you’ll almost always run into shaky videos when using a GoPro camera. Shaky shots are completely normal and to be expected, especially if you’re filming action sequences. Thankfully, you can use editing software to adjust the stability of your shot.
Your editing software of choice might have a ‘Deshake,’ ‘Video Stabilizer,’ or ‘Warp Stabilizer‘ feature. You can apply these settings to your video and adjust them to your liking to remove any shakiness. You’ll need to play around with your editing software and the settings to fine-tune your shots.
External Systems/Gear
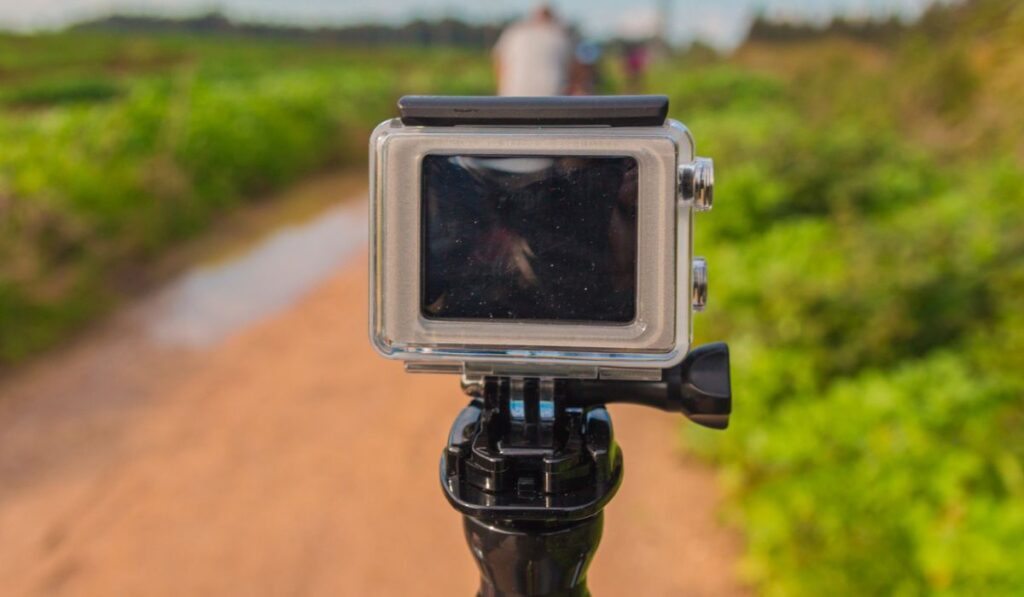

Bringing the correct gear and systems with you while you’re out in the field can enhance the quality of your shots. Besides spare batteries and memory cards, you might need mounts, tripods, or other stabilizing tools. Here are a few pieces of gear you can consider using during your next video:
Camera Mounts
GoPro Camera Mounts allow you to attach your device to skateboards, surfboards, handlebars, and more. These mounts offer more stable videos and versatility without risking your precious camera. Some mounts, like the GoPro Jaws (on Amazon), offer full 360-degree angles, different positions, and more accessibility. However, you’ll need to purchase a camera mount that’s compatible with your GoPro model and situation.
Tripods
GoPro Camera Tripods are incredibly useful for stationary shots and finding different angles. For example, you might set up your tripod to capture stationary skateboarding shots. Most camera tripods provide 360-degree shots and adjustable heights.
Selfie Sticks
Selfie Sticks are an essential piece of gear for filming with GoPro cameras. Selfie sticks provide you with a stable grip to film action sequences and swivel features to find the perfect angle. Like any other piece of gear, you’ll need to find a product that’s compatible with your model and needs.
Conclusion
The best way to enhance your GoPro video quality is to familiarize yourself with ProTune features and manually adjust the settings. ProTune allows you to fine-tune your shot by adjusting the white balance, ISO, shutter speed, and more.
You can also use external gear such as mounts, tripods, or selfie sticks to find better angles and stability. Be sure to find products that are compatible with your GoPro model and fit your needs.
You might benefit from a universal mount, or you might want a specific piece of gear. Either way, using the tips in this article is sure to increase the quality of your GoPro videos.