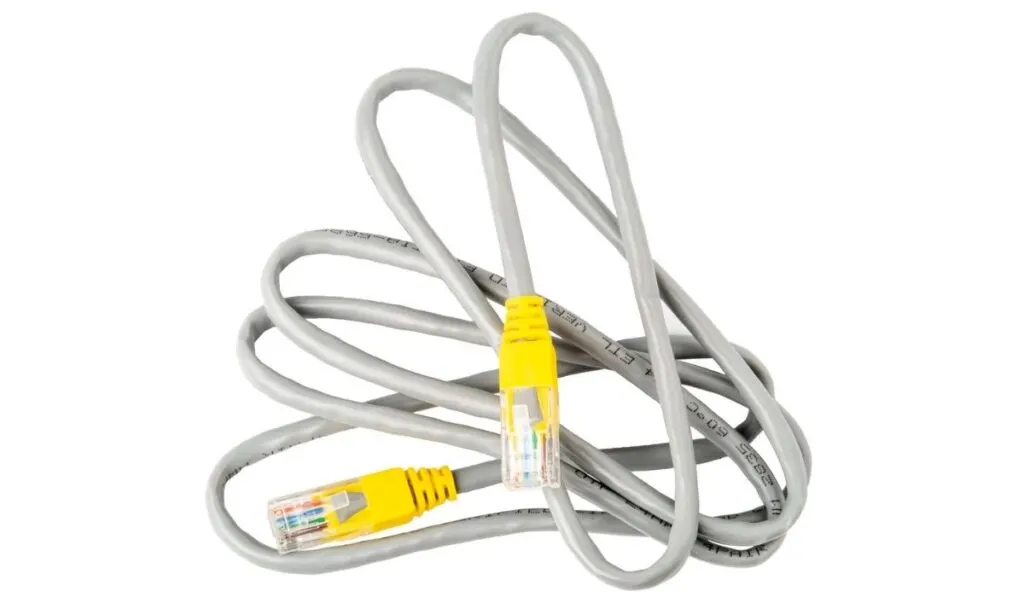
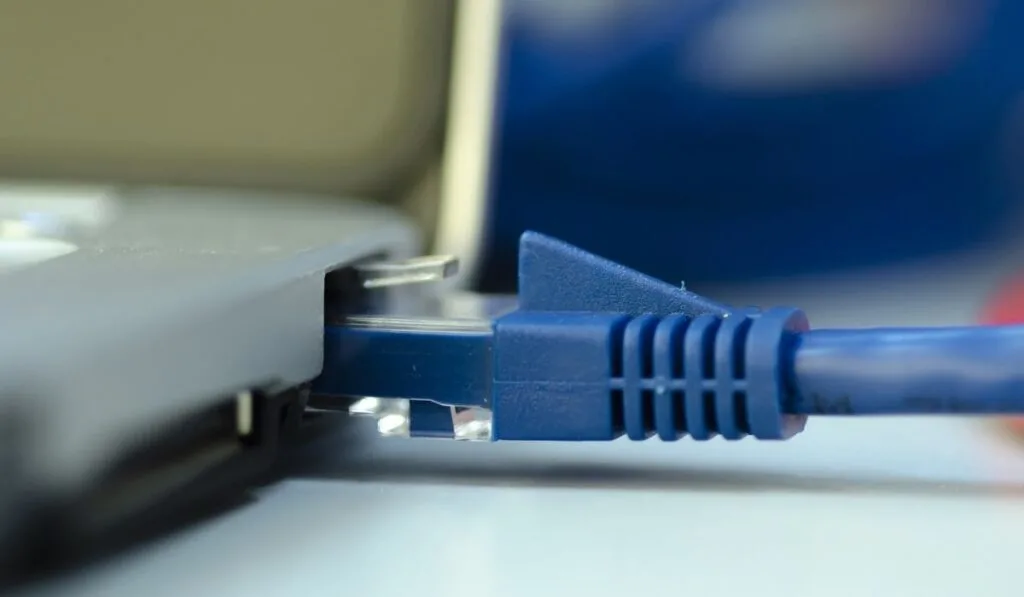
Ethernet cables are the most reliable way to network your home. They’re usually used to connect home computers to other internet-connected devices, or to connect those devices to the computer and internet. However, you might have more than one internet connection available. In that case, is it possible to connect them both to your computer at the same time?
You can connect two ethernet cables to one computer, but most computers don’t have 2 ethernet ports so you’ll need a USB-adapter for the second one. You’ll also need a channeling software like Speedily to merge and manage the traffic between the two connections.
If you have two different ISP providers, this two-cable setup can be a great way to get the most out of both. It works perfectly for gaming, streaming, and getting faster download times — and if one connection goes down, the other can keep you online. Let’s take a look at how you can get this set up for yourself.
What Is an Ethernet Cable?

An Ethernet cable, also known as a network cable, is typically used to connect a computer to network devices. If you don’t have WiFi, an Ethernet cable (on Amazon) makes the physical connection between your computer and the router or modem, and they are usually better than wireless connections in terms of reliability and speed.
Ethernet cables are also used to connect two computers for sharing files and the internet.
There are different types of Ethernet cables available on the market, but the most common ones are Cat5, Cat5e, and Cat6. The difference between these three types is in their transmission speed and bandwidth.
Cat5e is the one you typically see in home networking, but all three cables will work just fine for most purposes.
Can You Connect Two Ethernet Cables to One Computer?
Connecting two Ethernet cables to a single computer is possible. In fact, two connections can immensely boost the speed and performance of your computer network. But if you’re using two Ethernet cables to get signals from the same router or ISP, it won’t do anything for you.
Two connections are only worthwhile when getting internet signals from two different sources. Using channelling software, your computer will manage the traffic between both the connections and give you the combined bandwidth.
Here’s how you can do it:
- If you have two Ethernet ports on your PC or laptop, simply connect one Ethernet cable to each port.
- If your PC only has one Ethernet port, use a USB to Ethernet adapter (on Amazon) and connect one of the two cables through the adapter.
Now that you have two Ethernet cables connected to your computer, all you need is a channeling software like Speedify, which is also a VPN service available for both Windows and Mac.
A channeling software will automatically detect the two separate ethernet connections and bond them together; you can easily take advantage of the extra speed and bandwidth with new connections.
How Do You Connect Two Computers With an Ethernet Cable?

Ethernet cables can be used to connect two computers without any internet connection. Since Ethernet cables send data in both directions, two computers can share files, the internet, and use printers and scanners.
Ethernet eliminates the need for a wireless network and is faster than other common file-sharing methods. The technique is different in Windows and Mac, but both are relatively simple. Always start by plugging one end of the Ethernet cable into the LAN port of each computer.
Connecting Computers With Windows OS
To share internet:
- Click on Start, and type “control panel.”
- Click on the “Network and Internet” icon.
- Click on “Network and Sharing Center.”
- Select “Change adapter settings” on the left panel on the next window.
- It’ll open a new window with all the networks available on your PC. Select both Ethernet and WiFi, then right-click on WiFi and choose “Bridge connection” on the drop-down menu.
This will initiate the bridging process, and after a few seconds, the computer’s WiFi will be available to the other computer through ethernet.
To share files and folders:
- Go to “Control Panel,” as mentioned earlier.
- Open “Network and Internet” and then move to “Network and Sharing Center.”
- From here, click on “Change Advanced Sharing Center.”
- You’ll see two options under “File and Printer Sharing.” Turn on “File and printer sharing” and save the settings.
This will allow you to share specific folders with the connected computer. To share a file, follow these steps:
- Right-click the folder you want to share.
- Select “Share” and then select “Everyone” on the drop-down.
- Click share and done.
Follow the same steps to share files from the second computer to the first.
To access shared files and folders:
Open “File Explorer” and go to the “Network” menu. There, you’ll see the computer’s name sharing the files; select it. Then, copy and paste the files shown to your desired location on the computer.
Connecting Computers With MacOS
To share internet:
- Open “Menu” and click on “System Preferences.”
- Click on the “Sharing” icon. It’ll open a new window with all the sharing options available.
- Tick the box next to “Internet Sharing” from the left panel and then click on “Share your connection.” Select “WiFi” from the menu.
- In the “To computers using” drop-down menu, select “Ethernet.”
The network sharing is now complete; you can also give a name to your network and password if you want.
To share files and folders:
- Open “Go” and go to the “Connect to server” tab on the sidebar.
- Then click on “Browse,” and double click the name of Mac you want to share files with.
- Enter the other Mac’s password in the dialog box and click “Connect.”
- Your computers are now connected to share files.
- Copy the file you want to share, then open “Finder” and click on the other Mac on the left side.
- It’ll show you folders on that computer, go to your preferred location and paste the file.
- The file will now be available on the other computer.
