
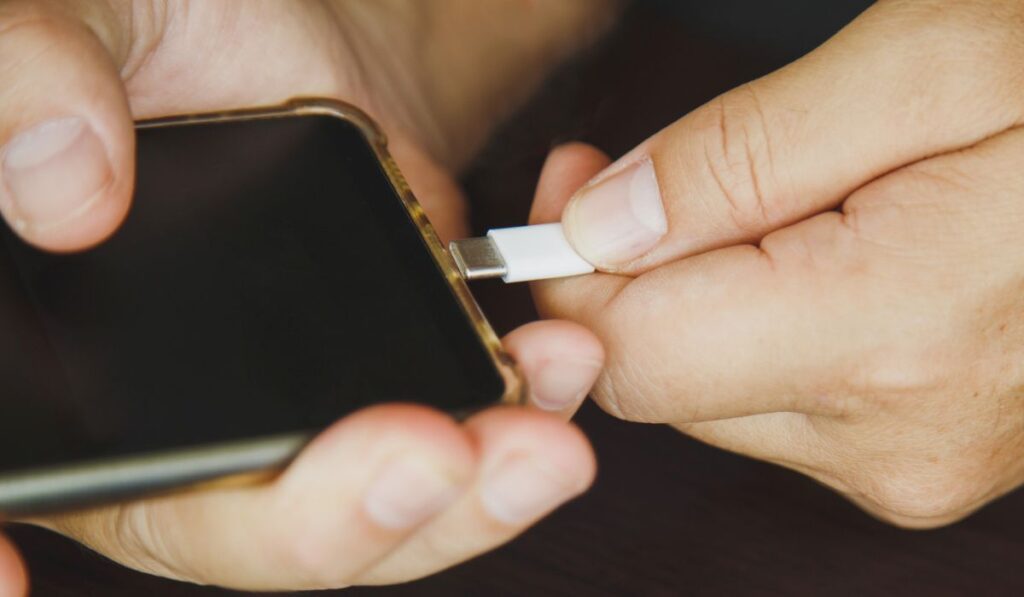
We’ve all experienced trouble with USB cables. Whether you plugged it in the wrong or it won’t charge, it’s essential to have the correct troubleshooting tips in mind.
Start by checking the cable and wall adapter to troubleshoot the USB-C cable. Look for damaged wires, and then try a separate cable or adapter. Next, use a different wall outlet, power strip, or USB port to troubleshoot further. Look for debris in the charging port or damage to the adapter prongs.
Don’t panic if your USB-C cable or device isn’t charging. There are several different troubleshooting tips you can use to resolve issues. We cover everything you need to know in the article below. Read on for more information.
Why Doesn’t Your USB Cable Charge?

Plugging your device into a charger and not receiving a signal is one of the most frustrating situations you can experience. Is it the adapter or wall outlet? Is your phone damaged?
Here are some troubleshooting tips to help you determine the root cause.
The Cable or Adapter
Although obvious, the cable or wall adapter could be the culprit behind the issue. Damage to the USB cable or wall adapter can cause a bad connection and charging problems.
Be sure to try a different USB cable or wall adapter. If your device charges typically after you swap things out, you know which component causes the issue.
The Wall Outlet or USB Port
Sometimes, the wall outlet or USB port can cause charging issues. Try a wall if you’re using a laptop or USB hub to charge your device. Your laptop or computer might not have enough power to charge the device.
Alternatively, you can try your computer or USB hub using a wall outlet. You can narrow down which components cause charging issues and might need repairs.
Debris or Damage
Although you might not expect it, charging issues can arise from debris in the charging port. For example, your device or smartphone might have pocket lint, dirt, or other debris blocking the connection.
Inspect your device for any debris or damage to rule out issues. You can use a toothpick, paperclip, or similar tool to remove debris. Ensure you’re using gentle pressure so the tip doesn’t break off inside the charging port and cause further issues.
Can You Fix a USB C Cable That Does Not Charge?
Sometimes, a USB-C cable might not charge and need some repairs. It’s typically easier and safer to purchase a new cable, but this might not be a viable option for all circumstances.
The repair process is a bit tedious, but here are some steps and considerations to get you started.
What You’ll Need
You’ll need some supplies if you’re trying to repair a broken USB-C cable. Most of these supplies can be found around the house, but purchasing a new USB-C cable might be best if you don’t have these tools. You’ll need the following:
- Scissors
- Knife
- Electrical tape
- Pliers
- USB connecter replacements
Note: It’s essential to take safety precautions before starting the USB-C repair project below.
1.) Clip Off the Damaged End
The first step is to snip off the damaged end of your USB-C cable using scissors or a knife. Ensure you are not connected to any outlets and have ordered compatible connector replacements for USB beforehand.
2.) Strip Off the Insulation
The next step is to strip the exterior insulation of the cord around two inches to expose the internal wires. If you notice insulation fibers, trim them a bit, so they don’t obstruct your process during the next steps.
You’ll need to strip the interior insulation about one inch from the internal wire to expose the metal strands. You’ll notice red, green, black, and white wires.
3.) Twist the Wires Together
Now that you have exposed the metal wires, you can twist the wires together. Use the exposed metal of each color and twist the wires together. Next, you can use electrical tape to cover the twisted metal entirely. Repeat this method for the other three colored wires ensuring no components are exposed.
4.) Bundle the Wires Together
Take the electrical tape and bundle all the writes together to ensure they are covered entirely. Take your time and ensure you’re doing a thorough job to prevent any issues in the future.
5.) Move the Wires Into the Connector Replacement
Now, you’ll need to insert the wires through the connector replacement. Connector replacements have varying layouts and specifications, so you’ll need to check your product’s information for the most accurate information. Finally, use your pliers to pull the wires through the pins to finish the USB-C repair project.
Do All USB-C Cables Charge?
Most of the time, you purchase a USB-C cable, which charges just fine. But sometimes, the USB-C cable can damage your device or charging port. It’s important to remember that not all USB-C cables are created the same, and you’ll need to find one that’s compatible with your gear.
The Wrong Cable Could Damage Your Device
Using the wrong USB-C cables could damage your device in some situations. Damage typically happens with older USB-A connectors on one end and a USB-C connector on the other. In addition, USB-C devices support faster chargers than USB-A, which can cause issues.
For instance, if you connect a USB-A device to a USB-C port using these cables, you could use too much power and fry your battery, USB-C port, or even laptop.
Purchase a High-Quality USB-C Cable
Most charging cables have built-in resistors to prevent damage from happening. However, it’s difficult to determine which USB-C cables are reliable and worth purchasing. So how do you buy a cable that will not put your device at risk?
You can select from Basic USB-C cables (on Amazon) that are affordable, consistent, and clearly defined. You can choose whichever cable matches your specifications, whether you need something long, short, or in-between. Purchasing a reliable USB-C cable is the best way to prevent unnecessary damage to your devices.