
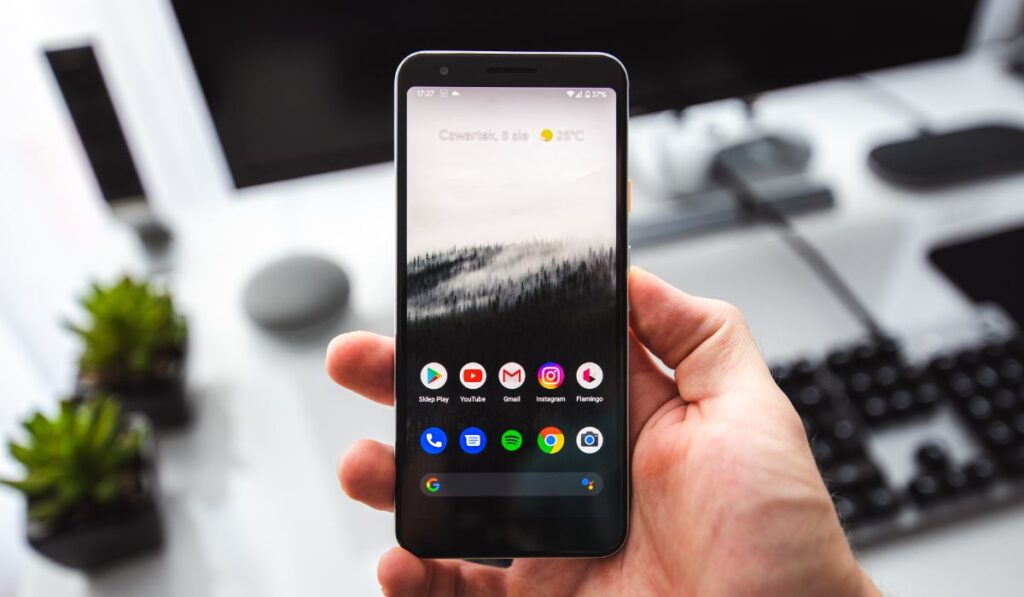
When purchasing a new Android phone, many buyers choose a model with a small storage capacity to save on cash. Manufacturers trade prices for storage, so it seems like an excellent deal to save money. However, with everyone enjoying taking pictures and videos and downloading apps and games, storage space fills up at an alarming rate.
To free up space in your Android phone, first, swipe down on your phone to access the notification bar. Next, click the “Settings” menu. Select “Storage” and “Clean Up.” You can also select “Smart Storage” and toggle it “On.” You can also manually remove downloaded content in the appropriate app.
So, what do you do when your mobile phone runs out of storage? How do you make room for more storage? Now, let’s turn our attention to all the tactics you can use to free up your Android phone’s storage.
Tips to Free Up Storage Space on Your Android Phone
There are many tips on how to free up storage on your phone, but we will focus on the easiest tips to help you clear the clutter in your phone. Here’s a glance at some of the more helpful tips to free up your storage space.
Use a MicroSD Card
MicroSD cards (on Amazon) are one of the popular ways to free up space on your device. And although most smartphone manufacturers have ditched the slot, you can snag space of up to 128 for less than $30.
However, choosing an efficient MicroSD card with decent read and write speeds is essential. So don’t be tempted to get a card solely on the price. Instead, ensure you get a Class 10 UHS (1 or 3) card.
Stream Movies, Music, and Other Content
If you hate running out of storage space, avoid downloading music, TV series, or movies on your Android phone. Instead, make use of streaming services such as Netflix and Spotify. And if you’re streaming content without a Wi-Fi connection, remember to control your data usage. You can find out how much data Netflix uses for streaming in our guide.
Delete Old Messages
It’s essential to go through your messages and eliminate unnecessary texts, especially if they contain attachments. Most Android phones will give you the option to erase old messages automatically. To turn it on:
- Open the Messages app and select More Settings.
- Turn on the Delete Old Messages, and you’re all set.
Limit the Size of Your Photos and Videos
Photos and videos are probably the items that are using up your storage. And although the camera’s device will vary, you should review your default settings and consider the available space on your phone. Images and videos with higher resolutions are likely to take up more space.
In addition, mode options like HDR and 4k consume more space, so use them conservatively or quickly offload the photos and videos. To access these options, open the Camera app and tap Settings, usually represented by a gear icon.
Check Settings for Apps like Facebook
Your frequently used apps automatically download files and consume more storage space than you’d want. And although we suggest a clean-up, apps like Facebook tend to fill up your phone’s storage immediately. Fortunately, you can reduce the problem by tweaking the appropriate settings:
- Open the Facebook app and tap the three lines at the top right to access the settings.
- Scroll down to Privacy and Settings and then click Settings.
- Select Media and Contacts and turn off the Auto-Play button.
- Switch off Sounds and select Not to Upload Photos and Videos in HD.
How to Use the “Free Up Space” Tool
You can expand the amount of usable storage on your Android phone with the help of the built-in Free Up Space tool. To find it:
- Open the Settings menu and select Storage. Here, you can view a list of file categories and information on how much space is used.
- Press the Free up Space button.
- You’ll then be directed to the Clean function of the Google Files app, which suggests ways to make space by deleting unnecessary files, deleted screenshots, large images, backed-up media, and unused apps, among other things.
Storage
Other helpful tools can be found under the Storage section. For instance, you can determine how much space each of your apps consumes,
- Tap on Apps under Storage. Each installed program will be listed, along with how much storage space it uses.
- Click the app’s name. Now you can see the size of the application, how much of the storage is utilized by user data, and the amount of cache used.
- To Clear Cache or Clear Storage, click one of two buttons.
It’s essential to note clearing the cache is often secure. However, before you click Clear Storage, check the user data. You don’t want to erase any important files or media unintentionally.
Smart Storage
Finally, the Smart Storage feature allows your phone to delete backed-up images after 60 days. Moreover, if your device’s storage capacity is less than 25%, it will instantly delete any backed-up videos and pictures. You can turn this feature on/off via Google’s Files app.
- Open the Files app and click on the three parallel lines in the upper left corner.
- Choose Settings.
- Find the Smart Storage setting, then turn it on.
Store Your Photos Online (Using Google Photos)
Photos can be some of the most space-consuming items on your phone. Fortunately, if you have an Android phone, you can upload your images to Google Photos, allowing you to free up space on your phone.
However, to make sure your videos and images are backed up to your Google account;
- Open the Google Photos app.
- Click on the personal profile in the top right corner. A pop-up notification Backup Complete entry should appear in the drop-down menu if you are backing up your photos.
- If the photos aren’t backed up, choose Photos Settings, then Backup & Sync.
- Confirm if the Backup & Sync toggle is set to On at the top of the page. Moreover, you should also check which account is listed as the Backup Account. And if you have multiple accounts, you can choose the one you want to use.
Additionally, there are other choices. For example, you can decide the quality of the images you wish to upload and if you want the phone to upload photos using cellular data.
Deleting Photos
Now that you are sure your photos are backed up, you can delete the pictures from your phone. There will be a box notification at the top of the Photo app’s home page requesting to free up space from your device; if not, it’s simple.
- Select Free up Device Storage from the Photo Settings menu.
- Next, a window will appear, letting you know how much memory and how many items will be deleted.
- Click Free up XX at the bottom of the page.
Delete Your Download History
Whether it’s an email attachment, a picture, or a PDF document you found online, everything you download onto your phone ends up in a folder called Downloads or My Files.
With these frequent downloads, there is a high chance your Downloads folder is cluttered, slowing down the rest of your phone. So, to fix this:
- Open My Files and select your Downloads folder.
- Click and hold a file to select.
- Tap the Trash icon or Delete button to remove whatever you don’t need.
How to Clear Your Phone’s Cache

Clearing your phone’s cache removes temporary cookie files, which occupy a lot of storage space. It’s also one of the quickest and simplest methods for boosting speed and performance.
To clear cached data from one app:
- Go to Settings, and click Applications.
- Open the Application Manager and select the app you want to delete its cached data.
To erase cached data from all apps:
- Click on Settings and select Storage.
- Then, tap the Cached Data button to erase all the app caches on your phone.
Factory Reset
If all the above tricks fail and you do not know where your storage is going, the best option at hand will be to make a factory data reset. This step will erase all the data in your phone and bring it back to a new state, like the first time you turned it on.
To perform a factory data reset:
- Go to the Settings app.
- Select System and click Reset Options.
- Tap on Erase All Data.
- Verify your identity.
- Click Erase All Data to confirm.
But make sure to back up everything you think is vital because your apps, images, videos, data, and other content will all be lost.