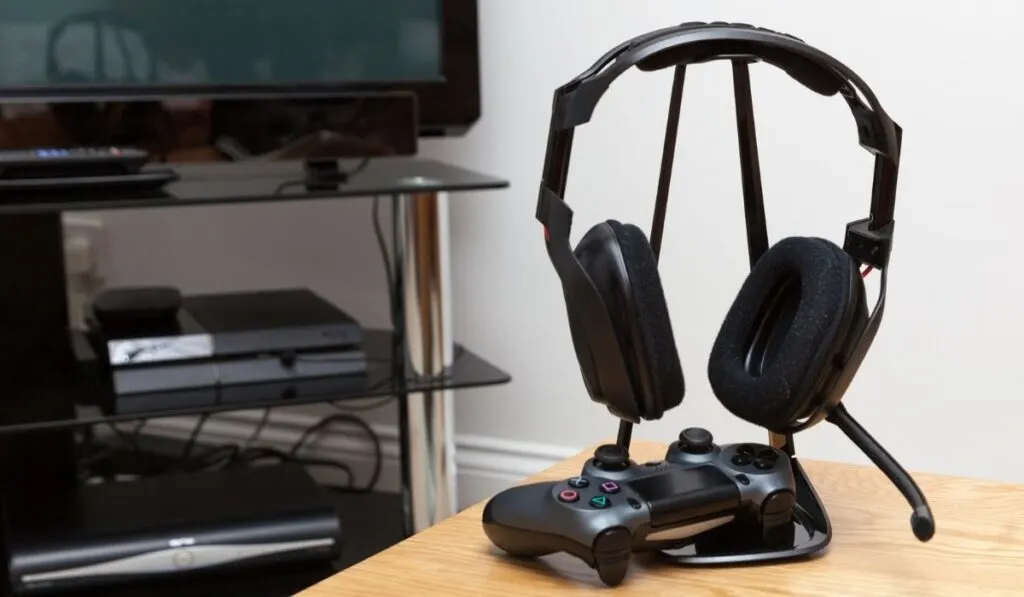
A headset with a built-in microphone comes in handy during competitive multiplayer games — that’s a no-brainer. And if you’re playing on the PlayStation 4, a headset will give you a truly immersive experience on top of improving your overall gaming performance. But at times, you’ve got gaming headphones and a separate wireless mic. So, how do you connect a bluetooth microphone to a PS4?
You can only connect a compatible microphone directly to PS4 via Bluetooth. Power on the microphone, put it in pairing mode, then connect it to your console from the Settings menu. For an incompatible microphone, you’ll have to connect it via a Bluetooth dongle plugged into the console.
If you have branded Bluetooth devices that are compatible with PS4, you’ll soon see how easy it is to connect them to PS4. But using non-compatible devices shouldn’t be a show-stopper. We’ll take a look at a simple workaround so that you don’t have to ditch them.
Does PS4 Support Bluetooth Microphones?

Sony’s PS4 (on Amazon) doesn’t recognize third-party audio devices like Bluetooth microphones. However, there are practical workarounds for connecting your microphone to PS4.
Following the launch of the PS4, Sony said expressly that PS4 won’t support Advanced Audio Distribution Profile (A2DP) and other audio streaming profiles with Bluetooth. A2DP allows for the stereo audio quality you can stream between two devices via Bluetooth.
As it turns out, Sony had a good reason for not supporting most Bluetooth audio devices with PS4. A2DP usually lags by as much as 100 to 200 milliseconds, leading to a poor user experience. Therefore, you’ll need to apply certain tips and tricks to enjoy playing your favorite games in an immersive environment.
How to Connect a Bluetooth Microphone to a PS4
You can quickly connect Bluetooth headphones (equipped with a microphone) to a PS4, especially if it’s one of Sony’s official products. But if you have another brand, you can always check its box to see if it’s compatible with PS4.
These are the steps for connecting a Bluetooth microphone to your PS4:
- Put Your Microphone in Pairing Mode: Power on your microphone and put it in pairing mode by pressing and holding the power button or the sync button, if it has one. You’ll know it’s in pairing mode when the LED flashes rapidly.
- Navigate to Your Console’s Bluetooth Settings: On your PS4’s home screen, open the Settings menu, then navigate with your controller to ‘Devices.’ Next, scroll down to ‘Bluetooth Devices‘ and check for the mic among the list of discoverable devices.
It may take a while for your microphone to appear among the list of available devices, so don’t fret if it doesn’t pop up immediately.
- Connect the Microphone and Finish the Setup: Once your microphone pops up amongst the list of available devices, select it to pair with the console. If you get a prompt asking you to register the mic as a new input device, click ‘Yes‘ and complete the process.
If the registration step fails, then it means you have an incompatible microphone, and you won’t be able to connect it directly.
How to Connect a Bluetooth Headset to a PS4

This method works only if your headset is branded as compatible with PS4, like Sony’s PlayStation Platinum Wireless Headset (on Amazon). A few other reputable brands that connect directly to PS4 without the need for extra hardware include:
These are the steps for connecting your Bluetooth headset to PS4:
- Power on the headset and put it in pairing mode.
- Open the Settings menu on your PS4 and go to ‘Devices,’ then ‘Bluetooth Devices.’
- Check the list of available Bluetooth devices and select your headset to pair.
- Register the headset if a prompt appears requiring you to do so.
If your headset is compatible, you’ll get a success message. Otherwise, you’ll have to connect it through a wireless dongle as follows:
Working With Non-Compatible Microphones
If your headset or microphone can’t connect directly to PS4, you’ll need a third-party Bluetooth adaptor like the Olixar Wireless Bluetooth Headset Dongle (on Amazon). The adaptor package usually includes a tiny microphone you can plug directly into the DualShock controller’s audio jack.
These are the steps for connecting a non-compatible microphone to your PS4:
- Insert the microphone into the controller’s 3.5 mm audio jack.
- Insert the Bluetooth headset adaptor (wireless dongle) into the USB port in front of your console.
- Press and hold the pairing button on the dongle for 3 seconds. The status LED on the dongle will flash rapidly to indicate it’s in pairing mode.
- Wait for the mic to connect automatically to the adaptor. The LED will stop flashing when it’s connected.
- On your PS4 Home screen, go to Settings, then scroll down to ‘Devices.’
- Select ‘Audio Devices.’
- Under Input Device, select ‘USB Headset‘ to finish setting up the mic. If your headphones have a built-in mic, your Input Device will be the same as your Output Device, and you can set it up using either option on the settings menu.
- Navigate back to ‘Adjust Microphone Level‘ and set it to a convenient level.
You can also navigate to ‘Output to Headphones‘ and choose ‘Chat Audio‘ or ‘All Audio.’ If you select Chat Audio, you can hear people talk through your headphones, but you’ll listen to gaming sounds on the TV.
