
Valve’s Steam Deck is, without a doubt, more than just a game machine. It’s a full PC shrunk down to the size of a gaming console with all of the bells and whistles. You can play games, watch films, listen to music, and even surf the internet. No wonder you’d want to connect it to your TV for a truly immersive experience. But how do you do it?
If you have a smart TV and a good Wi-Fi connection, you can use the Steam Link app to connect your Steam Deck to your TV wirelessly using Remote Play. You’ll likely need to modify a few settings around remote play and screen resolution on the Steam Deck for it to work properly.
With such a range of options, there’s bound to be a method that works for you. And, once you’re up and running, you’ll be able to enjoy your favorite TV shows, movies, and games on the big screen. So let’s dive into details and find out how each method works.
How To Connect Your Steam Deck To Your TV Wirelessly (Steam Link app)

Like every other great gaming platform, Steam offers remote play, which allows you to wirelessly stream games from your Steam Deck to another device, such as a phone, tablet, computer, or TV. However, Remote Play is an in-home streaming solution, meaning both devices must be on the same Wi-Fi network for it to work.
When using other mirroring or cable options (which we’ll look at below), your TV gets the audio and video signal while the game is controlled by the primary device, the Steam Deck in this case. It only mirrors the screen, so you can’t play the game from the TV itself, but it’s a great way to enjoy a big-screen gaming experience without any hassle.
To actually get that two-way connection allowing you to use remotes connected to the TV, you need to download the Steam Link app, and Steam’s Remote Play feature only works with smart TVs that can run the Steam Link app. This app is not the same thing as the Steam client, which will be running separately on the Steam Deck before you start setting up the Steam Link connection to the downloaded app on the Smart TV.
With all that in mind, here’s how to connect your Steam Deck to the TV wirelessly:
- On your TV, Navigate to the app store and download the Steam Link app.
- Launch the app and log in with your Steam credentials.
- Connect your Steam Deck to the same Wi-Fi network as your TV.
- Navigate to ‘Settings‘ on the Steam Deck, go to ‘Remote Play,’ and enable it.
- Go to ‘Advance Host Option‘ in the Remote Play setting, enable ‘Change desktop resolution to match streaming client,’ and tick the ‘Prioritize network traffic.’
- Now go back to your TV, on the Steam app, navigate to ‘Settings,’ go to ‘Computer,’ and select ‘Steam Deck‘ from the list of available devices.
- You’ll get a four-digit code; enter the code in the pop-up message on your Steam Deck. Then, it’d start casting the screen to your TV.
- Navigate to your gaming library on Steam Deck. You should see an option of ‘Remote Play‘ at the corner of each game’s thumbnail image. Select the game you want to play and hit ‘Remote Play.’
The game will start streaming on your TV, while all the game controls will still be on your Steam Deck.
And note that Steam Link doesn’t just cast the game’s display to another device, it streams the game data from your Steam Deck to the connected device. That makes it a two-way connection, so you can pair controllers with your TV and play directly from the Steam Link app.
Since it’s a remote desktop connection to your Steam Deck, compatible controllers, including Steam Controllers, your PS5 controller, or just keyboard and mouse, work with it. But you need to pair the compatible controller with your TV through Bluetooth or a wired connection because this isn’t screen mirroring from the Steam Deck – it’s remote play in which control signals from the TV will be transferred to the Steam Deck.
And note that, while the wireless solution is fancy and cable-free here, some serious users may prefer a simple HDMI or DisplayPort connection to reduce lag, which we’ll cover in that section below. If you have any issues with the Steam Link connection itself, have a look at Steam’s dedicated support page on the topic.
Adjusting Your Steam Deck Settings
Steam Deck is fully customizable: you can personalize your gaming experience by adjusting the sensitivity of each button, setting up hotkeys, or even connecting your deck to other apps such as Discord or Photoshop.
Above, we gave some direction on settings you should change for wireless casting, but you should note there are plenty of other settings you may be interested in on the device.
Just in case you’re not sure how to access this area at all, we’ve included a very short set of directions for you on how to get there below:
There are three ways to access your Steam Deck settings:
- Press the Steam Button on the controller, scroll through the menu, and choose ‘Settings‘; it’s the second last option.
- Navigate to the Wi-Fi symbol in the upper right corner of the main screen and press ‘A.’
- Select three dots on the right corner of the screen-they’ll take you to a mini-setting menu to adjust volume, brightness, and more.
The navigation is very intuitive and easy to use. You can also tweak the brightness, contrast, and resolution of the image displayed on the connected TV after you’ve started wirelessly casting to it.
Other Ways to Connect Your Steam Deck to Your TV
Don’t sweat if your TV isn’t compatible with Steam Link or you don’t have a good enough internet connection to play lag-free games. There are several alternative cabled options to get your Steam Deck working on TV. As some users have pointed out (and we agree): if you are a competitive gamer who can’t suffer any lag, a cabled connection is your best option even if it means hiding a white 50ft HDMI cable (example on Amazon) somewhere. Let’s take a look at some of the most popular methods:
Use an HDMI Cable
An HDMI connection is probably the best way to enjoy a seamless, lag-free video and audio experience on TV. So HDMI is the way to go, especially if you want to enjoy some fast-paced games that require split-second reflexes.
Steam Deck only has a single USB-C output port, so you’ll need a USB-C to HDMI adapter or a Dock Station for compatibility.
And remember, that port is used for charging as well, so you want an adapter like the Anker USB C Hub (on Amazon) that allows you to go from USB-C to HDMI, but also allows you to plug a USB-C charge cable into the dongle to charge the Steam Deck.
Here is how it’s done:
- Connect your adapter or dock station to the USB-c port of Steam Deck.
- Plug one end of the HDMI cable to the adapter and the other end to a spare port on the back of your TV.
- Power on your Steam Deck and TV.
- Go to the display menu on your TV and select HDMI as the input source.
- Go to ‘System Settings‘ from the left taskbar on your Steam Deck.
- Navigate to ‘Hardware‘ and select the ‘Display & Monitor‘ option.
- Switch back to your Steam Deck’s home screen. You should now be able to see your Steam Deck’s home screen on the TV.
You can also choose the resolution and refresh rate, position, brightness, and other custom parameters from the display settings menu.
HDMI connection provides the best possible video quality, but it also comes with the drawback that your Steam Deck will be tethered to your TV, so you won’t have as much freedom as you had with wireless options. You’ll also need an extra-long HDMI cable if your TV is further away from your PC.
Using DisplayPort
Like HDMI, Display Port is a popular standard for projecting visual content from one device to another. It came as a replacement for old VGA or DVI standards in computers or laptops, so it’s not so common in the TV world, but if your TV has a display port, the transmission quality will be even better than HDMI.
The overall process is pretty similar to HDMI. Except that you’ll need a Display Port cable and a compatible dock. The rest of the process is the same, connect everything and change the input source on your TV. Try the Anker USB C Hub With DisplayPort (also on Amazon) if you need a dock that has DisplayPort out but also power delivery in, to keep the console charged up.
The display port is better in terms of quality, but it’s not as ubiquitous as HDMI, so you might have difficulty finding the right accessories. And even if you do, it’ll be more expensive than other types of adapters.
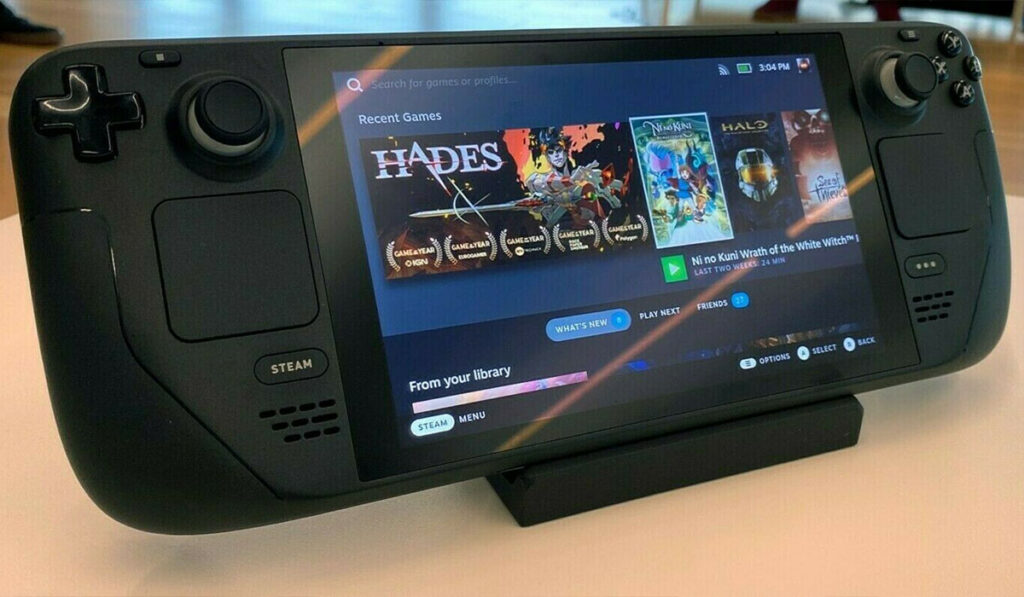
What is a Steam Deck?

The Steam Deck is the Valve’s long-awaited hand-held gaming PC. It is a combination of the performance of Xbox, the portability of a Nintendo Switch, and the flexibility of a high-end gaming PC. The result is a fantastic device packed with features that allow you to play the most demanding games on the go.
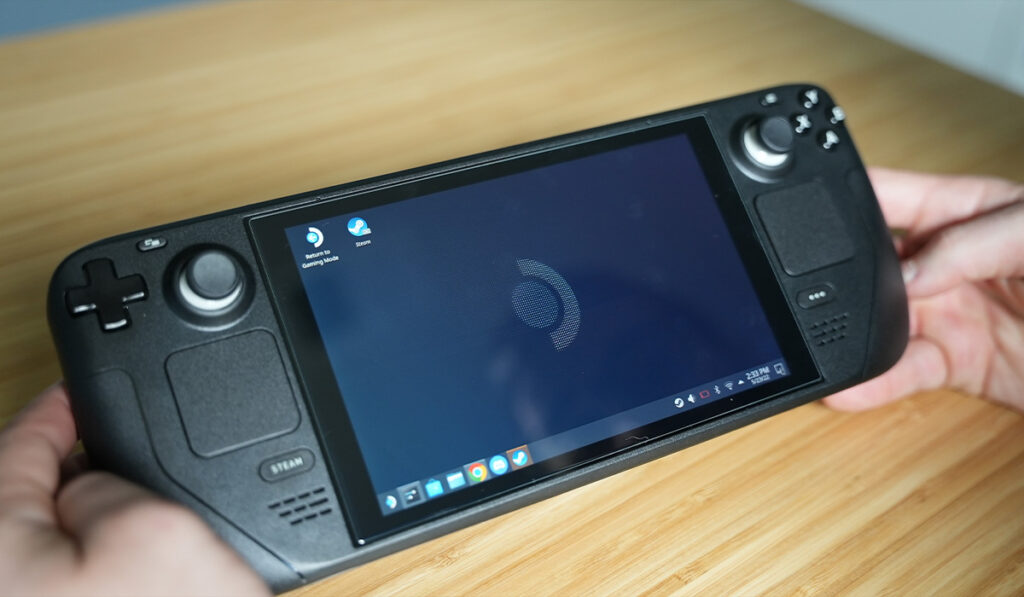
Steam Deck runs on Linux-based SteamOS, but users also get the flexibility to install Windows if they like. This means you can play both Linux and Windows games on Steam Deck seamlessly without making any sacrifices.
It has the combination of the latest AMD ZEN 2 CPU with a powerful graphic card, a 7-inch LCD touch screen, and four types of controllers. So, any game you want to play, Steam Deck can handle it with ease. But the biggest selling point of Stream Deck is its versatility.
Since it’s essentially a tiny PC, Steam Deck supports all types of external devices, and of course, TV is one of them. And once you connect it to your TV, you open up a whole new world of possibilities.
Every game looks and feels better on the big screen, and you can even use it as a makeshift computer to surf the web, chat with friends, or even binge-watch Game of Thrones.
In Conclusion
Steam Link creates a customized version of your Steam Deck screen, optimized to work on a TV and can be controlled with the TV remote. So you shouldn’t have any problems with navigation. Remember that you’ll need a decent internet connection for this to work correctly.
So there are your three best ways to connect your Steam Deck to your TV. Choose the one that best fits your needs and budget and enjoy gaming on the big screen.