
If you use your laptop for work, having a second monitor is a great way to increase your productivity. However, even if you have a second monitor, it isn’t going to do you much good if you don’t know how to connect it.
To connect your Laptop to a monitor, connect one side of a video cable to the video output port on your laptop and connect the other side of the same cable to the video input port on your monitor. If the monitor is connected and on, your laptop should detect and set up the monitor automatically.
During this process, you may run into certain issues. For example, what if your monitor and laptop use two different kinds of video connections? Let’s go through this process in more detail, making sure to cover issues that might arise, so that you can expand your screen space and double your productivity.
How to Connect your Laptop to a Monitor

How you connect your specific laptop to your monitor will vary depending on the ports that each has. In most cases, your laptop and the monitor will have the same kind of video output ports, so all you have to do is connect the monitor to your laptop via a cable compatible with these ports.
This isn’t always the case, however, as there are a number of different video and audio ports that a laptop or monitor can have and the ports on one may not be the same as the other.
For example, if you have a modern laptop, it’s likely that your laptop has an HDMI port for video and audio output. However, if you have an older monitor, it is likely that your monitor relies on a VGA port for video output. In this case, your laptop can’t connect directly to the monitor, but that doesn’t mean you’re out of luck.
There are a number of cables you can buy that can convert from one video output to another. For example, if you have an HDMI laptop with a VGA monitor, you can get a HDMI to VGA cable(on Amazon) to connect the two.
Another common case is having a laptop that uses USB-C for its video output, but needing an HDMI connection to connect to your monitor. Once again, in this case all you need is a cable with an HDMI connector on one end and a USB-C connector on the other(on Amazon).
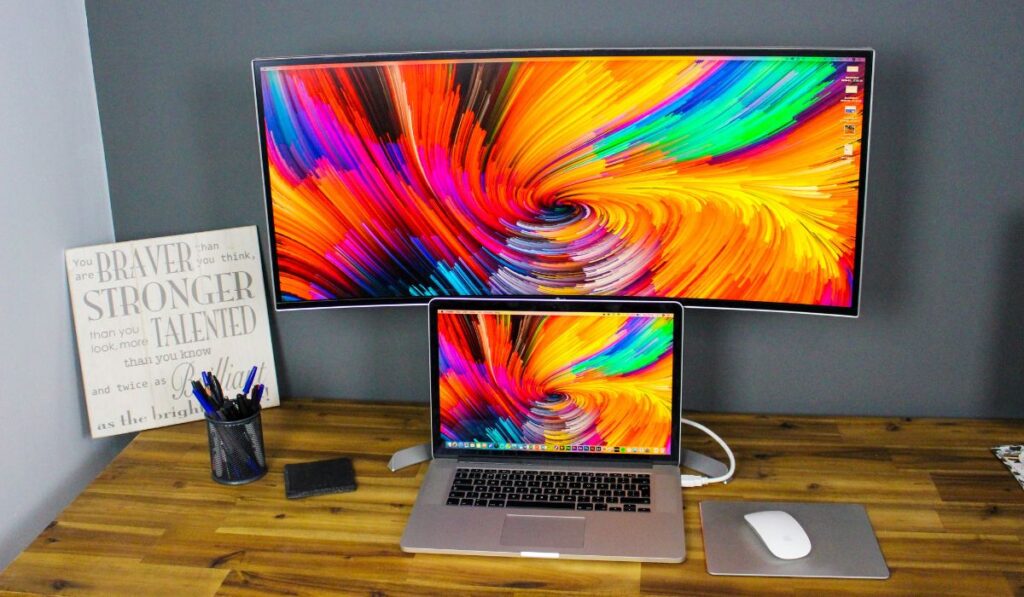
Connecting a MacBook
The first step is to determine what kind of port your MacBook uses. The main problem you may run into with a MacBook is that many generations of this laptop only have a single video port known as the thunderbolt port, one of Apple’s own creations. Some other versions of the MacBook use HDMI or USB-C.
Once you have determined which one your MacBook uses, you’re ready to connect your MacBook to the monitor. To do this:
- Plug your monitor into a power outlet and turn it on.
- Plug one end of either a thunderbolt, HDMI, or USB-C cable into the video output port on your MacBook.
- Plug the other end of the cable into the monitor’s video input port, usually located on the back of the monitor.
- If your monitor has multiple video input ports, you may need to change the input being displayed by the monitor by using either the monitor’s remote or the buttons on the monitor itself.
And that’s it! Once your MacBook has been plugged into the monitor, it should automatically detect and begin displaying on the monitor.
How to Use Both Screens
Sometimes, when you plug a MacBook into a monitor, instead of getting two distinct screens that you can switch between, you will end up with two views of the same screen. This is known as screen mirroring, and it is very easy to change.
To un-mirror your MacBook’s screens:
- Open the Apple Menu in the top left corner of the screen and select System Preferences from the menu that appears.
- In the System Preferences menu, select the Displays tab (usually represented by an icon that looks like a monitor).
- If you have multiple displays connected and on, you should be able to select a tab that says “Arrangement”.
- In the Arrangement tab, you should see a box containing an icon for every screen connected to your MacBook. Under this, uncheck the box that says “Mirror Displays”.
After selecting this, your monitors should be acting like two distinct desktops that you can switch between by moving the mouse through the edge of the screen. If you would like to return to mirrored mode, you just need to repeat these steps again, but this time check the box that says “Mirror Displays”.
Connecting a Windows Laptop
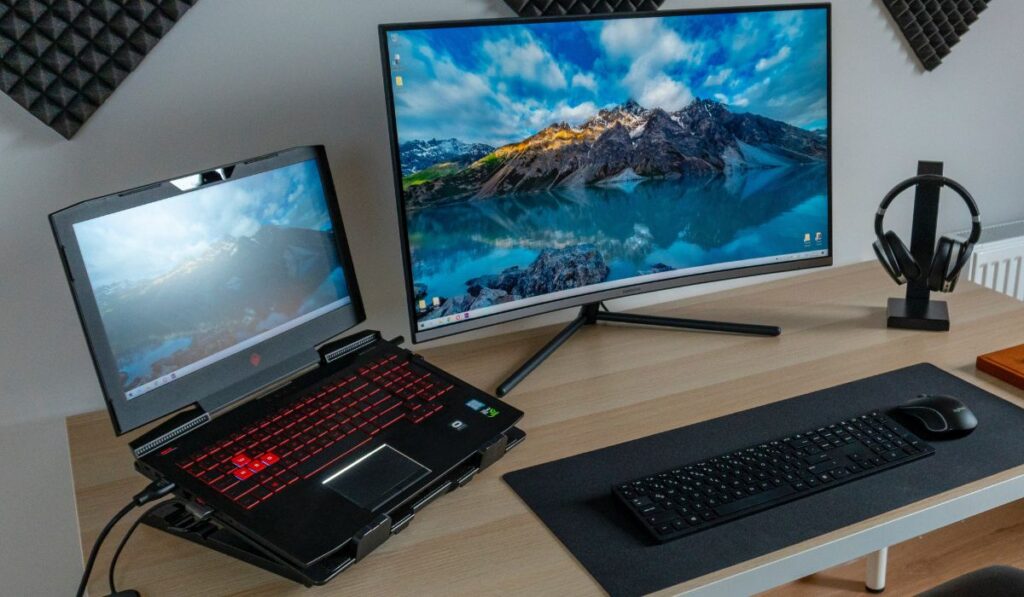
Just like with a MacBook, the first step is to determine what kind of port your Windows Laptop uses. Usually, Windows laptops are versatile and contain more than one kind of video output port. Typical ones include HDMI, USB-C, DisplayPort, and VGA for older models.
Once you have determined which one your laptop uses, you’re ready to connect your laptop to the monitor. To do this:
- Plug your monitor into a power outlet and turn it on.
- Plug one end of either an HDMI, USB-C, DisplayPort, or VGA cable into the video output port on your MacBook.
- Plug the other end of the cable into the monitor’s video input port, usually located on the back of the monitor.
- If your monitor has multiple video input ports, you may need to change the input being displayed by the monitor by using either the monitor’s remote or the buttons on the monitor itself.
And that’s it! Once your laptop has been plugged into the monitor, it should automatically detect and begin displaying on the monitor.
How to Use Both Screens
The annoying thing about Windows laptops is that oftentimes by default, these laptops are set to mirror their displays when connected to a monitor. This means that instead of two different desktops for each of your screens, you instead get two views of the same desktop.
Thankfully, fixing this is easy. All you have to do is follow these steps:
- Open the Windows Start menu by clicking the Windows icon in the bottom left of your taskbar.
- Click on the gear icon on the left of the Start menu to open your laptop’s settings.
- In the Windows Settings, click on “System” to get to the System Settings.
- On the left panel, select “Display”.
- Finally, under “Orientation”, change it from “Duplicate these displays” to “Extend these displays”.
After this, your monitors should be acting like two distinct desktops that you can switch between by moving the mouse through the edge of the screen. If you would like to return to a mirrored display, you just need to repeat these steps again, but this time change it back to “Duplicate these displays”.