
Trail cameras are incredible tools that allow hunters to monitor and track wildlife. However, these devices can come with some headaches if not properly utilized.
There are various ways to connect your trail camera to your mobile device. You can use SD card readers, USB cable, Bluetooth, WiFi, and more. Start with your camera’s smartphone app, and note some cameras will be limited by WiFi range, while others can have cellular data connections.
There is a load of solutions for every scenario with options like Bluetooth, WiFi, and Mesh Networks. Although buying an SD card reader may be the simplest solution, it might not be the most effective. So, which solution will work best for your circumstances? Read on for everything you need to know.
How To Connect A Trail Camera To Your Phone
First up, we’ll take a stab at exactly what you’re probably here for. There are different types of game cameras, and many of them have their own apps and setup instructions. But they’re not that different.
So, if you’d just need to get connected here are the general steps to take to connect your game camera to your smartphone (assuming it’s a make and model that’s designed to do that and you have all the connections set up properly!) And don’t worry – we’ll go over the details in way more detail later in the article, so stick around if you don’t get connected right away.
- Download the app: Most trail cameras come with an app that you’ll need to download onto your smartphone. Check the instructions that came with your camera for the specific app you need to download.
- Turn on the camera’s Wi-Fi: Once you have the app downloaded, turn on the camera’s Wi-Fi. This is usually done by pressing a button on the camera.
- Connect to the camera’s Wi-Fi: Go to the Wi-Fi settings on your smartphone and select the camera’s Wi-Fi network. The network name and password should be in the instructions that came with your camera.
- Open the app: Once you’re connected to the camera’s Wi-Fi, open the app on your smartphone. The app should automatically detect the camera and connect to it.
- View and control the camera: Once you’re connected to the camera through the app, you should be able to view and control the camera from your smartphone. This may include adjusting settings, viewing photos and videos, and even triggering the camera to take a photo or video.
And consider your use cases. Trail cameras, aka “game cameras,” are very flexible devices. You can put them outside, sure, but you can also use them as part of your home security system, and even indoors, though unfortunately they don’t work through glass. Let’s dig deeper!
What is a Trail Camera?
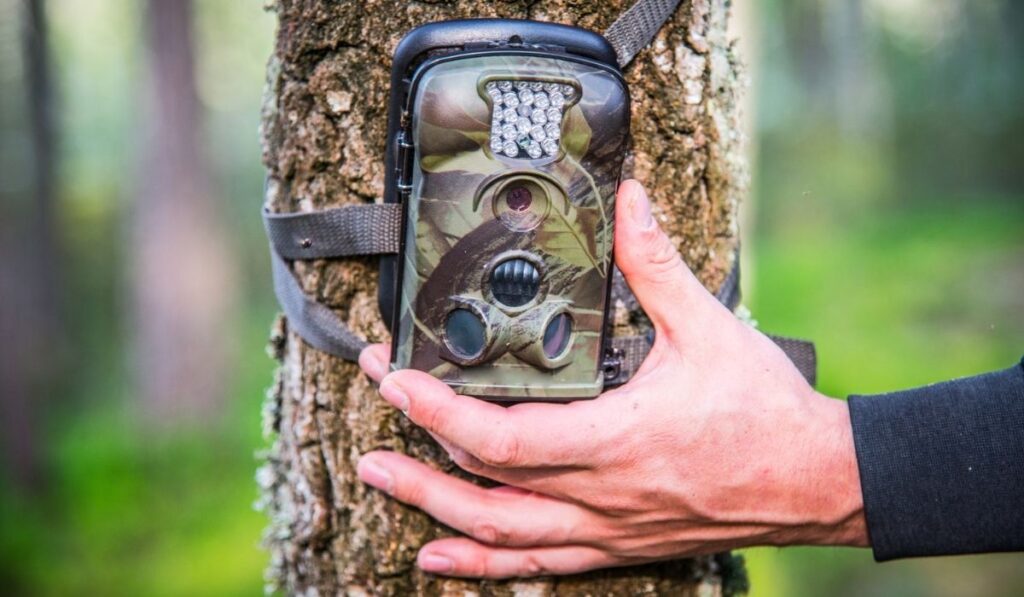

Trail cameras or game cameras are typically mounted to a tree. The game camera’s motion sensors will turn on when wildlife or other motion enters the area. The camera will snap photos and or videos of the moving animal.
Most cameras have timestamps, so you know when the animal passed by. Additionally, many game cameras are capable of sending videos and pictures to your smartphone in real-time. Other trail cameras require the photos to be moved manually.
How Do Trail Cameras Work?
Trail cameras have passive infrared (PIR) sensors. PIR sensors are constantly scanning while sitting idle. These are known as the “normal” infrared levels for the area it’s monitoring. When a person, animal, or other object enters the site, it emits infrared. Once the infrared is emitted, the camera captures it.
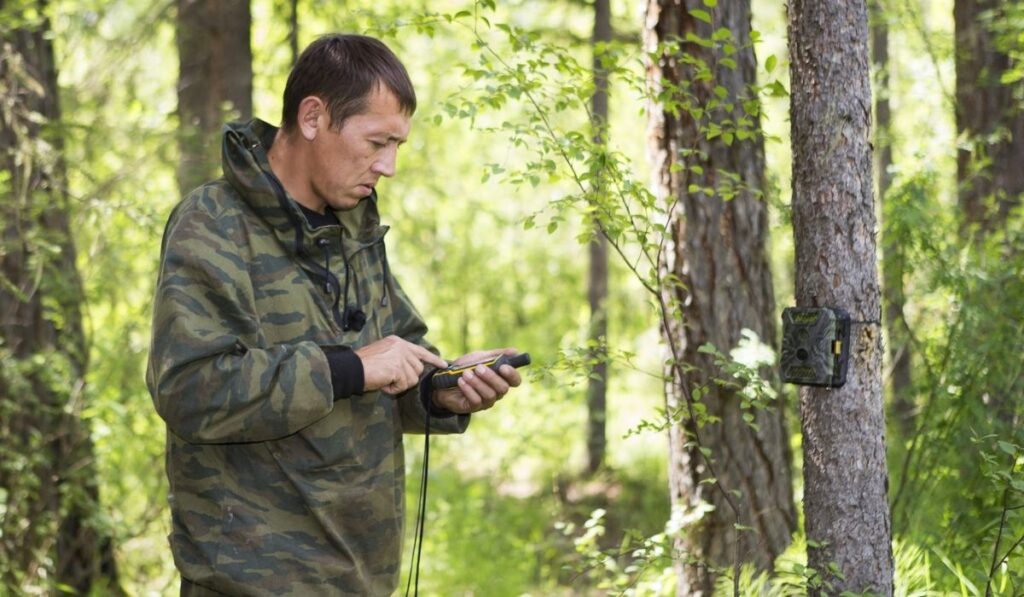
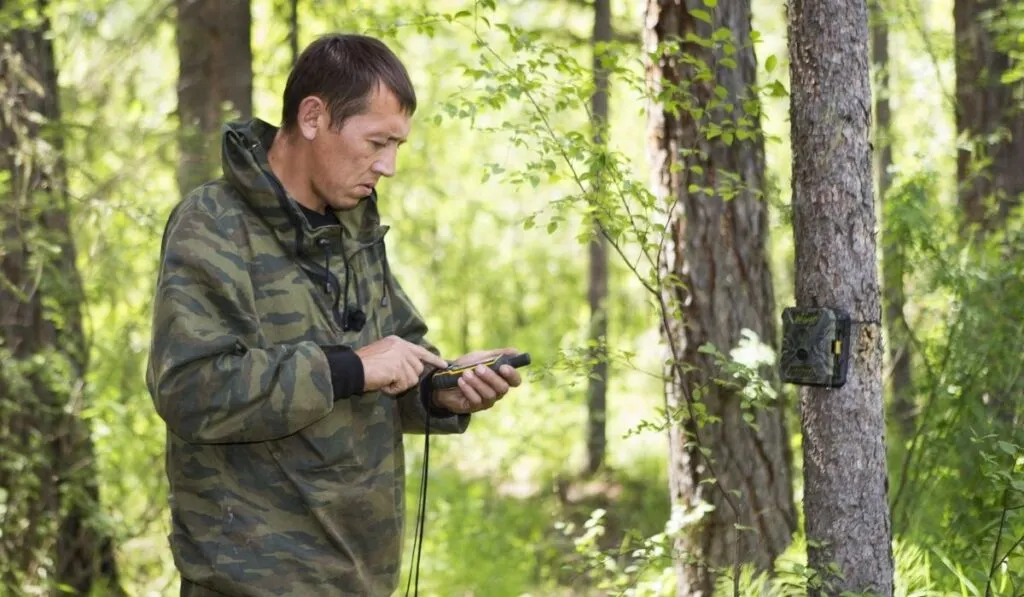
How to Connect Trail Camera to Your Phone
Trail cameras aren’t all that useful if you can’t look at the photos. Many game cameras come with instant mobile connectivity and other useful features. However, some cameras are still using manual connections to transmit photos and videos.
If your game camera doesn’t come with instant mobile connectivity, you can find a load of SD card readers and other devices that work wonders.
Trail Camera Viewer SD Card Reader
One of the ways you can connect your phone to a trail camera is through a Trail Camera Viewer SD Card Reader (on Amazon). This particular card reader can accept both standard and micro SD cards. It can also connect through:
- USB 2.0
- Lighting Port
- Type C
- Micro USB
Card readers like this one are integral to a good hunter’s kit. These devices are tiny, portable, and effective.
Consider these devices like the Swiss Army knives of SD card readers. Be sure to find one that’s compatible with your trail camera before purchasing to avoid any unnecessary headaches.
iPhone Specific SD Card Readers
If you’re one of the billion iPhone users, there are products made especially for you. One of these products is the Boneview Lighting to SD Card Reader (on Amazon).
This SD Card reader works nearly the same as the one mentioned above. However, with this device, you’re taking pictures directly from your SD card and using an adapter. The greatest benefit of a product like this is that it reads both SD and micro SD cards.
Older Generation SD Card Readers
If you have an older generation phone, you can consider products like the Trail Cam Tracker SD Card Reader (on Amazon). This product is compatible with both Apple and Android devices.
Basically, the USB connector plugs into your computer and reads the SD card. The lightning connector is for iPhone, and the micro USB is for Androids. Be sure to order the Type C version or micro USB option for Android phones.
Lightning to USB Cable
One of the simplest methods to obtain your trail cameras photos is to use a Lighting to USB Cable (on Amazon) set up. Your game camera must have a USB port for this solution to work. After you connect the USB and lightning port, it’s simply about waiting for the phone to register the connection.
Better Ways to View Trail Camera Photos on Your Phone
Hunters across the globe are searching for trail cameras that send photos directly to their phones. Devices like these are excellent for hunters, as they don’t have to go out to their cameras and disrupt the wildlife. However, not all wireless game cameras are created equal.
Bluetooth Technology
Bluetooth works by sending short-range wireless communication between devices. You can find this technology in phones, audio devices, computers, gaming, and more.
Bluetooth cameras are often advertised as “wireless cameras” or “easy photo conversion.” This can be misleading, as Bluetooth technology is not effective for trail cameras.
Bluetooth doesn’t solve the problem effectively because the technology requires you to be in close proximity to use it. Because of these reasons, hunters should avoid Bluetooth cameras.
Advantages:
- Transfer videos and photos without data fees
- Device setup and syncing are incredibly easy
- Mild power consumption
Disadvantages:
- Limited range, requiring close proximity
- Slower transfer rate comparatively
- Vulnerable to theft and other damages
WiFi
WiFi technology is similar to Bluetooth. Wi-fi-enabled devices have a similar range to Bluetooth devices, if not just a bit bigger. Most areas you place game cameras in aren’t going to have a WiFi connection available.
Because WiFi cameras require a signal and close proximity, they aren’t viable options for most hunters. These products are better-suited for home security cameras rather than for hunting.
Advantages:
- Transfers photos and videos without additional fees
- Easy syncing and device setup
- Faster transfer speeds comparatively
Disadvantages:
- Needs a WiFi signal to operate effectively
- Limited connection range, especially with obstructions or elevation
- Requires more power and may need to be hard-wired
Cellular 4G
Cellular game cameras operate by transmitting data over the existing cellular infrastructure. These devices will use specific hardware optimized for certain networks, including Verizon, AT&T, T-Mobile, and more.
Cellular and 4G trail cameras are typically the best in the market. Nearly every wireless trail camera will use this technology in some capacity. Because the market is so saturated, you can find a trail camera that effortlessly meets your needs.
All of these products will have different features, capabilities, and compatibilities, making cellular trail cameras the best option for hunters.
Advantages:
- No range limits depending on signal strength
- Remote control capabilities
- Security features and other accessories are widely available
- Fast data transfer times
Disadvantages:
- Requires a data plan to use effectively
- Needs a cellular signal to operate correctly
Mesh networks
You may not be familiar with “mesh networks.” However, this technology has been around for some time. These devices use RF transfers, which receive and transmit radio frequencies.
Basically, the devices move data from one camera to the next. This creates a network of devices that all connect together.
The term “mesh network” may be foreign to some, but the technology has been around for a very long time. Using RF transfers, which both receive and transmit radio frequency, these types of products have the ability to move data from one camera to the next. In turn, this creates a network of talking devices amongst themselves directed to a “home” base type device, where the data can then be retrieved or uploaded.
Advantages:
- Option to use wireless cameras when cellular signals are limited
- Incredibly efficient
- Cost-effective over the long run
Disadvantages:
- High upfront cost
- Range is limited by terrain, vegetation, and elevation
- Data transmission is limited by terrain as well
- Complicated initial set-up process
- Slow data transmission speeds comparatively
- May require data plans and services
Although mesh networks can be incredibly efficient, they’re not a viable option for every individual. This solution comes with a host of challenges and problems of its own, leading hunters to go with cellular trail cameras instead.