
A lot of gamers want to replace their PlayStation 5 faceplates but are too worried about damaging the console. Replacing PS5 faceplates can seem a bit nerve-wracking at first, but Sony has made the entire process extremely simple, allowing you to customize the console and bring back its classic black color.
You can remove your PS5’s faceplates by pulling the top left corner (where the logo is) back a bit to release the clip holding it in place, and then sliding the panel down the console’s body. To attach a new one, you simply need to position the panel with the body and apply pressure to secure it.
You may feel hesitant about replacing your PS5 faceplates, especially if you’ve just bought the console and are feeling pretty protective of it. To help put your mind at ease, let’s look at what exactly faceplates are, how you can safely replace them, and where you can buy new ones.
What Are PS5 Faceplates?

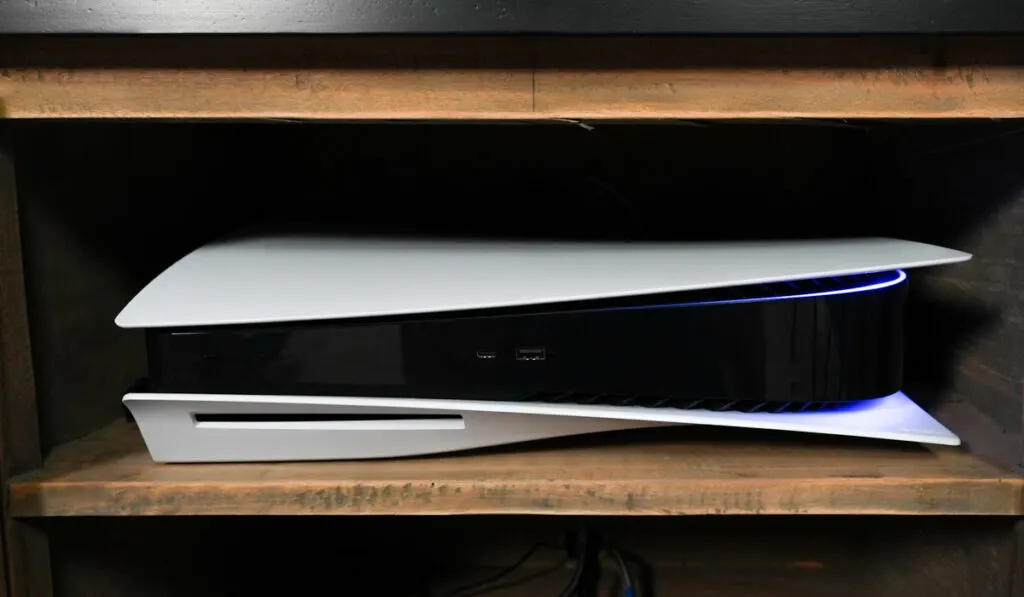
PS5 faceplates are basically the two white panels that are attached to either side of the PS5. These plates are only for structural and aesthetic purposes and are designed in such a way that allows for easy removal.
While they’re very sturdy, the PS5’s faceplates are not strong enough to provide any real protection if the console accidentally topples over. Their unique shape also makes it extremely difficult to properly position the PS5 horizontally without the included stand.
In our Ultimate PS5 Owner’s guide, we discuss placement of the console and using those faceplates–if you have to have your console out in the open, you may want a faceplate to simply upgrade the look of your space.
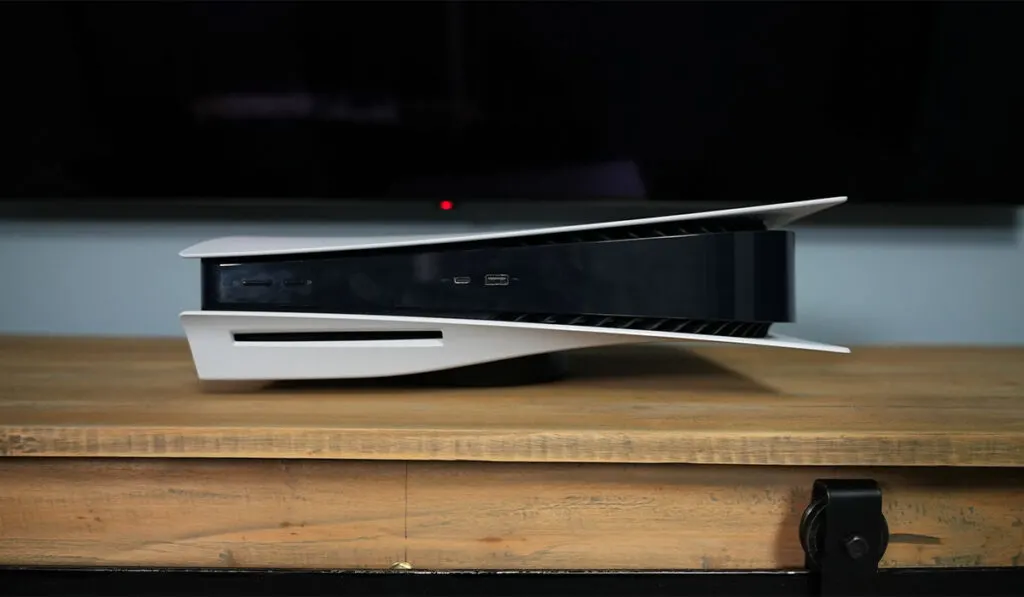
It’s very easy to differentiate between the top and bottom faceplates of a disc-based PS5, but the difference is a bit difficult to spot on the digital version.
The top plate is the one with the PS logo on the top-left corner, while the bottom panel holds the disc drive (in case of a disc-based PS5) or just doesn’t have the PlayStation logo.
Pro-Tip: Taking off your PS5’s faceplates? Use the opportunity to vacuum out any dust and clean your console to prevent overheating and other issues!
How to Replace PS5 Faceplates
There are several reasons why you may want to replace your PS5’s faceplates. The most obvious reason is customizing your console and changing the white faceplates to more exciting black, purple, pink, blue, or red ones.
To start, you can purchase new plates from Etsy or the PlayStation Direct Store. There are also numerous faceplate options on Amazon like this flashy gold one or this more subdued “cosmic red” option.
You might also need to remove the faceplates to perform some console maintenance and cleaning or if you want to install an internal SSD.
No matter your reason, removing PlayStation 5 faceplates is surprisingly easy. Here are the steps you need to follow:
- Turn off your console. Disconnect all devices and cables from your PS5. Wait a few minutes for the console to cool down.
- Place the console on a stable, flat surface and then remove the base.
- Position your PS5 in a way such that the power button is facing away from you and the PlayStation logo is facing up.
- Use one hand to hold your PS5 in place, and use your other hand to pull the faceplate up from the left-hand corner, or from where the PS logo is located.
- Once you’ve successfully dislodged the plate, keep applying upward pressure on the faceplate and slide it down along your console’s body until it comes free. You can discard the faceplate if you’re planning on attaching a new one.
- Position the new plate in such a way that it matches the previous faceplate’s orientation.
- Slide the new faceplate up the console’s body and in the opposite direction as you did when removing the previous faceplate.
- Once you’ve properly positioned the faceplate with the console’s body, apply a bit of pressure to the left-hand corner to firmly secure the new plate. You’ll hear a click once the faceplate is attached.
- Turn the console over and repeat the above steps for the bottom faceplate.
- Connect the base, cables, and AC power cord, and then turn on your console again.
All the aforementioned steps should be fairly easy to follow, and it won’t take you long to figure out. In fact, after a few tries, you’ll be able to change your faceplates in practically no time at all!
Where to Get New PS5 Faceplates

If you miss the classic all-black PS console, you can easily replace your PS5’s white faceplates with some new, shiny black ones. Reliable and popular brands such as dbrand design quality replacement faceplates for gamers who want the classic all-black look back.
They also include a few easter eggs, like their “legally distinct” PlayStation buttons located inside each faceplate.
If you want to add a bit more color to your console, you can even find creators on Etsy who make different colored faceplates. However, it’s important to note that the color range is usually limited to blue or red.
Sony has also started selling colored faceplates. Currently, only the US PlayStation Direct store is taking orders for the new PlayStation 5 covers.
Three colors (Galactic Purple, Starlight Blue, Nova Pink) are available for pre-order and will be available in June 2022, while Cosmic Red and Midnight Black are already available for purchase for both the standard and digital versions.
Does Removing the PS5 Faceplates Void the Warranty?
Sony has stated that removing and customizing the PS5 faceplates doesn’t void the console’s warranty, as long as the seal and serial number are still visible and intact.
However, if you send your console back for repair to Sony, there’s no guarantee that you’ll receive those customized panels back.