
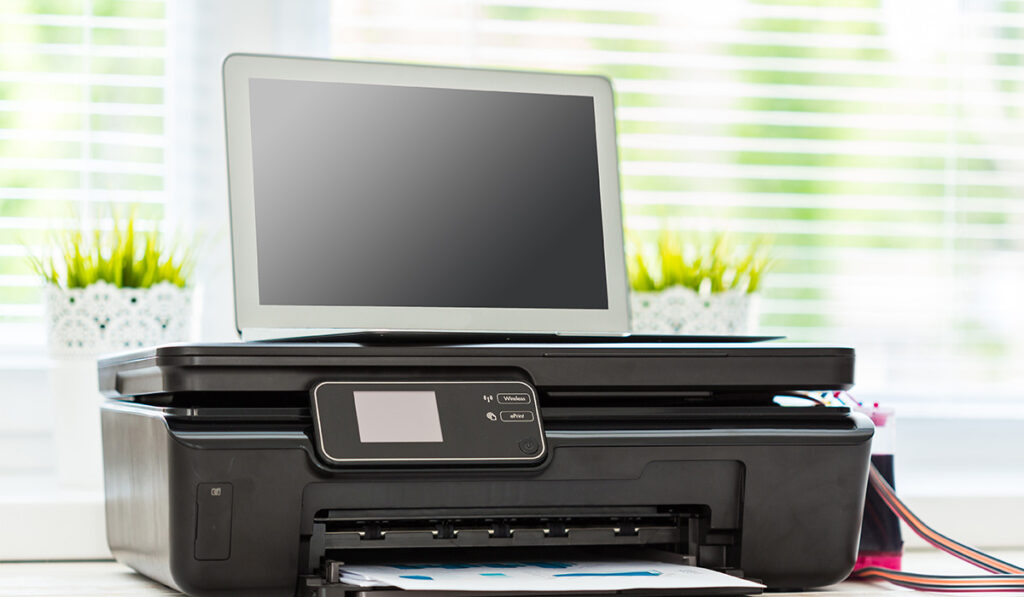
Scanning documents is a fantastic way to save physical documents like contracts or tax forms. Some jobs and services also require the scanning of documents that include sensitive information. So, how do you scan files on a Windows 10 computer?
Ensure your scanner is compatible, plugged in, and turned on. Use the Windows Scan App to select your device and adjust the settings before scanning your file. You can download the Scan App via the Microsoft Store by searching ‘Scan App.’ Scanned files are saved to the Pictures folder by default.
As you can see, scanning documents in Windows 10 is straightforward, and setting up your device typically takes less than 10 minutes. Let’s look at step-by-step instructions for scanning documents on Windows 10.
How Do I Scan a Document in Windows 10?

You can typically start scanning documents immediately after you’ve connected a scanner to your computer or added a scanner to your home network. If your device doesn’t automatically install, you can use the following steps to get started:
Install or Add a New Scanner
Most scanners will be set up automatically once you connect them to your Windows 10 computer. All you have to do is plug the USB cable from your device into an open USB port on your computer and turn the scanner on.
If that’s not the case, however, you can use the following steps to add a new scanner manually:
- Launch the Start Menu and type ‘Settings‘ into the Search Bar.
- Click on ‘Devices.’
- Next, select ‘Printers and Scanners‘ from the left-hand menu.
- Click the ‘Add a Printer or Scanner‘ button.
- Wait for your device to find nearby scanners. Once your scanner appears, select ‘Add Device.’
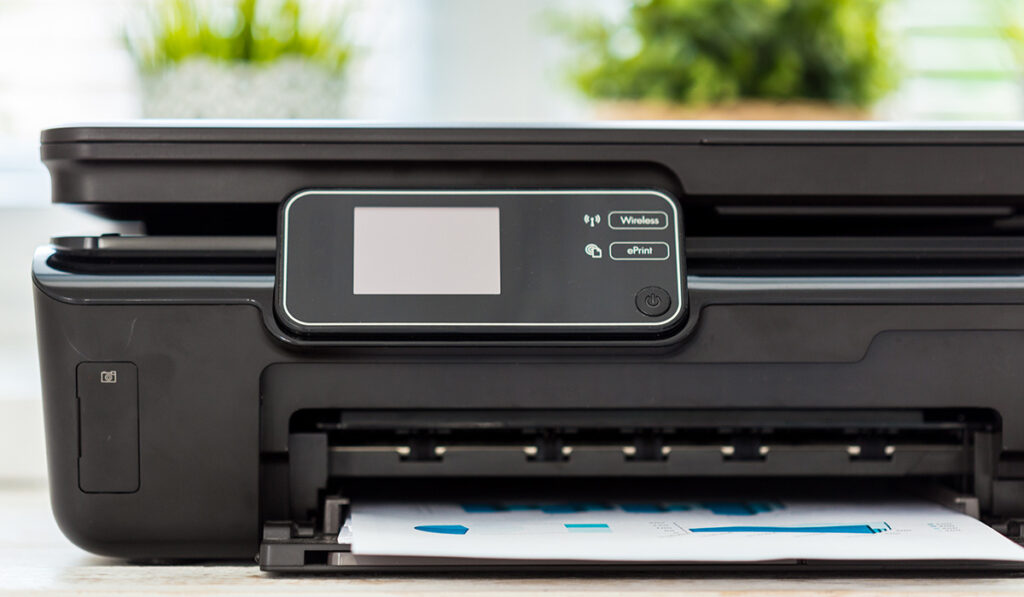
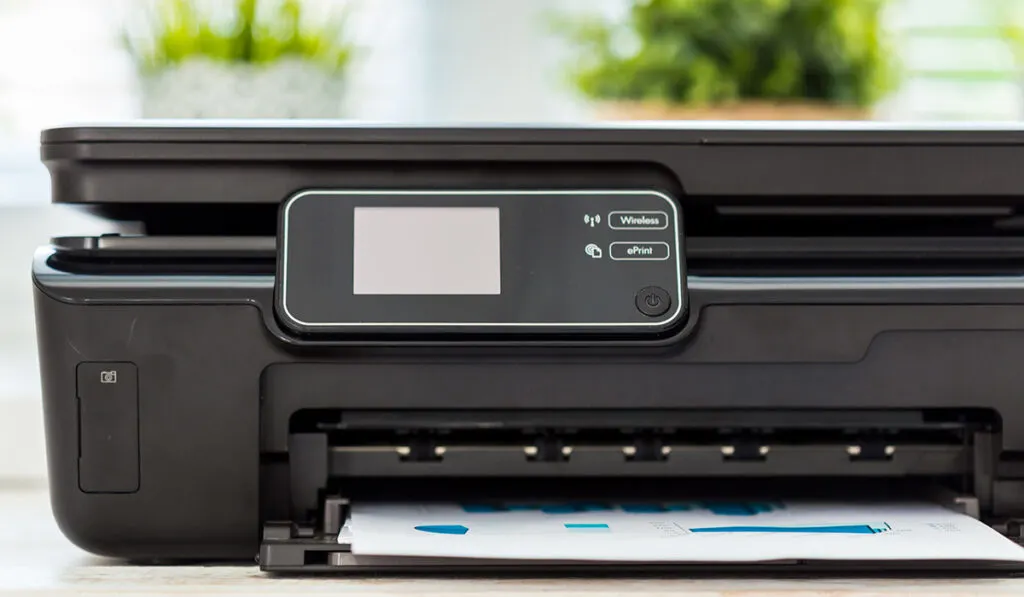
Note: If your scanner is an All-In-One printer, the name of the printer may appear. You can find your scanner under ‘Printers and Scanners‘ by selecting your installed device, clicking ‘Manage,’ and choosing your scanner.
How to Check if Your Scanner Is Windows 10 Compatible
Your scanner must be compatible with Windows 10 for it to work correctly. Use the following steps to determine if your device is compatible with your computer:
- Check the manufacturer’s website: Visit the manufacturer’s website for your scanner and inspect the compatibility information for your model. Many manufacturers offer updated drivers and software compatible with Windows 10.
- Check the Device Manager: Launch the Device Manager on your computer to check your scanner. If it’s listed without any issues, it’s likely compatible with Windows 10. Otherwise, you may need to update the drivers or software.
- Contact the manufacturer: When in doubt, contact the customer support line for your device. The support team should provide additional information on compatibility, drivers, and necessary updates.
Here’s How to Download the Windows Scan App
The Windows 10 Scan App is a built-in tool in the operating system that allows you to scan documents, images, and other files using a scanner. It offers a simple, easy-to-use interface, and you’ll need to install it before you can start scanning documents.
Use the following steps to download the Windows Scan App onto your computer or laptop:
- Open the Start Menu and select ‘Microsoft Store‘ on the right-hand side.
- Now, enter ‘Scan‘ into the search bar at the top of the window.
- The Windows Scan App should appear as the first result from the dropdown menu. Click on it to continue.
- On the following screen, click the ‘Get‘ button to download the Windows Scan App.
- After it’s finished downloading, press ‘Launch‘ to open the tool.
How to Scan a Document Using Windows Scan
Now that the Windows Scan App is installed on your PC, you can use the following steps to start scanning pictures or documents.
Step 1: Ensure Your Scanner Is Connected
First, ensure your scanner is correctly connected to your device.
The scanner should be plugged in and turned on. The name will appear on the left-hand side of the Scan App screen.
If you see an error message or can’t find your device for some reason, you may need to connect your scanner to your PC via USB or WiFi. Make sure it’s plugged in and turned on.
Step 2: Select the File Type
Now that your scanner is connected, choose the type of file you want to scan on the left-hand side of the Scan App menu. PNG is the default file type; it can be opened by most software.
Step 3: Select ‘Show More’ to Adjust the Settings
You can also select ‘Show More‘ in the Scan App menu to adjust additional settings, like the color, resolution, and file destination. You can skip this step and use the default settings if preferred.
Step 4: Position the Document Inside Your Scanner
Now, position the document you plan to scan inside your device. Your device might have face-down scanner glass or a face-up document feeder. Refer to your device’s specifications for the most accurate information.
Step 5: Click the Scan Button
Press the ‘Scan‘ button in the Windows Scan App once you’re ready to start scanning the document.
Step 6: Finish Up
Once the document has finished scanning, you can view it by pressing ‘View‘ in the Windows Scan App. The file will be saved in your computer’s ‘Pictures‘ folder unless you select a different location ahead of time.