
Screenshots are a convenient way to quickly capture and preserve whatever you’re viewing on your laptop. Thankfully, there are multiple ways to take a screenshot on a Windows 7 laptop — you just need to follow the proper steps.
To take a screenshot of the full screen on a Windows 7 laptop, hit the Windows key and ‘PrtSc.’ For a screenshot of just part of the screen, open the Snipping Tool and hit ‘New.’ Then, click and drag the cursor over the area you’d like to screenshot. Release the mouse to save the screenshot.
Once you’ve taken a screenshot on Windows 7, it’s also possible to modify the screenshot before you save it on your computer. Let’s go through how to take screenshots on an HP laptop in more detail so that you can easily capture whatever you need to.
Taking Screenshots on Windows 7


If you’re using Windows 7, you won’t have access to some of the more modern screenshot methods like Windows 10’s Snip & Sketch or Windows 8’s Alt + PrtSc. However, there are still two convenient ways to capture whatever’s on your screen.
If you’re using an HP laptop or a Lenovo laptop, we’ve created specific guides for screenshotting.
Print Screen
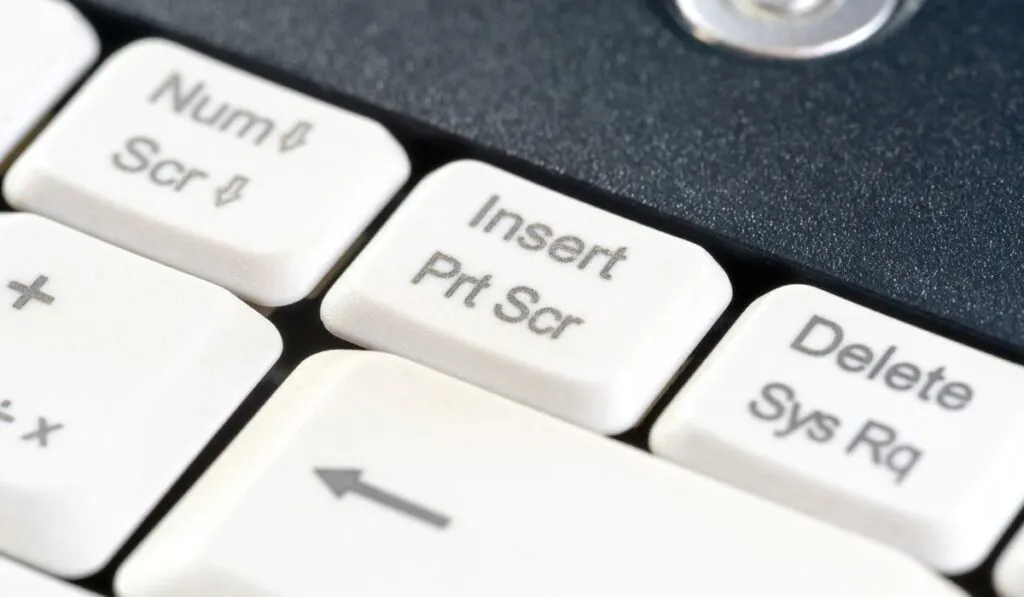
One of the least-used buttons on your laptop is probably the Print Screen key (often shortened to PrtSc). In fact, most users don’t even know where on the keyboard to find the key — but it’s usually located in the top right of the keyboard, and it’s great for taking screenshots.
To take a screenshot using the PrtSc key, hold down the Windows key on your keyboard (it looks like the Windows icon) and then hit the key that says either PrtSc or Print Screen while still holding the Windows key.
If your PrtSc key has other text on it (for example, some say PrtSc and then SysRq on the same key) then you may need to hit the FN key at the same time you hit PrtSc.
Once you hit the right combination of keys, you’ll know that you’ve succeeded if your screen flashes, letting you know that a screenshot has been taken. You can find your saved screenshot by navigating to the Photos folder and then opening a folder labeled “Screenshots.”
Snipping Tool
If you don’t want to take a screenshot of the whole screen every time you take a screenshot, there’s another feature known as the Snipping Tool that you can use. This tool allows you to take a screenshot of whatever section of your screen you want, and it’s very easy to use.
To open Snipping Tool, begin by opening the Windows menu by clicking on the Windows icon in the bottom left corner of your desktop, and then type ‘Snipping Tool‘ in the search bar. Once it appears in the list of results, click on the scissors icon that says ‘Snipping Tool‘ to open the Snipping Tool.
Once the Snipping Tool opens, you should see a small window with three main options: New, Mode, and Delay. In order to simply take a screenshot, all you need to do is select ‘New.’ This will result in a filter appearing over your screen and your cursor should turn into a plus sign.
Now, all you have to do is select the area you’d like to screenshot. To do this, hold down the left mouse button in the top left corner of the desired area. While still holding down the left mouse button, drag the mouse, and you should notice that your mouse is being used to create a rectangle.
Drag your mouse so that the area you would like to screenshot is within the rectangle that you’ve created. Once you’re satisfied with your selection, let go of the left mouse button and your computer will screenshot whatever location you selected.
After your screenshot is taken, a window will open featuring your screenshot. In this window, you can choose to draw on your screenshot with the Snipping Tool pen if you’d like. Once you’re satisfied, just click on the floppy disk save icon, select a location to save it, and your screenshot will be saved.
Keyboard Shortcuts for Taking Screenshots on a Laptop

As we’ve already covered, pressing PrtSc while holding down the Windows key is a great shortcut to take a screenshot of whatever’s currently on your screen. There is, however, another keyboard shortcut that you can use — but this one requires having Windows 10.
To do this, once again begin by holding down the Windows key, and then while still holding the key, press Shift and S at the same time. You’ll know you’ve done this correctly if your screen suddenly gets darker and your cursor turns into a plus sign.
Now, all you have to do is select the area you want to screenshot. To do this, hold down the left mouse button in the top left corner of the area you’d like to screenshot. While still holding down the left mouse button, drag the mouse and you should notice that your mouse is being used to create a bright rectangle.
Drag your mouse so that the area you would like to screenshot is in the bright rectangle you’ve created. Once you’re satisfied with your selection, just let go of the left mouse button and your computer will screenshot your selection.
How to Modify a Screenshot on a Laptop
As we mentioned before, when you use the Snipping Tool to screenshot an image, there’s a brief moment that allows you to modify the image before saving it. But what are your options here?
In Snipping Tool, you have three basic options: the pen, the highlighter, and the eraser.
Clicking on the pen allows you to draw on the image using your mouse, and it gives you a series of different colors to choose from.
The highlighter is a lot like the pen, allowing you to draw on the image. However, there’s one major distinction: the highlighter’s markings are see-through.
The eraser allows you to get rid of marks made by the pen and the highlighter. This is good for if you go a little too far with your penmanship and need to get rid of something.
As you’ve likely noticed, these options are pretty limited, and you may want to bring your image into a more advanced editor for further changes.
To do this, save your screenshot using the Snipping Tool and then open it with whatever image editing software you prefer. Good softwares to use include Gimp, Paint.net, Adobe Photoshop, or even Microsoft Paint. Each of these offers many more options than the Snipping Tool editor.
How to Save and Send a Screenshot on a Laptop
When you take a screenshot in Windows 7 and save it, it usually ends up in your Photos folder. To find this, open the file explorer and click on ‘This Computer.’ Next, you should see and select a folder named ‘Photos.’
If your screenshot was taken using the Snipping Tool, it should be in this folder, but if it was taken using the PrtSc key, then it’s probably in a folder within your Photos folder named ‘Screenshots.’
Now that you’ve found your photos, you can send them wherever you want.
To begin, open your email and begin to draft a new email. Select a recipient and then click on the paperclip icon that says ‘attachments.’ This should open a file explorer tab where you can find and select your screenshot from the Photos folder.
Now you can send the screenshot to yourself and access it from your phone if you’d like, or you can simply email the picture to someone else as needed.