
Switching iPhones with a friend or family member is a great and easy way to get the model you want at no additional cost. However, while it’s a relatively quick process, it comes with a hurdle; transferring your data to the new device.
Back up both devices to the owner’s iCloud account, or to iTunes on their computer. Manually save any information you may need to log back into authentication accounts. Then, reset and erase the phones, swap the sim cards, and log into the new owner’s iCloud account to restore from the backup.
Once you’ve got the backup down, the rest is a piece of cake. Switching phones with someone shouldn’t be a lengthy and daunting task. With the advancement in data storage technology, it shouldn’t take you longer than a couple of hours to smoothly transfer all your current device’s content to your new iPhone.
Can You Switch Your iPhones with Someone?
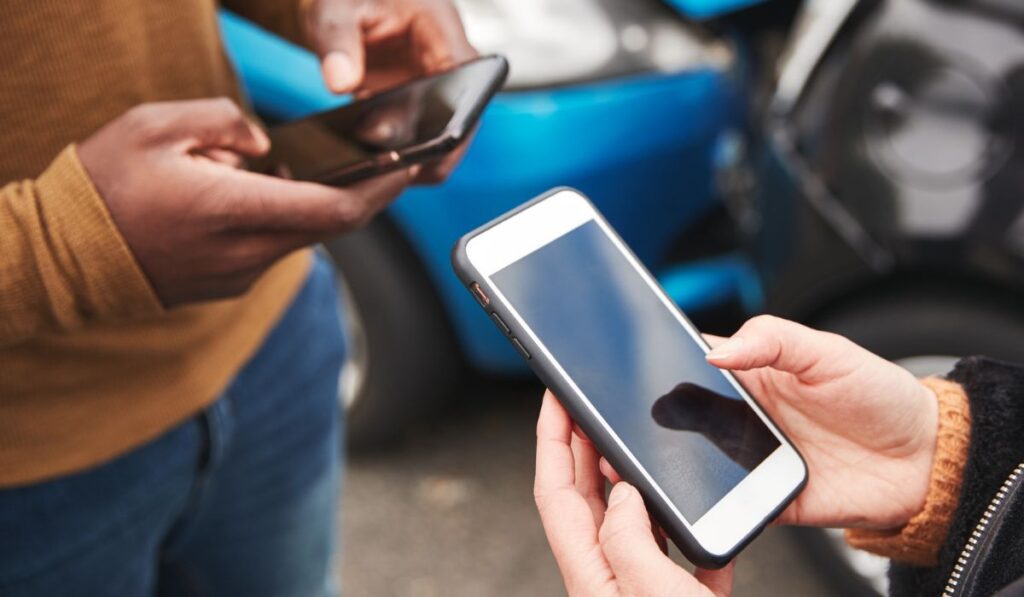

Switching your iPhone with someone may seem simple, they take your iPhone, and you take theirs; easy enough, right? Except, it’s a little trickier when looking at it from a technical viewpoint. That said, switching iPhones with a friend or family member is possible, but there are steps to take.
Back-Up All Data
Firstly, you’ll both need to back up all your data. The purpose of a backup is to make copies of your documents, personal information, photos, emails, and more, to protect them.
Backups make it possible to recover your data in case of a system failure or other situations that lead to data loss. Several backup methods are available for iPhone users. We will discuss some of them later on in the article.
Erase and Reset Both Phones
Secondly, you’ll proceed to clear both phones, but there’s a specific way to do it. You must tread lightly to avoid mistakenly erasing backed-up files when clearing both smartphones.
Once both smartphones have been cleared, you’ll need to restore your backed-up data onto the new devices. This part shouldn’t be too complex, depending on your backup method.
Other Things
Lastly, a few last-minute adjustments will need to be made to complete the process.
How to Switch iPhones and Keep All Your Data
Backup Your iPhone
There are several options available for you to backup your iPhone safely.
Backup with iCloud
iCloud is Apple’s virtual storage service. It allows users to store various file types easily, restore them or share them. iPhone users aren’t obligated to use iCloud, but many have noted that using the service makes storing data more convenient.
All it takes to start using iCloud is for you to create an account, then you automatically get 5GB of free storage.
To backup your iPhone with iCloud, follow these steps:
- Open Settings on your iPhone, then tap your name.
- Tap iCloud, then iCloud Backup.
- Turn on iCloud Backup.
Once the iCloud backup is turned on, it will set the backup process to happen daily.
Backup Your iPhone with Mac
The first thing to do before you proceed to back up your iPhone is to connect your smartphone to a trusted Mac. This can either be done with a USB cable or wirelessly over WiFi. To connect with a USB cable, connect the cable to your phone and plug the other end into the Mac port.
If you’ve never connected the devices before, your iPhone will ask whether to trust the device, select Trust. To wirelessly connect your iPhone to a computer, set up syncing over WiFi.
After connecting the two devices, proceed to the following:
- Open the Finder sidebar and select General right at the top of the window.
- Then, select, Backup all of the Data on Your iPhone to this Mac.
- Click Back Now to start the process.
- This option also allows you to encrypt your data with a passcode. Select Encrypt Local Backup before you start the backup,
Backup with PC

- Firstly, connect your iPhone and your computer with a cable or wirelessly.
- Launch the iTunes app on your PC and select the iPhone button.
- Select Summary, then click Backup Now.
- If you want to encrypt your data, click Encrypt Local Backup, enter a passcode and click Set Passcode.
Transfer and Remove Your Personal Information
The primary purpose of backing up your data is to allow you to retrieve it when you need it at a later stage. While backups are effective at storing a wide selection of data types, they don’t always save all your personal information, generally for security and privacy reasons.
Resultantly, certain information will need to be transferred to your new device manually. An example of data that is not included in a backup is data linked to an Apple Watch with Family Setup.
When it comes to data not included in backups, you’ll need to manually store them on your computer or any online storage tool and manually redownload them on your new device.
The next step would be to remove your personal information from your old device. The following need to be done if they apply to you:
- First, unpair your Apple Watch and cancel your device’s AppleCare plan if you bought one for your device.
- Next, log out of iTunes, the Appstore, and iCloud; Open Settings, click on your name, and right at the bottom, tap Sign Out. You’ll be asked to enter your Apple ID to complete the process.
- Lastly, remove your iPhone from your Trusted Device.
Erase the Content on Your iPhone
Once you’re sure to have backed-up all your data and transferred other personal information, you can proceed to erase your iPhone. This can be done directly from your device’s Settings app or a computer.
Erase Your iPhone with a Computer
Erasing your iPhone entails more than deleting apps, files, and so on; it comprises restoring your device to factory settings and subsequently installing the latest version of IOS. This makes it easier for the next user to transfer or restore their data. Follow these steps to erase your device safely:
- First, turn on your iPhone and connect it to a computer using a USB cable.
- Next, open the iTunes app on a Windows computer or Mac OS 10.14 and earlier models.
- From the iTunes app, click on the iPhone button, then click Summary and click Restore iPhone.
- Next, launch the Finder Sidebar and click on the iPhone button if you’re using a Mac OS 10.15 or later model.
- From there, click General, then click Restore iPhone.
Restore from Backup
This is the final step to successfully switching iPhones with a friend or family member without compromising your data. All your documents, files, apps, photos, and music will be downloaded onto your new device.
Essentially, your new iPhone will be a near identical replica of your old device. Since we highlighted three ways to back up your device, it’s only fitting that we discuss how to restore files from each of those backup locations:
Restore from iCloud
- Turn on your device and go to Apps and Data.
- From there, sign into your iCloud using your Apple ID. A list of backups will appear on your screen.
- Select a backup, preferably the latest one.
- The transfer will automatically start once you select a backup
- Purchases made through the App store or iTunes will need to be restored individually, using the Apple ID used to make those purchases
- Ensure your device remains connected to the WiFi throughout the entire process.
Restore from a Computer
- Depending on whether you have a Mac or PC, you’re going to either launch iTunes or the Finder window on your computer.
- After that, connect your iPhone and computer using a USB cable or a designated iPhone charger (on Amazon)
- Click on your phone when it pops up on iTunes or the Finder window, then select Restore Backup.
- Again, a list of available backups will appear, and you must select the most relevant one.
- From there, click Restore, and the restore will automatically start.
Conclusion
To recap on everything, you want to start with creating a backup of all your data using one of the three methods detailed above. Then, manually transfer additional information.
Following that, prepare your device for resetting; unpair your Apple Watch and other paired devices, and cancel any subscription plans. Finally, erase all the content on your device.