
When we think of screenshots, we usually associate them with our smartphones. However, laptops are also a device which people commonly want to use to take screenshots. So how do you take screenshots on a Thinkpad laptop?
There are several ways to take a screenshot on your Thinkpad laptop. The easiest way is to press the PrtSc or Printscreen button. You can also use the snipping tool which allows you to annotate your screenshots. You can also use the snipping tool to take pictures of menus on your Thinkpad laptop.
Screenshots are also subject to law and regulation, so don’t go too crazy taking screenshots just yet. Let’s look at the different ways you can take screenshots on your Thinkpad Laptop and any other information you may need to be aware of before you do so.
Different Ways to Screenshot on a Thinkpad Laptop
It is most likely that your Thinkpad laptop runs Windows. The windows operating system offers a few different ways to take a screenshot and is easier to trouble shoot than other operating systems.
Print Screen Method
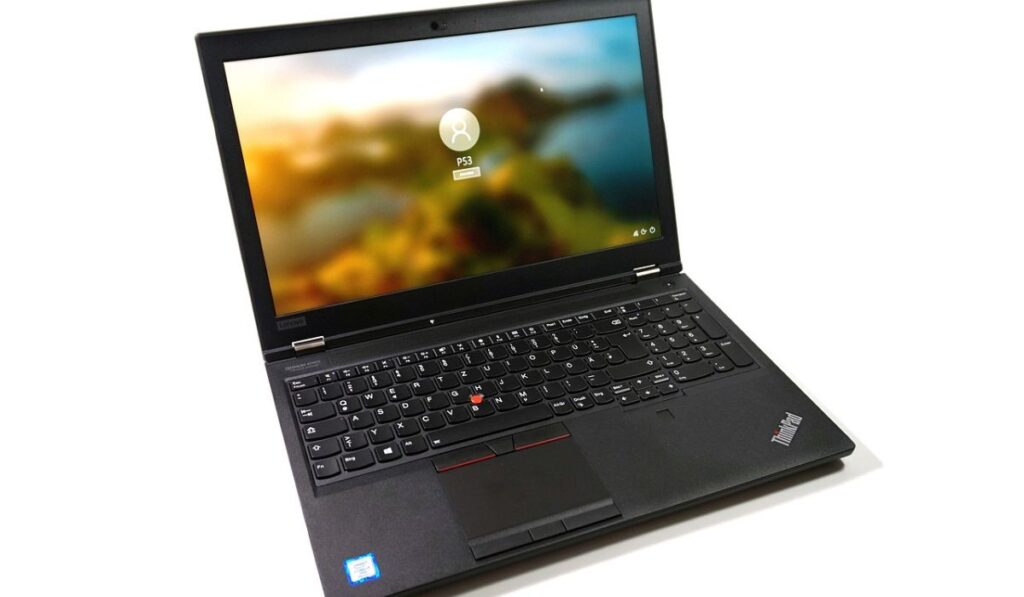
The easiest method for screenshoting on a Thinkpad laptop is to press the printscreen button. The key will be called ‘PrtSc.’ If there is no such key on your Asus laptop, refer to the user manual to see if the key is listed under another name.
Asus and other manufacturers often allocate secondary features to the function keys. For example, when you want to input the alternative function on the keyboard, you press the Fn.
The printscreen button is most commonly located near the Ctrl and Shift keys on the bottom left-hand side of the keyboard. By default, this button does not toggle under CapsLk (caps lock).
Instead, you must hold the key while using the alternative functions on the key. When you are done with the screenshot, a popup will request information regarding printing. Then, you select the JPEG format and save the image to your documents folder so that the screenshot doesn’t actually print.
Snipping Tool Method
The snipping tool offers more flexibility than the print screen button method. With the latest version of the snipping tool, you can choose what you want to screenshot, cut content, and much more.
To access the snipping tool, press the Windows logo key + Shift + S. You should note that the snipping tool works differently for different versions of Windows. To get the most out of the tool and access all its features, you must upgrade to the latest version of Windows.
Here are some of the features of the snipping tool:
Simple Selection
The snipping tool lets you easily capture anything on your device’s screen. If you have a fullscreen program, the snipping tool will drop down from the top of your screen as a compact widget.
The options presented are the rectangular mode, freeform mode, windowed mode, and fullscreen mode. Once you have chosen your screenshot option, you use a mouse or trackpad.
When the selection ends, or you let go of the mouse or your screen trackpad, the snip ends. Instead, you will see a popup in your notification pane at the bottom left corner. From here, you can open the image, edit it, and save or print the image.
Capture a Snip of a Menu
Sometimes, you don’t want to display anything but a window, like your email or browser. All you need to do is select the window mode from the snipping tool interface. With the option open, hover the pointer over the desired window and click.
Annotate a Snip
If you need to add annotations to a screenshot, as lecturers and teachers often need to, there is a simple way to do that with the snipping tool. What’s more, you need not use any third-party apps.
All you need to do is open the snipping tool from your list of software. The list should display when you press the Windows key. If not, try running a search from the start menu. (Windows 10 or 11).
When you use the full snipping tool, it is a rectangular app with more features than the compact menu. Once you’ve taken a screenshot, the app will pop back up with your screenshot in the menu below the options. Beneath the image, you will see editing and annotation options.
Save a Snip
On the top left of the snipping tool menu, you will see thee dots lined vertically. Click on them, and a submenu will open. Under this submenu, you see several options. The bottom two options are ‘save’ and ‘save as.’
Selecting the ‘save’ prompt will save over the original snip. If you prefer to keep the original image, you will choose the save as prompt. It will open a window that allows you to rename the image file. This way, when you select ‘save,’ you will still have the original and edited snip you saved.
Place the Snipping Tool on the Taskbar
If you use the snipping tool frequently, opening it each time can be daunting. Fortunately, there is an easy solution. When you open a program, you will notice its icon appears on the bar at the bottom of the screen. The bar is called the taskbar.
One of its best features is that you can right-click on any icons and select ‘pin to taskbar.’ That includes the snipping tool. So now you have quick and easy access to the snipping tool program.
How to Screenshot on Thinkpad Tablets
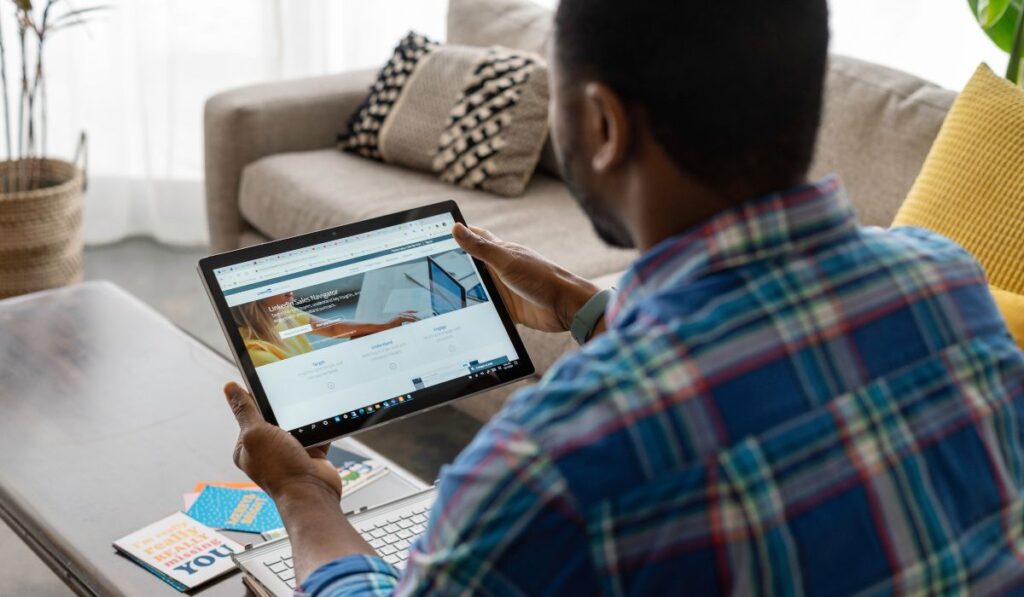

If you don’t like the above two methods, there is one final way you can take a screenshot. Do note, however, that this method is for tablets and may not work on the Thinkpad Laptop software.
To take a screenshot, press the power key and the volume down key at the same time and release quickly. You should see a screenshot appear in the corner of your screen. You may also inadvertently power down your tablet, though, so we recommend being cautious when using this method.
Is it Legal to Screenshot?
While it is mostly legal to take a screenshot, note that selling work which has been published by someone else can be considered illegal. This means you should only take a screenshot for your personal use. Also note that releasing someone’s personal information to the public, phishing, blatant identity theft, doxing, and cyberbullying are considered illegal, so never screenshot sensitive information.
Troubleshooting Tips
Struggling to get your Thinkpad Laptop to take a screenshot? We’ve got some troubleshooting tips to try.
- Update your graphics driver as there is a chance yours is out of date.
- Try a different tool if the first one in this article doesn’t work.
- Use an external keyboard just in case your attached keyboard isn’t working properly.
- If all else fails, restart your laptop!
If, after trying all of these, you still can’t take a screenshot, it might be time to contact a professional for help.