
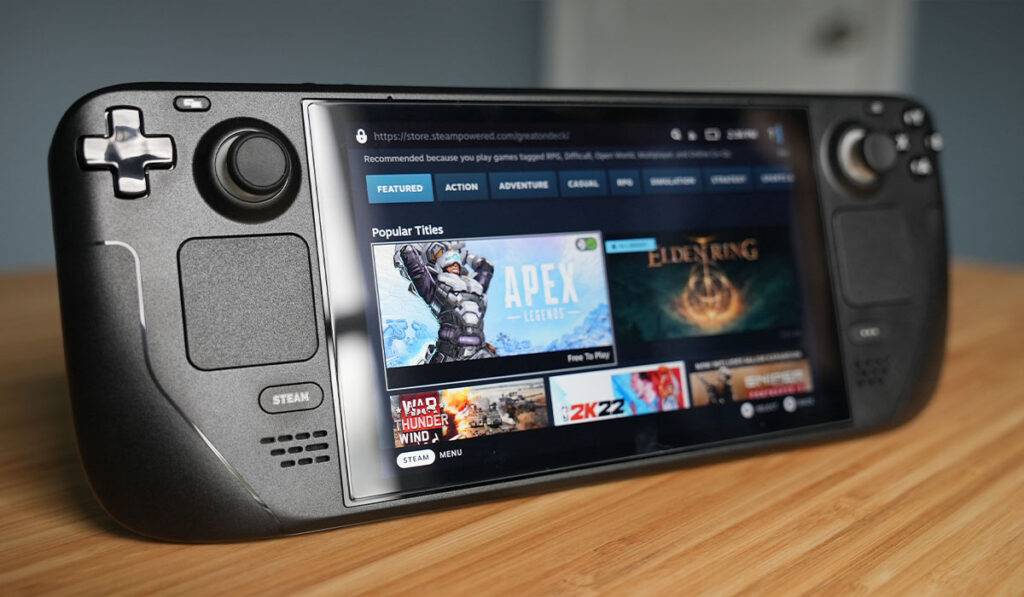
If you’re now getting to know the Steam Deck, the portable gaming PC that Valve released earlier this year, you’re likely wondering about its storage capacity. Between the three models available, you can opt for 64, 256, or 512GB of space. But can the Steam Deck’s storage be expanded?
The Steam Deck has both a microSD card slot and a non-embedded SSD. It’s easy to upgrade your Steam Deck’s storage by adding a microSD card. You can also replace the internal SSD, but the process requires technical proficiency, and you can potentially damage your device.
Using a microSD card with your Steam Deck is one thing, but opening up the system to replace its SSD drive is no walk in the park. You can encounter several hiccups along the way, so accurately following the steps will significantly reduce the risk of damaging your system.
Is 64GB Enough For The Steam Deck?

Of the three Steam Deck models available, the one offering 64GB of storage is the least expensive. However, it’s typically slower than the larger versions. Given that certain games have larger storage requirements, your options in terms of gaming selection will be limited. Also, installing Windows onto the 64GB model will be virtually impossible to get a full PC experience.
All things considered, the base model will do the trick if paired with a compatible microSD card offering sufficient storage space.
How To Upgrade Storage On The Steam Deck
Use A MicroSD Card
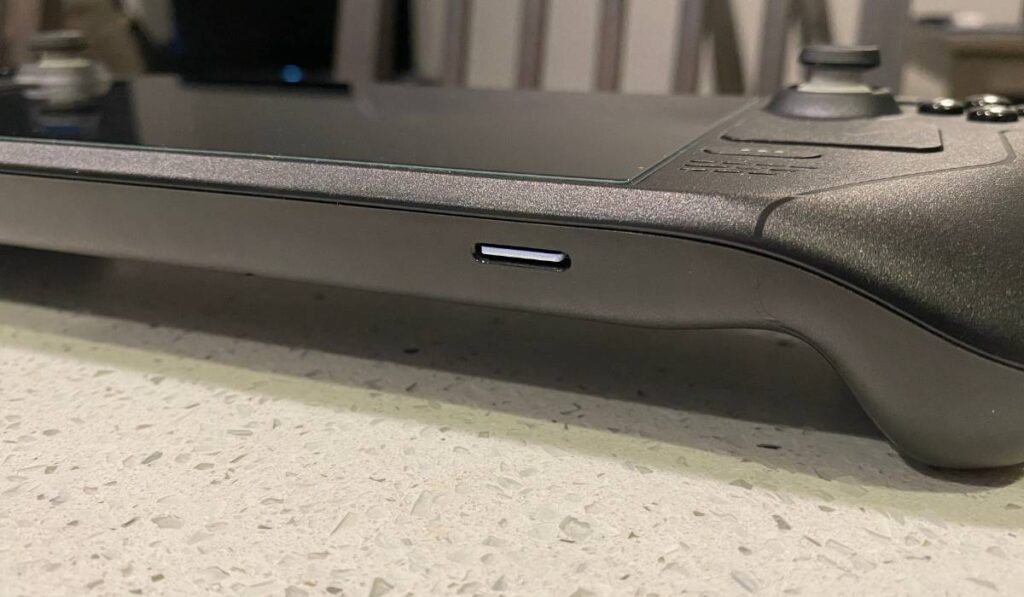
If you’re not willing to open up your Steam Deck and potentially compromise your machine, taking advantage of the Steam Deck’s SD card slot is a great way to increase its storage. All three models of the Steam Deck are designed with SD card slots. Depending on the model, you may even be able to fit in multiple cards to tap into a sizable external storage.
Note that the Steam Deck’s SD card slot is sized for microSD cards, not their fully-sized counterparts. This significantly narrows down your options, but there’s still plenty of cards on the market that can suit your needs. With a wide variety of compatible microSD cards to pick from, if you know what to look for, you should have no problem picking out a card that offers good value for money.
It’s worth noting that reading and loading times are typically faster when running games off the internal storage. So if your most significant concern is speed, this solution may not be for you.
What’s the Best Steam Deck Micro SD Card?
The best Steam Deck SD card will excel in three key areas: storage, write speed and value proposition. With that in mind, here are compatible microSD cards that check all the boxes:
- 512GB Samsung Evo Select microSDXC (on Amazon)
- 1TB SanDisk Extreme microSDXC (on Amazon)
- 256GB GB SanDisk Extreme MicroSDXC (on Amazon)
Replace The Steam Deck’s SSD (Difficult)
Another option for adding storage to your Steam Deck is replacing the SSD/NVMe drive. The Steam Deck’s 64GB base model features eMMC storage, while the other two models feature NVMe. Other than storage capacity, the most notable difference between the two storage types is that NVMe cards are fitted into a slot, while eMMC is typically soldered onto the motherboard.
In theory, the base model normally wouldn’t have upgradable storage. However, the 64GB Steam Deck model features an eMMC-type card fitted into a slot. Ultimately, it can be upgraded, but there’s a catch.
The Steam Deck is a complex and compact device, and the slot is buried so far down into its internal components that you’d need to take the whole thing apart to get to it. While disassembling your Steam Deck, you risk voiding your warranty and causing irreparable damage to your system.
4 Potential Issues With Opening Your Steam Deck
Players are gernally advised not to open their Steam Decks and here’s why:
Impacted Thermal Performance
Electronic devices like the Steam Deck produce heat. Those devices leverage thermal management systems to manage the internal temperature. These systems comprise techniques like potting, encapsulation, and gap fillers to control heat production.
That said, tampering with the internal components of the Steam Deck may compromise thermal management systems, which could cause your device to overheat.
Interference With Bluetooth or WIFI Performance
SSD cards emit radio frequencies. Several methods can be used to prevent these frequencies from interfering with the Wi-Fi or Bluetooth connection.
The Steam Deck most likely features a number of built-in radio frequency-blocking components that you may unknowingly tamper with when you disassemble the device.
Impact on The Battery
Another potential risk is that off-the-shelf SSD cards generally have larger power requirements. Given that the Steam Deck’s battery is susceptible to power changes, larger power requirements will overwork it and shorten its lifespan.
Reinstalling The Operating System
Lastly, one of the final steps of swapping out the SSD card is reinstalling the operating system. Again, this process can be quite challenging depending on how tech-savvy you are.
Furthermore, once you’ve reinstalled the OS, you may run into technical glitches like games only partially loading or not loading at all.
How To Replace The Steam Deck’s SSD Card
While it’s generally not recommended to open a Steam Deck, many people out there are completely comfortable with doing this. If you are one of those people, you should take a look at iFixit’s guide to swapping out the SSD.
You can also follow the simplified steps below:
- Start by placing your Steam Deck screen down on a flat, clean surface. You’ll then notice four screws on the outer corners of the cover. Using a screwdriver, remove the four screws and set them aside.
- Following the same process as above, remove the smaller inner screws. Once that’s done, use a plastic prier to loosen the cover. Gently lift off the case to reveal the board shield.
- Using a pair of tweezers or a plastic tool, gently remove the small piece of foil on the board shield to uncover the screws on the board shield.
- Use a screwdriver to remove the shield screws. Following that, simply lift off the shield and set it aside.
- Pull the thick battery cable away from the motherboard to disconnect the battery.
- You’ll notice a tiny screw securing the SSD card onto the motherboard. Remove it and lift up the SSD.
- The SSD should be covered with ESD shielding. Remove it and transfer it onto the new SSD card, then proceed to screw it onto the SSD slot.
- Once the SSD is secured onto the motherboard, reassemble the Steam Deck by following the above steps in reverse.
Conclusion
When it comes to adding storage to the Steam Deck, it might be best to remember the phrase “just because you can doesn’t mean that you should.” You can successfully replace the SSD card with the right tools and steps. However, given the potential risks and the device’s complexity, you’re better off using a microSD card.