
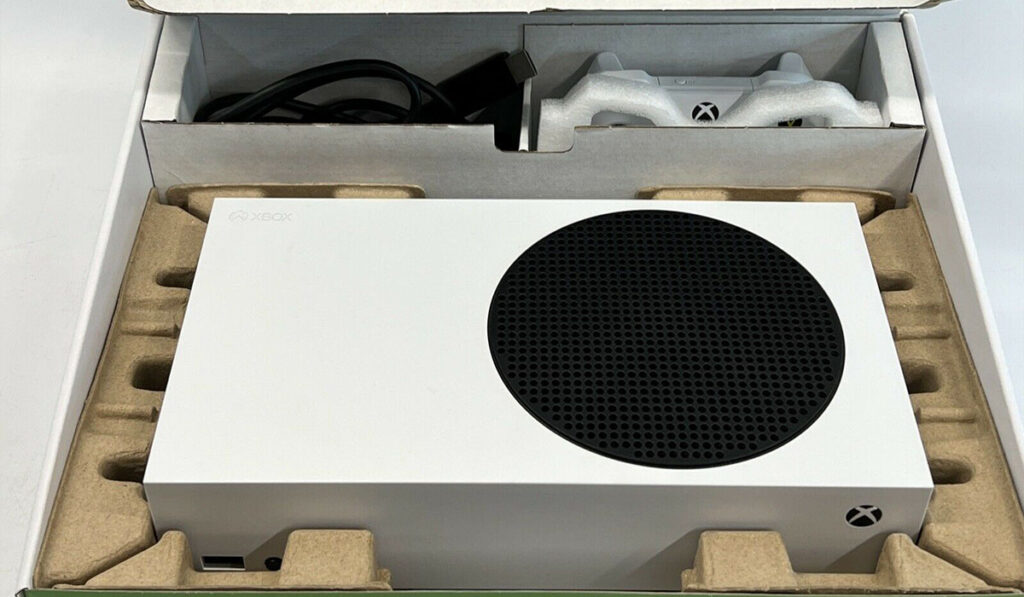
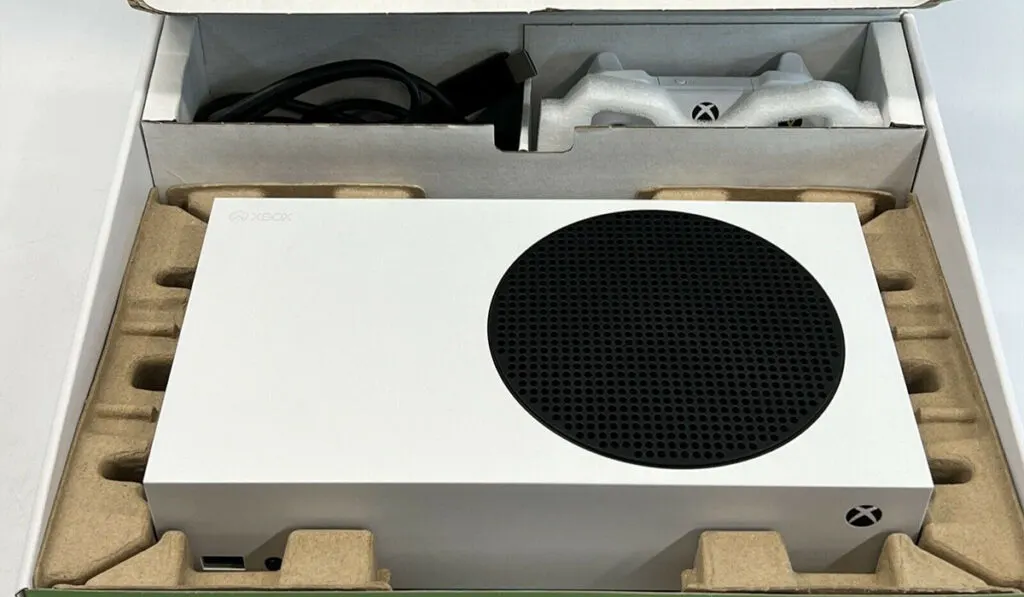
If your Xbox Series S is getting louder than expected or overheating unnecessarily, that’s a sign that your console needs a complete cleanup to prevent further damage. Dust quickly gathers within the console due to the fan’s activity, and the buildup means the fan has to work faster than usual, which can lead to overheating. So, how can you keep your console dust-free?
To clean inside your Xbox Series S, unplug the device and then unscrew the case. Use a can of compressed air to blow out any dust and other debris inside before carefully reassembling the console.
Let’s take a look at exactly how to take apart your Xbox Series S without causing any unwanted damages, and we’ll also consider how to clean it from the exterior.
Does the Xbox Series S Overheat?
Yes, the Xbox Series S can overheat, mainly when dust accumulates on its interior components. Overheating in an Xbox Series S rarely occurs, however, because the device is expertly designed with a built-in fan and vents to keep it cool.
In addition, there is a thermal management system that controls the console’s temperature, thereby preventing it from overheating. And by “preventing,” we mean “shutting the console down when it gets too hot.” This prevents damage from overheating, but it doesn’t mean overheating won’t interrupt you game in the event of an unexpected shutdown!
However, if extreme overheating occurs, such as in the case of excessive dust buildup, you may not be able to use the device for a long session or it could experience irreversible damages. You can add an aftermarket cooler like the Yuanhot Xbox Series S Cooling Stand (on Amazon) to buy time, sure, but you’re just delaying the inevitable cleaning that’s needed at that point.
How Do You Take Apart an Xbox Series S to Clean It?
Before taking an Xbox Series S apart to clean it, it’s advisable to use a magnetic mat (on Amazon) upon which you can place all the screws you remove from the device during the disassembling procedure. The mat prevents you from misplacing any of the screws in the process.
In addition, ensure you completely turn off your system before the cleanup by unplugging it from the main socket or power source. Once you’re ready to start, follow these steps to get the console apart, and then reverse them to put it back together1
- The first step involved in taking apart an Xbox Series S is to remove the two white coverings located on the base of the game console’s case near the connection ports.
- After that, you can unfasten the two screws hidden beneath with a T8 screwdriver (on Amazon), which will allow you to open the compartment entirely. The bottom case is freed once you remove the screws, leaving the inner component open.
- Then, turn this component over and remove the seven screws with a T10 screwdriver (on Amazon).
- Next, push apart the plastic case by the two edges and slide the chassis towards you, thereby freeing it from the case. This leaves the case empty — and probably with a lot of dust inside.
- Carefully remove the residue with any of the previously mentioned cleaning tools, focusing on both its interior and exterior. The same should also be applied to the freed chassis.
- After brushing dust off the piece, rejoin the plastic case to the framework, returning the screws accordingly with your T8 and T10 screwdrivers. Once the device is reassembled, you can then reconnect it to the primary connection and return your console to its former spot.
How Do You Clean the Dust From an Xbox Series S Without Opening It?
Opening your Xbox is no simple task, so there are times when you’ll just want to clean it from the outside as much as possible. Here’s how to do that:
- Switch off the console by long-pressing the Xbox logo button on your controller until a new menu comes up. Choose the ‘turn console off’ option and wait for it to power down. Afterward, disconnect every cable from the device and unplug the device itself from the wall.
- Take a dry, clean microfiber cloth (on Amazon) to wipe the dust and dirt from the exterior of the console’s surface. To clean the console’s vent, direct the material across any vent ports that have collected dust on them.
Avoid putting the cloth into the vent as it could cause more issues with the heat sink. You should know that the heat sink helps maintain a cool temperature for the console by removing the hot air from the interiors. - Alternatively, you can also use pre-wetted disinfectant wipes to clean the Xbox’s exterior, then use compressed air or a vacuum cleaner with an attached hose to blow out the dust from the interior.
How to Clean an Xbox Series S Controller
The Xbox Series S uses a similar controller to the Xbox Series X. This means they have comparable cleaning methods that involve these cleaning tools: toothpicks, a microfiber cloth, 70% isopropyl alcohol (on Amazon), and canned compressed air (on Amazon).
If you already have these tools, then follow the detailed directions below on how to go about cleaning your gaming controller.
- The first instrument you will be using is your canned compressed air. Use it to disperse the dust on your controller’s surface; it can also blow away any slack or large dirt scraps.
- Utilize the isopropyl alcohol to wet the microfiber cloth, and then use the moistened cloth to wipe your controller. Since you have already removed the dust with the compressed air, less dirt will stick to your microfiber cloth, making it more adequate for cleaning your controller.
- As you clean the controller, focus on the thumbstick’s base and the internal space between the buttons; more dust gathers in these spots. After cleaning, avoid wiping the controller with tissues or a towel, as this will leave fluff.
- The next part to clean is the gamepad’s fissures, for which you can use toothpicks to remove any dirt within. They should also be used to clean the raised circle on the controller thumbsticks and the edges.
- Use the compressed air again to blow air on the controller, thereby removing any more dirt freed by the toothpick. Then, clean up the controller with the microfiber fabric a final time to guarantee a smooth finish.