
Many gamers prefer the Nintendo Switch Pro Controller to the Joy-Cons that come with their console, since the Pro Controller is a more traditional design that many are familiar with. However, you won’t be getting much out of a Pro Controller if you don’t know how to connect it. So, how do you connect a Pro Controller to a Nintendo Switch?
To connect a Pro Controller to your Nintendo Switch, first try plugging the controller into your Switch using the USB-C cable that came with the controller. To connect via Bluetooth, go to the controller settings and select ‘Change Grip/Order.’ Then hold down the sync button on your controller.
As you can see, getting your controller hooked up is pretty straightforward, but there are a few important things to be aware of as you proceed. Let’s get into this topic in more detail so that you can get started with your Pro Controller.
Getting Started


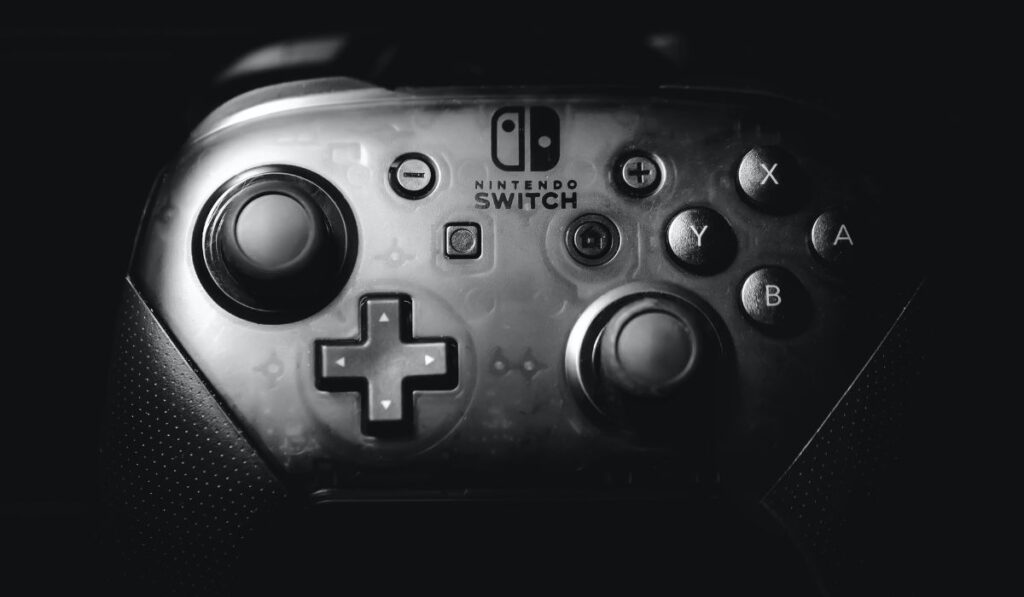
The Pro Controller (on Amazon) is often seen as the best possible controller to use with the Nintendo Switch. However, if you’ve never used one before, it can be a little confusing to figure out how to use it in the first place.
There are actually two different methods to connect your Pro Controller to your Switch. You can connect via a USB-C cable, or through a Bluetooth connection. The USB-C connection should work for every Pro Controller, regardless of brand.
However, some cheaper Pro Controllers don’t have Bluetooth capability. These controllers should be properly labeled as wired-only Pro Controllers. If you have a wired-only Pro Controller, you’ll only be able to connect through the USB method.
If you get a wireless Pro Controller, it should come with a USB-C to USB cable in the box. However, if it doesn’t, you can get this MENEEA brand cable (on Amazon) for around $10.
Connecting Your Pro Controller to Your Switch
As we mentioned, there are two different methods you can use to connect your Pro Controller to your Switch: through USB and through Bluetooth. Let’s go through how to connect using each of these.
Connecting Through USB
Connecting a Pro Controller to a Nintendo Switch via USB is a simple process that can be completed in just a few steps. Here’s how to do it:
- Connect your Pro Controller to your Nintendo Switch with a USB-C cable.
- Turn on your Nintendo Switch by pressing the power button on the top of the console.
- Once your Switch is on, press the Home button on your Pro Controller.
- The controller should automatically sync with the console. If it doesn’t, press the Sync button on the top of your Pro Controller.
- Wait for a few seconds while the console detects the controller. Once the controller is connected, the player LED on the Pro Controller will light up, indicating which player the controller is assigned to.
You’re now ready to play your favorite games on your Nintendo Switch using the Pro Controller. It’s important to note that not all games are compatible with the Pro Controller, so be sure to check the game’s compatibility before attempting to use the Pro Controller.
Also, keep in mind that using a wired connection can be beneficial in some situations, such as if you experience connectivity issues or if you want to conserve battery life on your controller. That said, it has been proven that using a wired Pro Controller results in more input lag, so if you’re playing a very technical game, you may get the edge you need by unplugging your controller.
Connecting Through Bluetooth
Connecting your Pro Controller to your Switch via Bluetooth is a simple process that shouldn’t take more than a couple minutes. All you have to do is follow these steps:
- Make sure that your Nintendo Switch is turned on.
- Next, turn on your Pro Controller by pressing and holding the circular button with the home logo on it.
- On your Nintendo Switch, navigate to the Home menu and then go to System Settings.
- From there, select Controllers and Sensors, and then select Change Grip/Order. The Nintendo Switch will search for nearby controllers.
- Locate the sync button on the back of your controller. The sync button is a small circular button located next to the USB-C port. Press and hold the sync button and your controller should appear on your Switch’s screen.
At this point, your controller should be successfully connected. Once again, it’s important to note that not all games are compatible with the Pro Controller, so be sure to check the game’s compatibility before attempting to use the Pro Controller.
How Does the Pro Controller Compare to the Joy-Cons?
The Nintendo Switch Pro Controller is a traditional game controller designed for use with the Nintendo Switch console. It features a more traditional design and layout compared to the Joy-Con controllers that come with the Switch.
The Pro Controller is larger and more comfortable to hold, with a more ergonomic grip that makes it easier to play for extended periods of time. It also has larger buttons and more responsive triggers, which can be particularly beneficial for games that require precision movements and actions.
One of the biggest advantages of the Pro Controller is its battery life. While the Joy-Cons last for around 20 hours on a single charge, the Pro Controller can last for up to 40 hours, making it ideal for long gaming sessions. The Pro Controller also has a built-in accelerometer and gyroscope, which allows for motion controls similar to those found in the Joy-Cons. Using a controller is also a way to sidestep JoyCon performance issues.
On the other hand, the Joy-Con controllers offer a lot of versatility and flexibility. They can be used in a variety of configurations, such as attached to the console itself, attached to a grip to create a more traditional gamepad, or even used separately as two individual controllers for multiplayer games. The Joy-Cons also have additional features like HD rumble and IR motion sensors, which can provide more immersive gaming experiences.
Ultimately, the decision between the Nintendo Switch Pro Controller and the Joy-Cons comes down to personal preference. If you prefer a traditional gamepad with a longer battery life, the Pro Controller is the way to go. But if you value versatility and the ability to play in a variety of configurations, the Joy-Cons may be the better choice.
Maintenance and Care
Proper maintenance is essential to ensure that your Pro Controller remains in good condition and functions optimally. Here are some tips on how to maintain your Nintendo Switch Pro Controller:
- Make sure to clean the controller regularly. The controller is prone to collecting dust, dirt, and grime from constant use. Use a soft cloth or microfiber towel to wipe down the controller and remove any buildup.
- Avoid spilling liquids on the controller or exposing it to moisture. Moisture can damage the internal components of the controller and cause it to malfunction.
- Make sure to store the controller properly. When not in use, store the controller in a cool, dry place. Avoid exposing it to direct sunlight or extreme temperatures.
- Consider using a protective case — like this one (on Amazon). Investing in a protective case for your controller will help prevent scratches or damage when transporting it.
- Avoid dropping the controller. Dropping the controller can cause damage to the internal components and affect its performance.
By following these tips, you can ensure that your Nintendo Switch Pro Controller remains in good condition and functions optimally for years to come.
How to Troubleshoot Connection Issues
If you’re experiencing connection issues between your Nintendo Switch and a Pro Controller, you can see our full guide for more info, but there are a few steps you can take to troubleshoot the problem quickly and easily:
Firstly, make sure that both the Switch and the Pro Controller have enough battery life. If the battery is low, the controller may have trouble connecting. Try charging both devices and then attempting to connect again.
If the battery isn’t the issue, try resetting the Pro Controller by pressing and holding the sync button on the top of the controller for at least five seconds. After releasing the button, try to connect the controller to the Switch again.
If resetting the controller doesn’t work, try resetting the Switch itself. Go to the System Settings menu, select Controllers and Sensors, and then select Disconnect Controllers. Choose the Pro Controller from the list of connected devices and then select Forget. After the controller has been forgotten, try connecting it again.
If none of these steps work, there may be interference from other wireless devices in the area. Try moving the Switch and the Pro Controller closer together, or try connecting the controller in a different room. If you have other wireless devices nearby, try turning them off to see if that helps with the connection issue.
If all else fails, contact Nintendo customer support for further assistance. They may be able to offer additional troubleshooting tips or help you determine if there’s a hardware issue with your Switch or Pro Controller.