
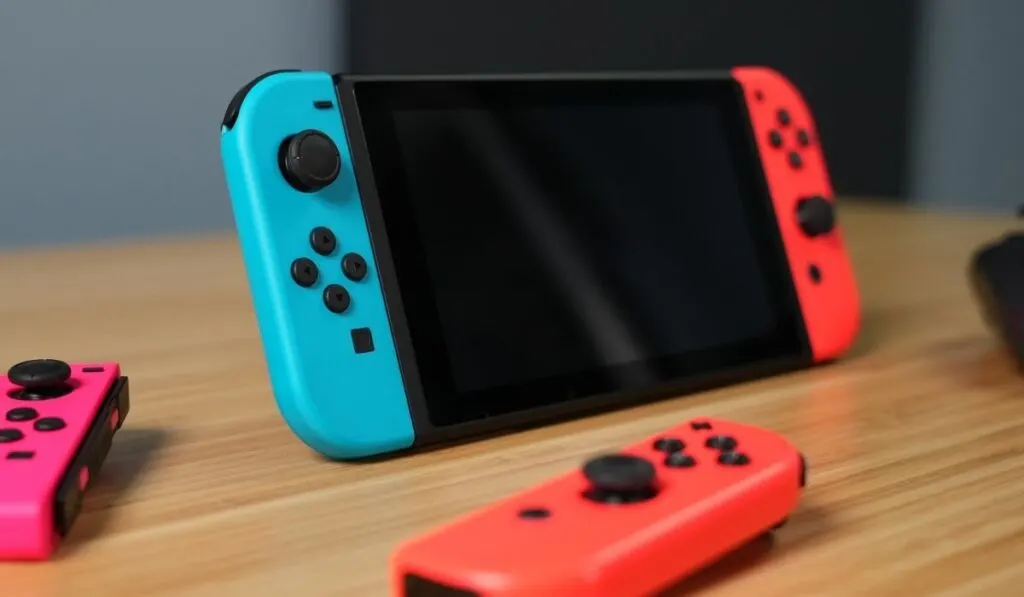
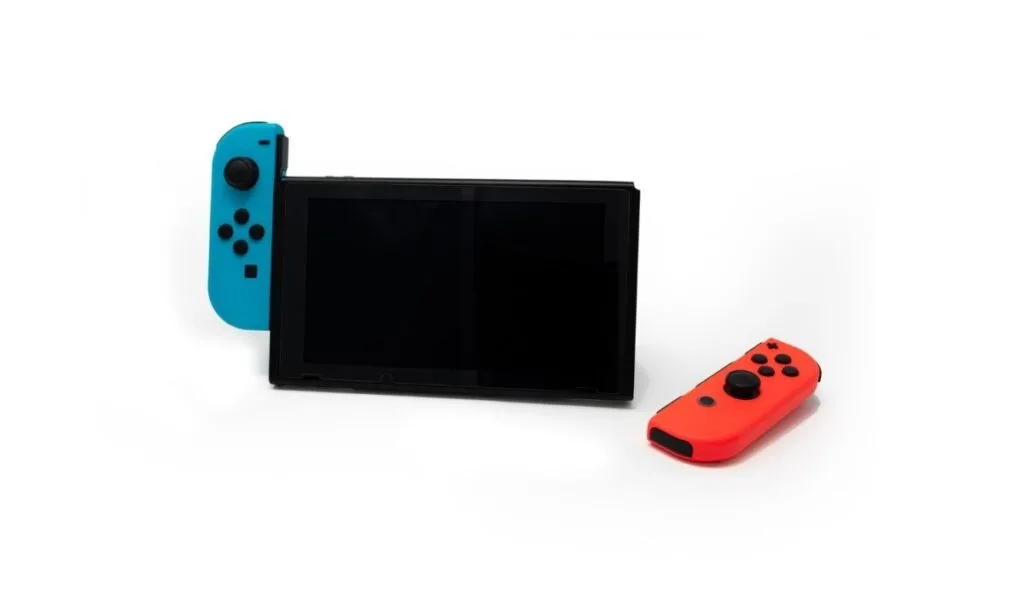
The versatile hybrid capability, strong roster of games, and innovative gameplay make Nintendo Switch one of the most successful consoles of all time. But as is the case with any technology, you might experience some glitches while using this device. One common problem with Nintendo Switch is that the power button can malfunction.
A faulty power button on your Nintendo Switch could indicate a dead battery, a hardware/software problem, or simply that the button is broken. Most often this is a symptom of a dead battery, so try plugging the Switch in and restarting it before considering an issue with the physical power button.
A faulty power button on your Nintendo Switch console means you can’t power up or switch off the gaming machine when you need to. If your console is in sleep mode, it might even get stuck and refuse to wake up. Let’s take a look at the causes of this issue and what you can do to fix it.
Why Is the Nintendo Switch Not Turning On?

There are various reasons why your gaming console might not be turning on, including:
- Lack of battery charge: If you press the power button and there’s no response, don’t panic — this could be a simple case of a dead battery.
- Software issues: Your gaming console might not turn on because of software issues, which is a common problem.
- System damage: Like any gaming console, Nintendo Switch can suffer internal failure for various reasons. If an important component breaks down, this means the rest of the system won’t power up when you press the power button.
- Power supply issues: If you’ve connected your gaming console to the power supply and it won’t turn on, this could be a problem with the power outlet, cable, or power strip. If you’re in the middle of a gaming session and the machine powers down, try pressing the power button.
So, let’s dive into this issue, and be aware of our related guide on how to fix a Switch that won’t turn on at all, which may be related to the issue you’re experiencing here.
How to Fix a Nintendo Switch Power Button That’s Not Working
If the power button on your Nintendo Switch won’t work, you’re probably searching for a quick solution to get back to your games. Here are a few ideas to fix a non-functional power button on your gaming console:
- Restart your console: Press and hold the power button down for about 12 seconds until the Switch console turns off. Release the power button and then press it once again to turn on the device.
The console’s screen goes dark before rebooting with a display of the Nintendo logo. If the problem persists, your Switch console might have a more serious problem that requires repair.
- Charge your Switch console: If you haven’t used your gaming console for some time, the machine might not turn on, and it might take awhile to charge. We’ve written on how it takes about 15m to charge a fully dead Switch from 0 to 1%, and after that it will take 3.5-4hrs to charge in full.
Just place your Switch console on its dock or plug the (USB-C) cable in directly to charge. Wait for about an hour as the battery charges and try pressing the power button once again.
If the console turns on, continue charging for three hours. But if the device doesn’t turn on, consider professional repairs or a replacement of the power button. And if the charging does fix your power button problem, but the Switch still charges too slowly, or runs down too quickly, be sure to see our related guides for handling those situations.
- Nintendo Switch repairs: If your Switch console won’t turn on after trying out everything else, take it for professional repairs. Check the warranty details and confirm which dealer can service the machine.
- Replace the power button: If all the other fixes have failed, replacing the power button is the most effective solution. This is a DIY project that you can do at home with the right tools.
How to Replace the Power Button on Nintendo Switch

If you’ve tried all methods but your Nintendo Switch console still won’t turn on, the best solution is to replace the power button. Here are steps to follow for the repair process:
- Get a standard repair tool kit: A basic electronic repair kit (on Amazon) helps you to fix issues on electronic devices like the Nintendo Switch. The kit contains multipurpose tools, a spudger, and a suction cup.
- Power off the Switch console: For safety reasons, hold the power button down to turn off the device. Don’t open electronic devices connected to a power outlet.
- Remove the rear case: Use the tri-wing screwdriver to unscrew the four main screws on the back of the console. Next, unscrew the screws on the upper side of the console, the two screws next to the dock connector and the single screw near the kick stand. For these screws, you need a cross headed screwdriver.
Finally, use the same tool to remove the screws on the edges of the console. Lift the rear case to reveal the internal system of your console. - Remove the MicroSD reader: Unscrew the screw holding this section and use tweezers to hold the foam covering the MicroSD reader. With the help of a spudger, discontent the MicroSD reader connector from the motherboard.
- Remove the metal shield: Remove the six screws securing the metal shield.
- Disconnect the battery: Using the spudger, lever up the battery’s connector cable (white part).
- Remove the heat sink: Use the cross headed screwdriver to unscrew the 3 screws securing the heat sink and remove it.
- Remove the games cartridge reader/jack plug: Unscrew the screws holding the games cartridge reader/jack plug and use tweezers to carefully remove the protective plastic bracket.
- Remove the fan: Unscrew the fan and use the spudger to disconnect the fan connector cable before removing it.
- Remove the power button: With the spudger, unlock the latch on the power button cable connector. Continue using the spudger to detach the cable from the frame and finally remove the button.
- Replace the power button: Use a high-quality replacement cable (on Amazon) in place of the faulty one.
- Now you can reassemble your Nintendo Switch by following these steps in reverse order.
Other Nintendo Switch Troubleshooting
This is a pretty rogue issue, but we hope you’ve found some forward motion in this article! We’re experts on all things Switch, so, if you run into more problems be sure to see our guides on fixing a Switch or Switch Lite that keeps freezing, what to do if your Switch keeps crashing during gameplay, or what to do if it’s just running a bit too slow. From Nintendo Switch water damage to infinite Switch update loops, we’ve seen it all before!