
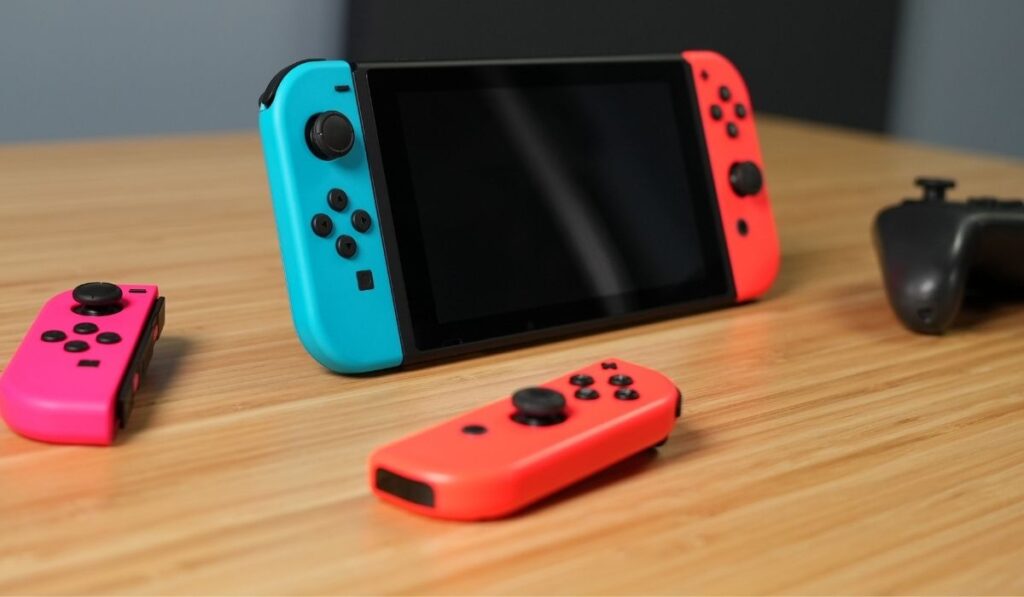
The groundbreaking Nintendo Switch gaming console has been praised for its portability, motion gaming (like in Ring Fit Adventure), and other innovative features. But as you use the Switch console, one problem you might encounter is a loud buzzing sound. Some noise from the console’s fan is to be expected, but the sound is especially bothersome, it might signal a problem.
Constant Nintendo Switch buzzing usually occurs due to a faulty cooling fan. To temporarily resolve the problem, you can clean the fan with compressed air or add an external fan. However, replacing the broken fan is a more effective and long-term solution to the problem.
The constant buzzing of a Nintendo Switch can ruin the overall gaming experience. To fix the issue, you’ve got to learn how to fix a problematic fan. Let’s take a look at how to address this problem so that you can continue gaming in peace.
Why Is the Nintendo Switch Making Buzzing Noise?

Nintendo Switch offers an incredible gaming experience, and it’s no wonder there are over 93 million consoles sold to date. But no console is perfect. As you immerse yourself into your Switch games, you might notice a loud buzzing noise, especially after hours of gaming.
If there’s unusual noise from your game console, the moving parts in the machine are probably the main culprits. The speakers and the motor in the Joy-Con controller might make some vibrations as you play, but such noise is barely noticeable.
A broken internal fan, however, is a more likely cause of the buzzing because it blows continuously as you play. This also may sound like a high pitched buzzing, and it’s usually a tell-tale symptom of your Nintendo Switch overheating, or, indeed, your Switch Lite overheating.
The cooling fan works to protect the delicate internal components from extreme heat. As you play, your console’s processor generates a lot of heat; that heat would destroy the system without the cooling fan.
As the fan blows, you’ll notice some low humming noise similar to what you hear in any machine with a processor or motor unit. If the noise turns into constant buzzing, then you have a faulty fan that requires immediate repairs.
How to Fix a Buzzing Nintendo Switch Fan
Constant buzzing from your Nintendo Switch fan is a warning sign that the fan has a problem and might fail at any moment. A cooling fan malfunction makes your console vulnerable to heat damage.
You might notice other overheating warning signs such as poor load speeds, slow liquid crystal displays, and extreme surface temperatures.
After troubleshooting and identifying the fan as the cause of the buzzing sound, you need to fix the cooling system. Here are some possible ways to fix the buzzing fan:
- Use an additional external fan: The Nintendo Switch console’s internal fan might not be enough to cool the system. The bothersome buzzing sound is a sign that it’s overworking and requires extra help. To solve the problem, connect an external cooling fan using a USB plug and set it to the desired speed setting.
- Use compressed air: If you notice constant buzzing after a long time of docking or playing, consider spraying your console with compressed air. This is a quick fix if the internal cooling system has failed or the machine has dust blocking the fan. Avoid blowing the compressed air directly into the fan to avoid further damage to the cooling system.
- Replace the internal fan: If the buzzing sound doesn’t resolve after using compressed air or adding an external fan, you may want to replace the fan entirely. If you have the necessary technical skills, a DIY fan replacement is a good option. Take care not to damage sensitive internal parts of your gaming machine in the process.
- Professional cleaning: Your gaming console collects a lot of dirt and debris, and the material might block the cooling fan. Regular cleaning of the internal system protects the fan and allows it to work seamlessly.
How to Replace a Nintendo Switch Fan

If the irritating buzzing sound is interfering with your Nintendo Switching experience, consider replacing the faulty fan. After trying all the other methods to resolve a faulty fan, replacing the cooling component becomes the most effective solution.
Here are the steps to follow if you wish to replace a Nintendo Switch fan:
- Buy a replacement fan (on Amazon) for your Nintendo Switch: Go for the best-quality replacement fan and check the reviews to determine the reliability and warranty offered. Check the compatibility of the replacement fan using the model number and confirm if it works for your Switch model.
- Get the tools for the job: Tools you’ll need include a Y00 screwdriver (on Amazon), a JIS #000 screwdriver (on Amazon) , tweezers (on Amazon), spudger (on Amazon), microfiber cleaning cloths (on Amazon), isopropyl alcohol (on Amazon), and K5-pro viscous thermal paste (on Amazon).
- Turn off the console: Switch off the Nintendo Switch and unplug all the cables and cords.
- Open the gaming machine: First, remove the Joy Con controllers. Use the Y00 screwdriver to remove the backside screws and the JIS 000 screwdriver for the top, side, bottom and the kickstand screws.
- Remove other components: Open the game card cartridge flap and use the JIS 000 screwdriver to remove the microSD card reader with the tweezers. Use the same screwdriver for the shield plate. Carefully peel away the foam at the fan exhaust port and use a spudger to lift the shield plate.
Disconnect the battery, remove the heat sink, headphone jack, and game card reader, and, finally, the fan. Remove the old thermal paste from the CPU with a microfiber cloth dabbed in the isopropyl alcohol. - Replace the fan: Insert the new fan, placing it in the same position that the old one was in. Return each component using the right tools and apply new thermal paste where you had removed the old material. Dispose of any e-waste properly.