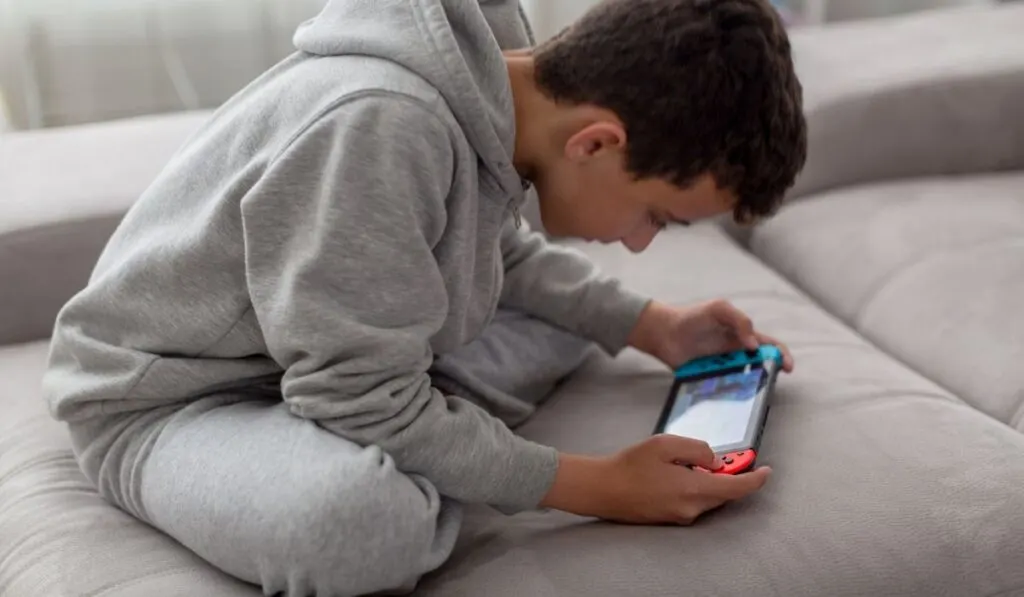
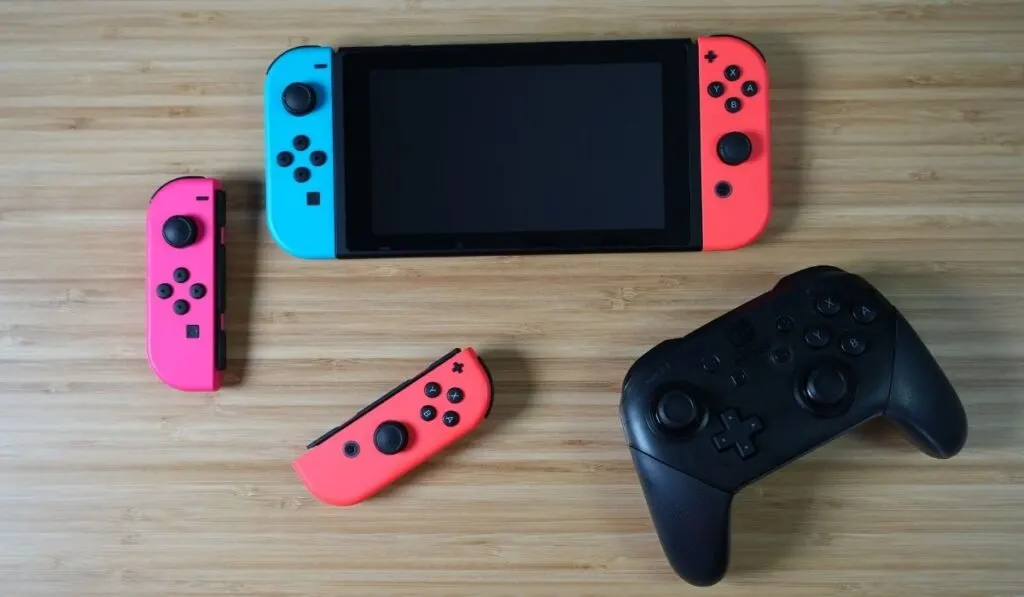
It is all fun and games until your Nintendo Switch starts overheating. This often happens when you’ve been playing games for long periods, and it could be an indication that the fan inside your Switch is broken. If the overheating goes on for a while, the Nintendo Switch can be permanently damaged, and you certainly don’t want that! So what can you do to prevent overheating?
First, take a break between games, and disconnect the Switch from the power when it’s idle. You can also try cleaning the console’s internals, storing and charging it in a well-ventilated spot, and keeping your device updated to help. Don’t use thick protective cases which old in heat.
Using these steps, you’ll have an easy time keeping your Nintendo Switch from overheating. You will also discover that there are various things you can do to keep your device from getting too hot, ultimately enhancing its durability. So, let’s take a look at why the Nintendo Switch overheats, how to fix this problem, and how to replace a faulty Nintendo Switch fan if necessary.
Why Does the Nintendo Switch Overheat?

If your Nintendo Switch (on Amazon) becomes too hot to handle, getting to the root of the issue should eliminate any future problems.
The following are the most common causes of an overheating Switch:
- Long-gaming sessions on the Nintendo Switch: Usually, the Nintendo overheats when you have been using it for more than two hours. Take a break!
- Poorly ventilated environment: Keep your Nintendo Switch in an airy environment so that it does not heat up.
- Switch ventilation obstructed by dust: Dust and other debris will hinder the internal environment from functioning smoothly.
- The game is not power-optimized: This hinders its ability to run at the same frame-rate over a range of system specifications.
- Internal problems on the Nintendo Switch Circuit: A damaged Nintendo Switch Circuit tends to heat the Nintendo Switch too fast.
- A damaged internal fan: A faulty fan will drag down the internal functioning of your game device.
And note our other related resources that you may want at this point–we have write-ups on what to do if your Nintendo Switch fan is loud, or if it’s emitting a high-pitched buzz. And if you have the Switch Lite as well be sure to check out our articles on buzzing sounds from that console which, no surprised, are related to the Nintendo Switch Lite overheating.
And note also that if you’ve been downloading a bunch of games, or your Switch is simply charging, it’s normal for the console to get hot temporarily as it does all that data management.
How to Fix Nintendo Switch Overheating
If your Nintendo Switch is making strange noises, overheating every time you play games on docked mode, is too hot to hold, or even turns off by itself, you’ve got a problem that needs to be addressed.
Here’s a quick guide on what to do:
1. Pause and Take a Break in Between Games
After a long gaming session, pause and allow your console to cool down to avoid overheating. Failing to do this might result in your Nintendo Switch overheating and turning off on its own. This could ultimately ruin your console!
In fact, not taking breaks could be the sole source of your Nintendo Switch overheating issue. This is because when you use the game device for extended periods without taking breaks to let it cool down, it causes significant harm to interior components.
Additionally, when the Nintendo Switch gets too hot for your hands, it can cause skin burns.
2. When the Switch Is Not in Use, Disconnect It From the Power Source
If you’re not using your Nintendo Switch, unplug it from the power supply. Leaving it hooked into a power source for an extended time can cause thermal damage to the console.
Also, avoid playing games while your Nintendo Switch is charging. This will only result in overheating. It’s advisable that you allow your console to charge before unplugging it and pressing the Play button.
We also recommend that you adjust the charging time and disconnect the console using the Nintendo Switch Dock Charger that has an LED indicator.
3. Ensure the Joy-Con Rails Are Clean
The metal Joy-Con rail is to blame if the bottom right-hand side of the console grows excessively hot. This is because, over time, the rail accumulates a lot of dust and debris due to constant use.
It would help if you cleaned your console’s slider rails frequently by brushing the region around the rail with a soft toothbrush or blowing air into it. If your console overheating problem persists, you may need to replace the rails or hire a professional to assist.
4. Use a Well-Ventilated Dock
The Nintendo Switch is may be getting hot because none of its faces are open to airflow when docked. The simplest solution to this is to place the dock in a cool location.
Most of the time, the machine sucks in hot air if the dock is in a poorly ventilated area. As a result, the Nintendo Switch is unable to adequately distribute heat, putting the gadget at risk of overheating.
So, instead of placing your console near the ground, place it on a raised platform, such as a table, where air can freely circulate. This will enable your Nintendo Switch to function for longer periods without overheating and extend its life.
5. Clean the Nintendo Switch Regularly
Dust accumulates in vents over time. Therefore, you must keep them clean for maximum efficiency. You should also pay close attention to the metal Joy-Con rail, as it could be behind the Nintendo Switch’s overheating issue, especially when in handheld mode.
6. Turn On the Air Conditioner
Turn on the air conditioner if the room temperature exceeds 35°C (95°F). This is because the recommended temperature range for using your Switch console safely is between 5°C (41˚F) and 35°C (95°F).
You can also use a fan to circulate the air in the direction of your Nintendo Switch while it’s in use. Afterward, use the console in a well-ventilated area, because electronics continuously emit heat. Therefore, a regular air supply is required to maintain normal operations.
7. Update Your Nintendo Switch
Your Switch overheating could be due to a glitch that new updates can help fix. Here is how you can keep your Nintendo Switch up to date:
- Switch on your Nintendo Switch
- The screen will display the Home Menu.
- Select System Settings from the round icons
- A window named System Settings will appear
- Scroll down on the left menu
- Choose the System Update
The software on the Nintendo Switch will then begin to update.
How to Replace a Nintendo Switch Fan That’s Not Working

If your Nintendo Switch starts making strange noises, gets too hot to touch, and overheats, chances are there’s a damaged internal fan. A broken fan is annoying, but it’s not the end of the world for your console.
Even if your product is no longer under warranty, you should be able to repair it yourself. Below is a step-by-step procedure on how to replace a Nintendo Switch Fan.
Supplies You Will Need:
- A replacement fan (on Amazon)
- A PH00 Phillips screwdriver (on Amazon)
- A Y00 screwdriver from Triwing (on Amazon)
- A thermal paste (on Amazon) to keep things warm
- Rubbing Alcohol (on Amazon)
- Cotton Swabs (on Amazon)
- A soft surface for working with the Nintendo Switch Screen-side down on a table.
Step 1:
Make sure your Switch is turned off before you start. It is not enough to put it in sleep mode. Turn it off completely to avoid electrocuting yourself.
Step 2:
Start by removing all screws from the console’s surroundings using your PH00 screwdriver. You will find five screws on the left, five on the right, two at the bottom, and one at the top.
Step 3:
Position your Switch properly with the screen facing down. First, undo the four screws that secure the console’s back corners using your Y00 screwdriver. You won’t require it again until the end of the process when the rear plate needs to be replaced.
Step 4:
Open the kickstand by swiping it open, then pull out the screw from the micro SD card slot’s bottom. This one is easy to overlook, so keep it in mind! You should then carefully raise the rear plate upwards towards the top, starting from the bottom side with the USB-C plug, until it pops out.
You’ll notice that a huge metal plate covers the majority of the innards. The fan can also be seen poking its way through the center. Along with this rear plate, you must remove the yellow board that stores your micro SD card.
Take off the rear plate and the micro SD card slot by undoing all the screws. Then, remove the plate and micro SD card slot and separate them. Now that the console’s guts have been revealed, you can now get into the technical work.
Step 5:
Take off the heat sink after removing the tape and disconnect it. You’ll notice that the thermal paste secures it to the board with three screws. You should take them off as well.
Once this is done, it’s now time to unfasten the tape from the fan’s perimeter. Take care here, as you will need to return this to its original location. We advise that you use the black plastic component from the package linked above to nudge the tape off.
You should now have a clean angle on two of the three screws that hold the fan in place. It would be best if you pull those screws out.
Step 6:
At this point, you’ll notice a piece of the board with two screws and a large black ribbon in the corner. You must undo the screws. Carefully flip over the black clip holding the ribbon and unhook it.
You will then need to twist this board to the side a little after removing the screws. This will give you access to the third screw that holds the fan in place beneath it. Remove the screw by carefully twisting the board, allowing the ribbon to bend slightly.
Step 7:
Detach the fan. The short black ribbon connecting to the motherboard is now the only thing holding the malfunctioning fan in place. Turn the flap over and detach the fan as you did with the other ribbon.
Place your new fan in the same location as the old one. Don’t forget to secure it with the three screws. You should then reattach the ribbon to the fan to reconnect it to the board.
Pro tip: Please wipe off any thermal paste that has already been applied to the heatsink before reattaching the large ribbon to the fan’s side. Most likely, there isn’t much of it left. So, use the end of a cotton swab, and wipe up what’s left with rubbing alcohol. You should then reapply a fresh layer of thermal paste to the cleaned area.
Step 8:
Put everything back.
Here’s what you should do:
- Put the heat sink in its original location.
- Replace the tape in its original location.
- Take off any leftover thermal paste from the heat sink’s top and create a new layer. Ensure you get the old thermal paste off the metal plate before reinstalling it.
- Replace the metal plate in its original location and tighten all the screws.
- Push the black foam piece into the motherboard to reconnect the micro SD card slot to the board.
- There should be a click. Then secure it with a screw.
Lastly, screw the case together and clamp the backplate in place.
There you go! Your Switch can breathe again and function flawlessly. And, now you can comfortably extend your gaming sessions.
