
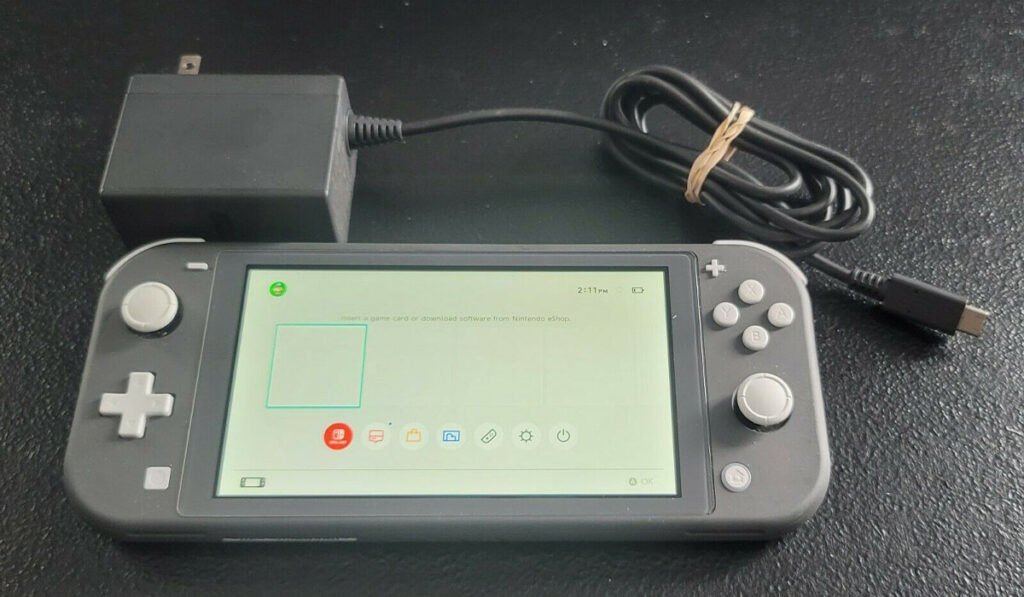
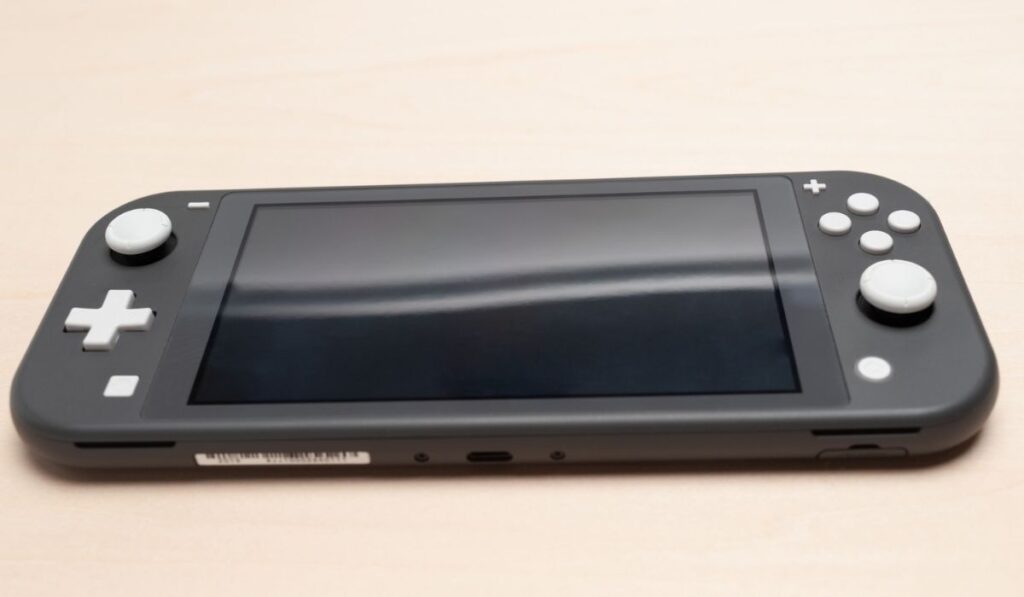
The Nintendo Switch Lite is the ultimate gaming console, with the trifecta of being small, lightweight, and portable. You can usually expect some noise from within any console because of the internal moving parts. But if you’re noticing a consistent buzzing sound when you use your Switch, you might have a problem on your hands.
A buzzing Nintendo Switch Lite is usually caused by a dirty or broken fan. Clean your Switch with compressed air to remove debris. You also have the option to replace the fan yourself. Transport the Switch Lite in a case to keep dust out of it. If all else fails, contact Nintendo customer support.
Buzzing or other weird noises coming from your Nintendo Switch Lite could portend serious problems. Ignoring the noise can lead to costly internal damage to your Switch. The console’s inner moving parts, like its fan, are likely the source of the noise. Thankfully, there are multiple ways to address this issue.
Why Is My Nintendo Switch Lite Making a Weird Noise?
For one thing, don’t be surprised to hear odd noises coming from your switch if you’ve dropped it lately. A loose connection of parts might be producing the sound. You also might be hearing the vibrations from the speaker or the motors in the Joy-Cons.
That said, most of the time you can blame weird noises on a broken fan. A loud fan on a classic Nintendo Switch, or buzzing noises on that console, usually indicate overheating of the Switch. If you suspect your Switch Lite is overheating, check out our overheating guide on this console when you’re done here.
The fan is a critical part of your Switch: it’s responsible for blowing cool air throughout the console. After long hours of play, the console heats up and the cooling system has to work harder to protect your Switch’s delicate CPU, LCD, and other internal components from extreme temperatures.
As the fan blows, you might notice a humming noise, which is normal. But when the fan breaks down, that hum will be replaced with a constant buzzing or grinding.
These kinds of noises are a warning that the cooling system is about to fail. To prevent further damage to your Switch, don’t delay in fixing your fan.
How to Fix a Buzzing Switch Lite Fan
Like we explained above, a faulty fan leaves your gaming console prone to heat damage. When the console overheats, your Switch will suffer from a host of problems like slower reaction times and frozen screens. Avoid these issues by taking good care of your fan.
To fix a buzzing Switch Lite fan, try using these solutions.
Turn Off the Switch Lite
Putting a stop to unusual noises might be as simple as restarting your Switch. If weird noises crop up after a long gaming session, turn off your Switch. Power it on after a few minutes and check for buzzing.
Clean the Cooling System
Over time, your gaming console collects dirt and debris, which can block or damage the fan. Blowing compressed air through the fan vents can clear out any gunk, allowing the fan to work effectively.
Add an External Fan
Another option to quickly boost your Switch’s cooling system is to use an external fan. These extra fans typically work by using an USB plug connected to a power outlet. The EEEKit Switch Cooling Fan (on Amazon) features different fan speeds that you can adjust to suit your needs.
Contact Nintendo Support
Nintendo support can provide specialized advice for addressing your Switch problem. You can contact them via an online chat, text message, or phone call.
Replace the Internal Fan
If the unusual noise persists even after cleaning out your fan with compressed air, it is possible to replace the internal fan yourself. Doing so requires a bit of handiness and extra tools.
How to Replace a Nintendo Switch Lite Fan
If all other fixes for a buzzing fan in a Nintendo Switch Lite don’t work, a replacement fan is the last resort. For this DIY project, you need specialized tools to safely and effectively replace the Switch Lite fan.
Follow the steps below:
- Stock up on tools, which you can conveniently buy all at once in the form of a universal repair tool kit like the Kaisi 26 in 1 Repair Tool Kit (on Amazon).
- Before you start, turn off the console and unplug any power cables.
- Using a tri-wing screwdriver, remove the four main screws on the back of the console.
- Unscrew the other four cruciform screws.
- Use a spatula to gently pry the back cover off, then lift the cover to reveal the internal components.
- Remove the metal plate by unscrewing the four cruciform screws holding it in place.
- Disconnect the cables. Use a spudger to disconnect the daughter board connector cable and slide it out.
- Next, disconnect the battery cable to prevent short circuits during repairs.
- Remove the radiator by unscrewing the three cruciform screws holding it in place.
- Pull out the fan cable using a nylon spudger.
- Remove the damaged fan using the suitable screwdriver and use the opening pick to remove the fan.
- Confirm the model of the fan and compare it with the replacement fan. Install the new fan and follow the same procedure in reverse to reassemble your Switch Lite.
Replacing a broken Nintendo Switch Lite fan yourself is tricky work. However, a successful replacement will not only solve your noise problem but improve the performance of the gaming device through more efficient cooling. You’ll also extend the life of your console.