
At face value, computers seem simple. You access files and information, and they display as intended. Whether it’s videos, images, or text files, it all runs in an intuitive, user-friendly way.
If you want to wipe data from your hard drive, start by backing up any data you don’t want to lose on an external hard drive. Then, follow the steps for your device type. Most Windows devices have an option in the startup menu. MacBook users will shut down the device and press Command-R.
There are many reasons you may want to wipe your hard drive, from selling the computer or trying to rid it of a virus. Let’s look at all the steps you should take to wipe your laptop correctly.
What to Do Before Wiping Your Laptop

There are several reasons that you may need to wipe your laptop. You would most commonly wipe a laptop before selling it or giving it away. Wiping your laptop is also a good way to get it running faster and remove unwanted software.
Depending on the reason that you are wiping your laptop, there are different things that you may need to do.
First, make sure you save any important data. You can also back your data up or create a restore file. You must decide whether to remove specific files or wipe all your data. In addition, you need to know how you will restore data that might depend on any software you might be wiping.
It would be best to have a catalog of the software you use, specifically the software you will have to reinstall. While you may own hard copies of some of the software you use, other software may need to be downloaded after you wipe the laptop.
You will also need the product keys for all of your software. The same goes for games and some other media. Remember, you might need to log back into some of the media and streaming services you use.
How to Backup Your Data
There are a couple of ways that you can back up your data. The simplest is to create a full backup image of your laptop’s hard drive. Unfortunately, this method has some drawbacks.
First, it is very time-consuming. It is inconvenient because you may not want to retrieve all of your data. Plus, the image may still contain viruses and malware that infected your previous installation. That is why the most common way of storing backup data is on an external hard drive.
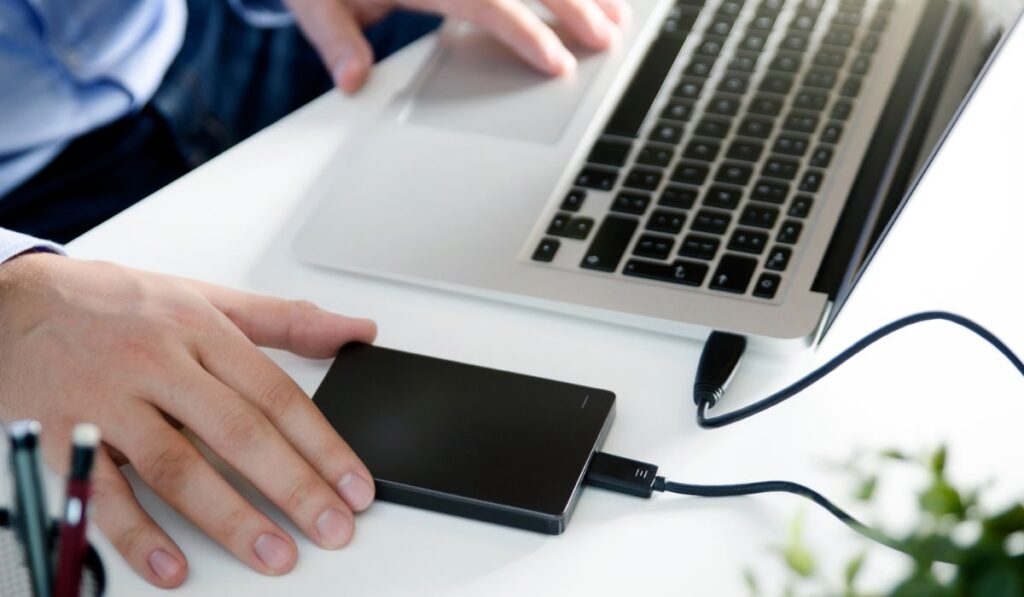
External Harddrive
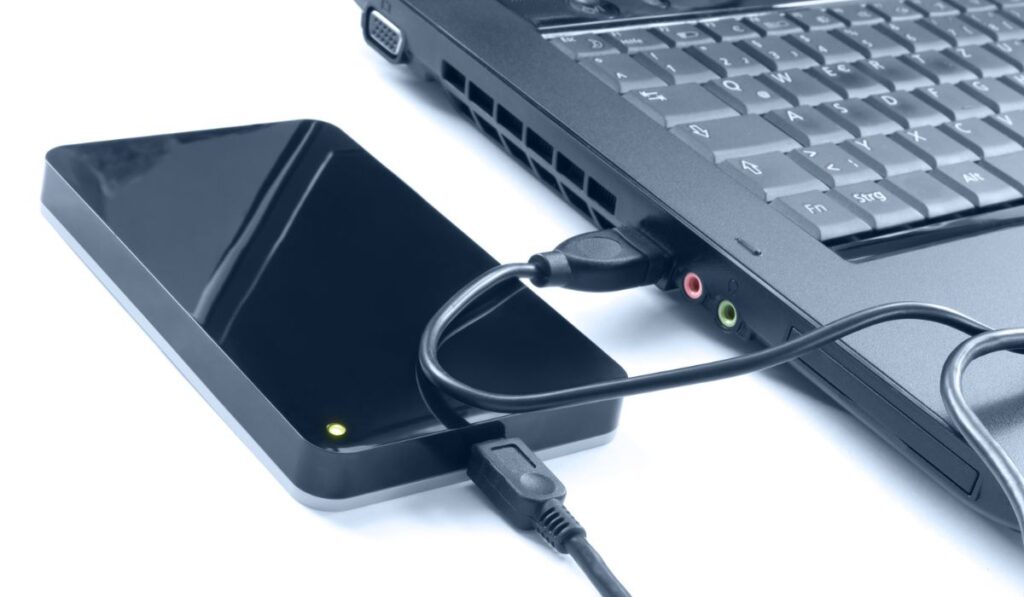

All you need to do is plug your external hard drive into your laptop, select files you want to back up, and copy them from your laptop to the drive. Using this method, you can leave the files you don’t need and back up the ones you do.
Files that you can back up include media files, such as JPEGs, PNGs, and various video formats. Other files, such as program files, won’t necessarily work when copied. The same goes for games. You can copy your games’ save files, but the actual game files of owned games won’t work when copied directly.
Your software works the same way. You can copy the saved files, but you will need to reinstall the software. Alternatively, there are other ways to copy data if you plan on replacing your laptop completely.
Direct Copy
A direct copy is a more advanced method that may require technical expertise. First, you need an adapter that converts the SATA port on your old hard drive to a USB input.
You can access your old hard drive data the same way you use an external drive. One drawback is that you won’t have access to certain files, such as your old documents folder.
There is a workaround. Advanced users can use a Linux bootable thumb drive as an intermediate operating system. This will allow you to access otherwise protected folders and copy them to the new hard drive.
If you are done copying your files or want to make certain your old files get deleted, you will need to wipe the old hard drive.
How to Remove Your Files
Removing files from your old hard drive may be harder than you think. The option to delete your files is readily available. If you want to be extra sure, you could even reformat your hard drive. But this isn’t as easy as it sounds.
How to Wipe the Laptop’s Drive
Unfortunately, deleting your files or formatting your hard drive doesn’t remove any data. To understand why you need to know how a computer recognizes data. First, we will look at older mechanical hard drives.
Mechanical Hard drives
Your laptop does not keep a constant log of every complete file on the hard drive. Instead, it assigns every file an index entry. The index entry directs the computer to the location of the actual file.
The computer wipes the associate index when you delete a file or format your hard drive. The real data remains, but a computer will recognize it as open disk space because it has no index.
New data can then overwrite the old files, but until then, the data is still there. It is a more efficient way for computers to manage data on the drive than to do a full wipe.
Unfortunately, using the right software can regain access to data that is not overwritten. To ‘wipe’ a hard drive, you need to use a trusted partition manager that ‘writes’ random data over your unindexed files. Once unindexed, random data replace the original data, your data is truly gone.
Solidstate Hard Drives
Solid-state hard drives also store data by using an index. However, the way that the process works is slightly different. A solid-state drive (SSD) uses a process called “block erasure” to delete data.
This process involves overwriting the data stored in a specific block of memory on the drive with new data or a pattern of zeroes and ones, known as “shredding.” Once a block has been erased, it can be written over with new data.
When you delete a file or format an SSD, the operating system marks the blocks in which the file was stored as available for new data.
It’s important to note that the process of block erasure and the number of times you can erase a block before it becomes unreliable can vary depending on the SSD model and design.
Wiping Apple Laptops


To wipe an Apple laptop, you can use the built-in recovery mode to erase the hard drive and reinstall the operating system. Here are the steps to do this:
- Shut down your MacBook.
- Turn on your MacBook and immediately press and hold Command-R to start up from macOS Recovery.
- When the Apple logo appears, release the keys.
- Click “Disk Utility” and select the hard drive you want to erase.
- Click on the “Erase” button and then click “Erase” again to confirm.
- Once the hard drive is erased, exit Disk Utility and choose “Reinstall macOS” to reinstall the operating system.
- Alternatively, you can use the Terminal to erase the hard drive and reinstall the operating system.
Wiping Window Laptops
To wipe a Windows laptop, you can use the built-in recovery options to reset the computer to its factory settings. Here are the steps to do this:
- First, go to the Start menu and click “Settings” (gear icon).
- Next, click on “Update & Security.”
- Click on “Recovery.”
- Under “Reset this PC,” click on “Get started.”
- Choose whether to keep or remove your files, then click “Next.”
- Click on “Reset” to confirm the action.
- This process will erase all data on the device and reinstall the Windows operating system.
Suppose the above method is not working or you want more advanced options. In that case, you can use the Windows 10 installation media to do a clean install of windows.
Wiping Chromebooks
To wipe a Chromebook, you can use the built-in powerwash feature to reset the device to its factory settings. Here are the steps to do this:
- First, click on the settings icon in the bottom-right corner of the screen.
- Click on the gear icon to access settings.
- Scroll down and click on “Advanced.”
- Under the “Powerwash” section, click on “Powerwash.”
- Click on “Restart” to confirm the action.
Wiping Ubuntu Laptops
To factory reset an Ubuntu installation, you can use the built-in “reset” feature in the system settings or reinstall Ubuntu from scratch.
- To use the reset feature, go to the settings menu and select “Reset.” That will erase all personal files and reinstall the operating system to its original state.
- To reinstall Ubuntu from scratch, you need to boot from the installation media (such as a USB drive or DVD) and select the option to install Ubuntu.
- During installation, select the option to erase the entire disk and install Ubuntu. That will completely wipe the existing installation and create a new one.
Wiping Android-Powered Netbooks
To wipe an Android-powered netbook, you can perform a factory reset. That will erase all personal files, settings, and installed apps, returning the device to its original state.
To factory reset an Android-powered netbook:
- Go to the settings menu.
- Select “System” or “General management.”
- Next, tap “Reset” or “Factory data reset.”
- Follow the prompts to complete the reset process.
Alternatively, you can use the recovery mode to factory reset your Android-powered netbook. Again, the steps may vary depending on the device.
Still, typically you will need to turn off the device and then press and hold a combination of buttons (such as the power and volume down buttons) to enter recovery mode. Once in recovery mode, you can use the volume buttons to navigate and the power button to select the option to factory reset.
We have also covered reset guides for both Lenovo laptops and Dell laptops.