
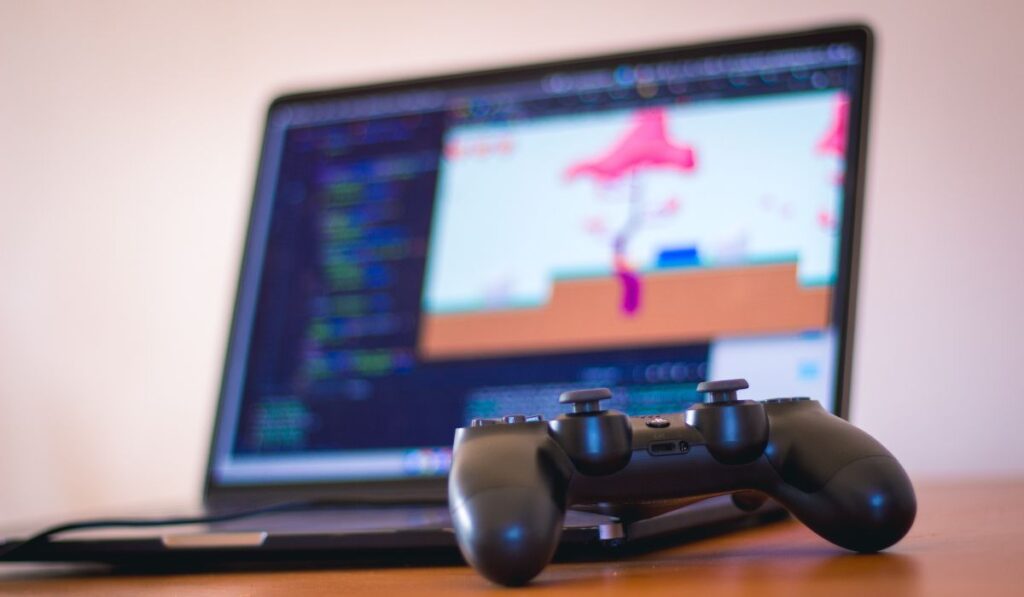
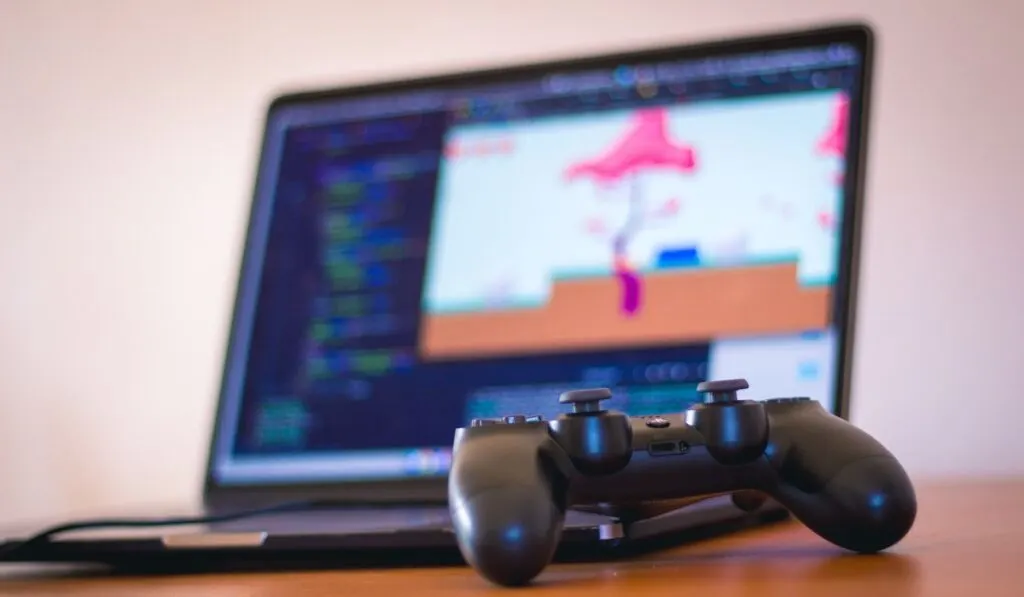
The biggest dream of every gamer is a high end gaming PC capable of running all of the newest titles. However, gaming PCs are expensive pieces of equipment not everyone will be able to have access to. What if you could connect your PS4 to your laptop and turn it into a high end game station?
There are two options to play PS4 on your laptop: using remote play and using a capture card. Remote play allows you to stream your PS4’s display to your laptop using an internet connection, while a capture card lets you plug your PS4 into your laptop using an HDMI cable.
Knowing these methods exist is nice, but what if you don’t know how to do them? Let’s go through the process of connecting a PS4 to a laptop in detail to help you play games in the way you want.
How to Play PS4 on a Laptop
There are actually two different ways to play PS4 on your laptop. The first is remote play, which allows you to stream your PS4’s display to your laptop’s screen. The second is a capture card, which allows you to connect your PS4 to your laptop via HDMI. Let’s go through both options as well as how to set them up.
Remote Play Explained
PS4 Remote Play is a feature of the Playstation 4 that allows users to stream and play their PS4 games on other devices over a Wi-Fi connection. This means that you can play your PS4 games on your PC, Mac, or even on your phone or tablet.
Additionally, you can also remotely control your PS4 using Remote Play, which allows you to access your PS4 from anywhere in the world, as long as you have an internet connection. You can use this feature to start or stop games or adjust settings on your PS4, even when you’re away from home.
PS4 Remote Play also supports Remote Play Together, a feature that allows you to play multiplayer games with friends over the internet. With Remote Play Together, you can play co-op or competitive games with your friends, even if they’re on a different device or in a different location.
Essentially, if your goal is to play your PS4 games on your laptop’s screen, then Remote Play is a great way to accomplish this. All you have to do is set it up.
Remote Play System Requirements
Before you can set up the PS4’s remote play feature, you’ll first need to determine whether or not your laptop can even run it. Let’s go through the system requirements you’ll need in order to use remote play.
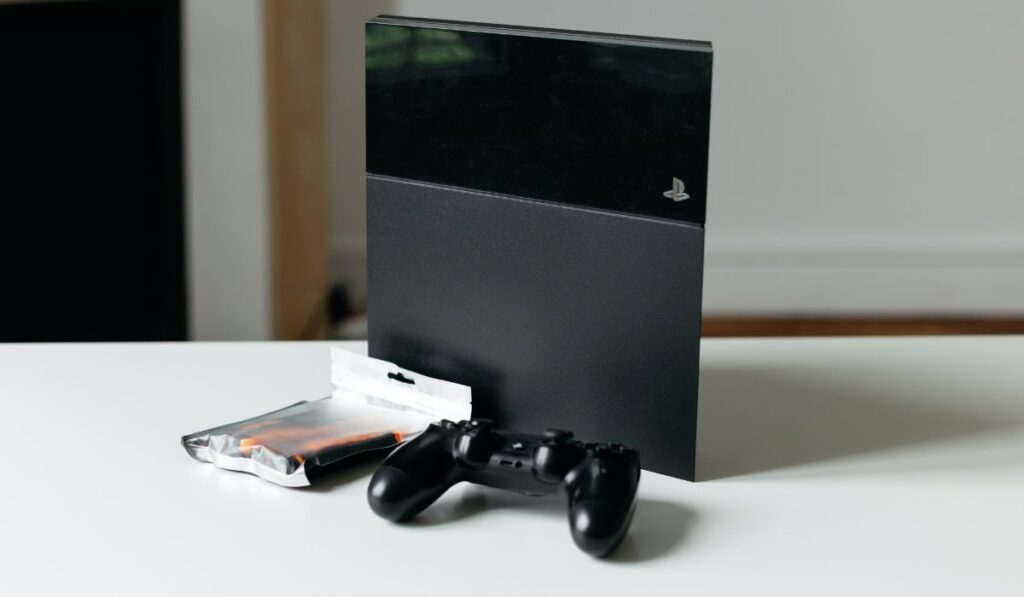
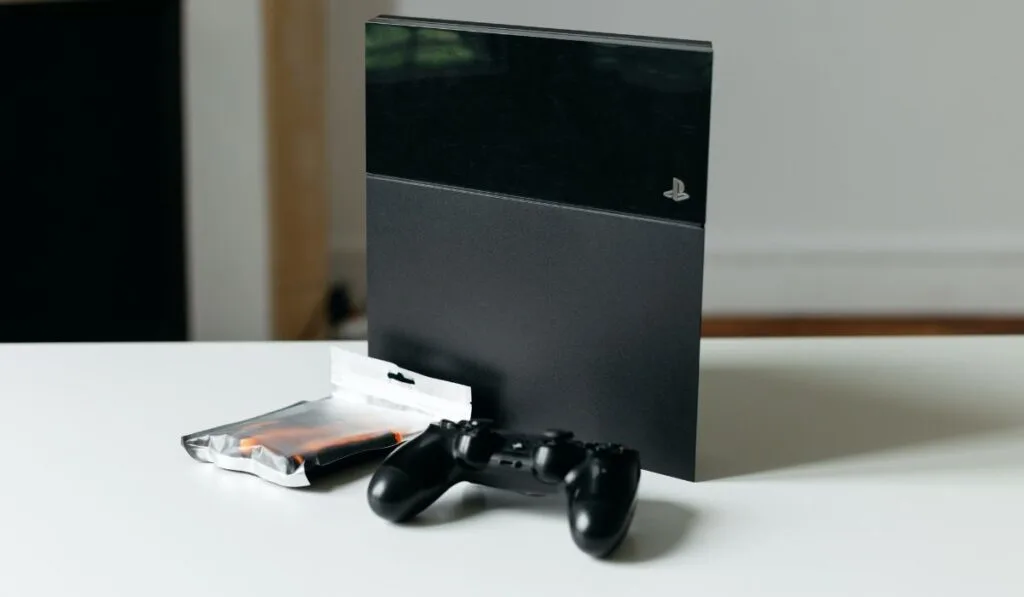
To use PS4 Remote Play, you’ll need a PS4 console, a Dualshock 4 controller, and a device with a compatible operating system (Windows 10 or later/macOS High Sierra or later). You’ll also need a stable Wi-Fi connection with a minimum upload speed of at least 5 Mbps (although it is recommended that you have at least 15 Mbps for best performance).
Your laptop needs to have a 7th Generation Intel Core processor or later and at least 2GB of RAM. You’ll also need at least 100 MB of storage space open and a display resolution of at least 1024 x 768. Additionally, your laptop also needs a sound card and a USB port, although finding a laptop that doesn’t have both of those is highly unlikely.
How to Download and Set Up Remote Play
If your laptop has all of the specs listed above, then you are good to play PS4 on your laptop using remote play. All you have to do is download it and set it up.
First, we just need to download the app onto your computer. To do this, go to Sony’s remote play website (found here), and under the section that says “Install the app”, agree to their privacy policy and then hit “Download”. After this, just run the installation file and follow the instructions that appear on screen.
Once you have remote play set up on your laptop, you just need to set it up on your PS4. To do this, just follow these steps:
- Open the function screen on your PS4 by pressing up on the D-pad and then select Settings.
- In the Settings menu, select “Remote Play Connection Settings” and turn on “Enable Remote Play”.
- Next, go back to the Settings menu and select “Account Management” > “Activate as Your Primary PS4” and then pick “Activate” (You can only set this for one PS4 console per PSN account).
- Finally, if you want to be able to use remote play without having to turn on your PS4, go back to the Settings menu and select “Power Save Settings” and then “Set features Available in Rest Mode”.
- From here you just have to select the boxes next to “Stay Connected to the Internet” and “Enable Turning on PS4 from Network”.
After setting up your Laptop and your PS4, all we have to do is start remote play between the two. To do this:
- Make sure your PS4 is either on or in rest mode.
- Plug your PS4 controller into your laptop via a usb cable.
- Launch the PS Remote Play app on your Laptop that you installed earlier.
- Select “Sign In to PSN” and log into the same PSN account that your PS4 is logged into.
- Finally, select “PS4” and your laptop will begin searching for the PS4 your PSN account has set as its primary PS4.
After this, you should see the PS4’s home screen on your laptop’s screen. You are now good to play any games you have on your PS4 on your laptop’s screen.
Once you’re done playing, you just need to use your mouse to click the X icon in the top right corner of the screen. This will cause a message to appear saying “This Remote Play session will be disconnected” and then the window should close.
How to Play PS4 on a Laptop Using a Video Capture Card


If you want to play PS4 on your laptop without using remote play, your only real option is to use a capture card. This device will let you plug your PS4 into your laptop via HDMI and play games that way. Let’s go through how to use a capture card in more detail.
What is a Video Capture Card?
A PS4 capture card is a device that allows you to record or stream gameplay footage from your PlayStation 4 console to your computer. The capture card connects to the PS4 via HDMI, and then connects to a computer via USB. Once connected, you can use software on your computer to record or stream the gameplay footage.
There are several different types of PS4 capture cards available on the market, each with their own unique features and capabilities. Some capture cards are designed specifically for streaming, while others are optimized for recording.
Some capture cards also offer additional features such as built-in editing tools, live commentary, and webcam integration.
When selecting a PS4 capture card, it’s important to consider your specific needs and budget. If you’re primarily interested in streaming, look for a capture card with low latency and high-quality streaming capabilities. If you’re primarily interested in recording, look for a capture card with high resolution and frame rate capabilities.
In our case, we’re only trying to play the games on our laptop, so low latency capture cards that attempt to cut back on input delay are the best option here.
One of the best capture cards on the market is the Elgato HD60 S+. This capture card will allow you to stream game footage directly to your laptop at resolutions of up to 4K at 60FPS with ultra-low latency. If you’re interested, it can be found here (on Amazon).
If you want a low budget option, you can get a Rybozen capture card here (on Amazon) for just around $40. This won’t perform as well as the Elgato, but it’s still a fine capture card that will stream footage to your computer just fine.
How to Set Up a Video Capture Card
Setting up a PS4 capture card can be a bit of a process, but it is not too difficult once you know what you need and what steps to take. Here is a general guide on how to set up a PS4 capture card:
- First, make sure you have all the necessary equipment. This includes the capture card itself, a HDMI cable, a USB cable, and a computer or laptop that meets the capture card’s system requirements.
- Connect the PS4 to the capture card using the HDMI cable. Make sure the HDMI cable is plugged into the “HDMI In” port on the capture card and the “HDMI Out” port on the PS4.
- Connect the capture card to your computer or laptop using the USB cable. Make sure the USB cable is plugged into the “USB” port on the capture card and a USB port on your computer or laptop.
- Disable the HDCP setting on your PS4 by going to System Settings and turning off Enable HDCP. This will allow your capture card to actually capture the PS4 footage and transfer it to your computer. (Note: You will not be able to use any video streaming services like Netflix or Hulu while this setting is off.)
- Install any necessary software that comes with the capture card. This software will typically allow you to control the capture card settings and record the video output from your PS4.
- Once the software is installed, open it up and make sure the capture card is recognized by your computer. You should be able to see the video output from your PS4 in the software.
Points to Consider Before Playing PS4 on Your Laptop
There are a couple of surprising things that most gamers wouldn’t consider when playing PS4 on their laptop. Let’s go through some of these so that you won’t be caught off guard.
First off, if you’re playing via remote play, not all games on your PS4 support this. The games that do not support remote play are ones that require peripherals like the Playstation Move or the Playstation VR.
Another thing to consider is how difficult it will be for your laptop to run these games. It’s best not to play PS4 games on your laptop for too long in one sitting as it could lead to your laptop overheating.
Finally, make sure that your laptop is plugged in while you play PS4 on it. Both capture card software and remote play can be taxing on your laptop’s battery, so don’t expect it to last long without being connected to an outlet.