
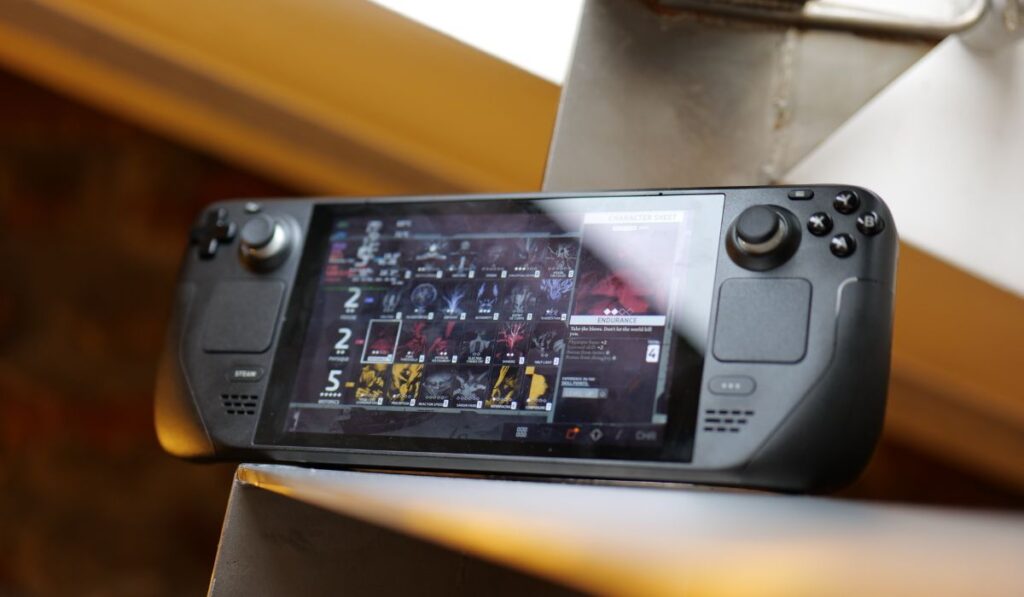
The Steam Deck is an extremely powerful handheld gaming system with a long list of impressive features. The controller customization and optimization options are some user favorites, but how exactly do you utilize them?
You can configure the Steam Deck controls, buttons, and layout in the Controller Settings menu. However, there’s no one-stop method for changing the controls across all games; instead, you’ll have to configure the buttons for each game separately.
Optimizing your controls comes down to personal preferences. But for starters, you’ll need to be familiar with the basics and what the Steam Deck is actually capable of. Let’s take a look at everything you need to know.
How Do the Controls on a Steam Deck Work?
The Steam Deck allows gamers to play PC titles from a handheld device. Some PC games have several keyboard commands and navigation menus or require the use of a mouse. So how does the Steam Deck achieve a straightforward gaming experience for a wide array of titles? Through the robust control scheme.
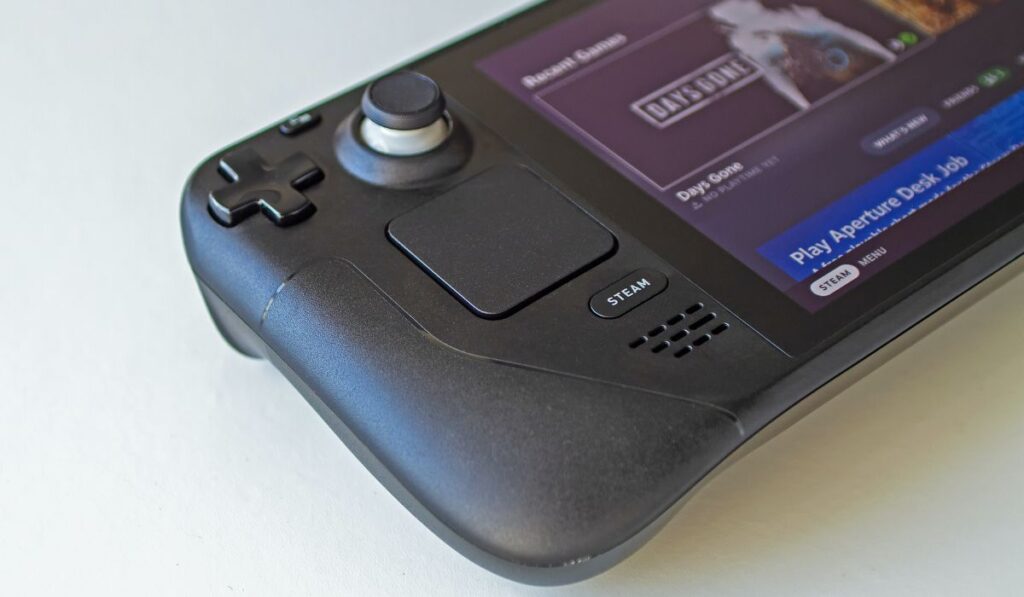
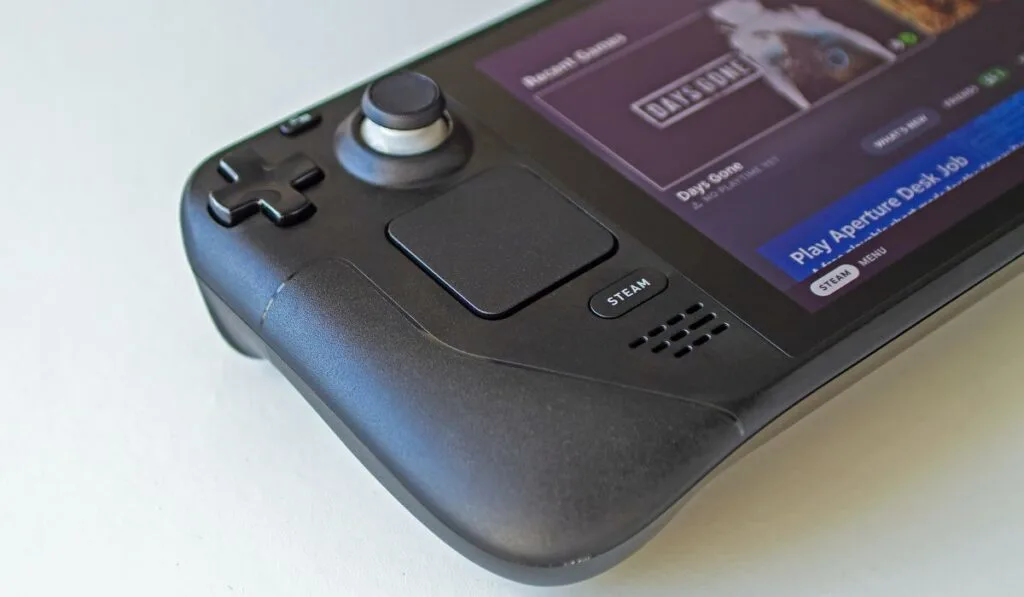
The Steam Deck features several different buttons and controller layouts, including:
- A/B/X/Y buttons
- Multidirectional D-pad
- L/R analog triggers
- L/R bumpers
- Four customizable rear grip buttons
- Two trackpads
- Two analog thumbsticks
- Start and Select buttons
- View and Menu buttons
As you can see, the Steam Deck offers a wide array of controls and configurable buttons. You can configure and optimize nearly any of these buttons, depending on the game you’re playing.
For example, you might configure the trackpad into a mouse scroll. Or you can bind controls to simple functions like taking a screenshot, showing the keyboard, or closing the game.
How to Change the Controls on Your Steam Deck
You can easily adjust your controller layout and button configuration on the Steam Deck. However, you’ll have to configure your controls for each title if you wish to change things around.
The Steam Deck doesn’t have a one-stop method for configuring controls across multiple titles, as the buttons don’t adhere to typical controller layouts.
- Launch a game on your Steam Deck.
- Press the Steam button.
- Press right on the D-pad two times to access the Controller Settings menu.
- You can adjust your controls, buttons, and layout from the Controller Settings menu.
You can use the controller configuration options on the Steam Deck in several different ways. You’ll have to configure and optimize them for each game, but you can follow the steps above for easy access.
You can remap the buttons to gain a competitive edge in specific titles, like first-person shooters or racing games. You can set the rear paddles to crouch, throw a grenade, or swap weapons.
Alternatively, you can use the back tigger buttons as shifters in racing games. The controller configuration options are nearly endless on the Steam Deck.
Which Controllers Are Compatible With a Steam Deck?
The Steam Deck should be compatible with nearly any modern-day controller. The Xbox Core Controller (on Amazon), the PS4 DualShock (on Amazon), and the PS5 DualSense (on Amazon) should work on the Steam Deck as long as they have a USB-C connection. You might also use these controllers with a connected USB dongle or hub on your Steam Deck.
However, you might need to configure your controller settings on the Steam Deck. You can easily access your controller settings and layout through the Steam Settings menu.
Which Gaming Options Are Available on a Steam Deck?

The Steam Deck offers a variety of gaming options. First, you can select from three different models ranging in price from $399, $529, and $649, with storage sizes of 64GB, 256GB, and 512GB, respectively.
Second, the Steam Deck offers several ‘Verified’ game titles that have been optimized for a handheld experience. Verified titles provide complete controller support, use the correct controller inputs, and automatically open the on-screen keyboard when necessary.
These games are unlikely to display any compatibility warnings and are easy to navigate. Verified titles will also use the default Steam Deck resolution with easy-to-read text. Finally, you can connect your Steam Deck to an external monitor and USB hub for more versatility.
Connecting to an External display
Connecting your Steam Deck to an external display is reasonably straightforward. Your Steam Deck will automatically detect the external display once you plug it into your connected USB-C hub. However, you’ll most likely need to adjust the resolution, refresh rate, and orientation.
You can access external display settings by hitting the Steam Deck logo near the bottom left corner. From there, select ‘Settings,’ then hit ‘System Settings,’ and finally, ‘Display and Monitor.’ You can adjust any settings from the Display and Monitor menu and save them by hitting ‘Apply‘ afterward.
Your Steam Deck should remember these settings even if you swap between handheld and Desktop Mode.